Batman Batmobile - 1989 Movie Version
Step 1
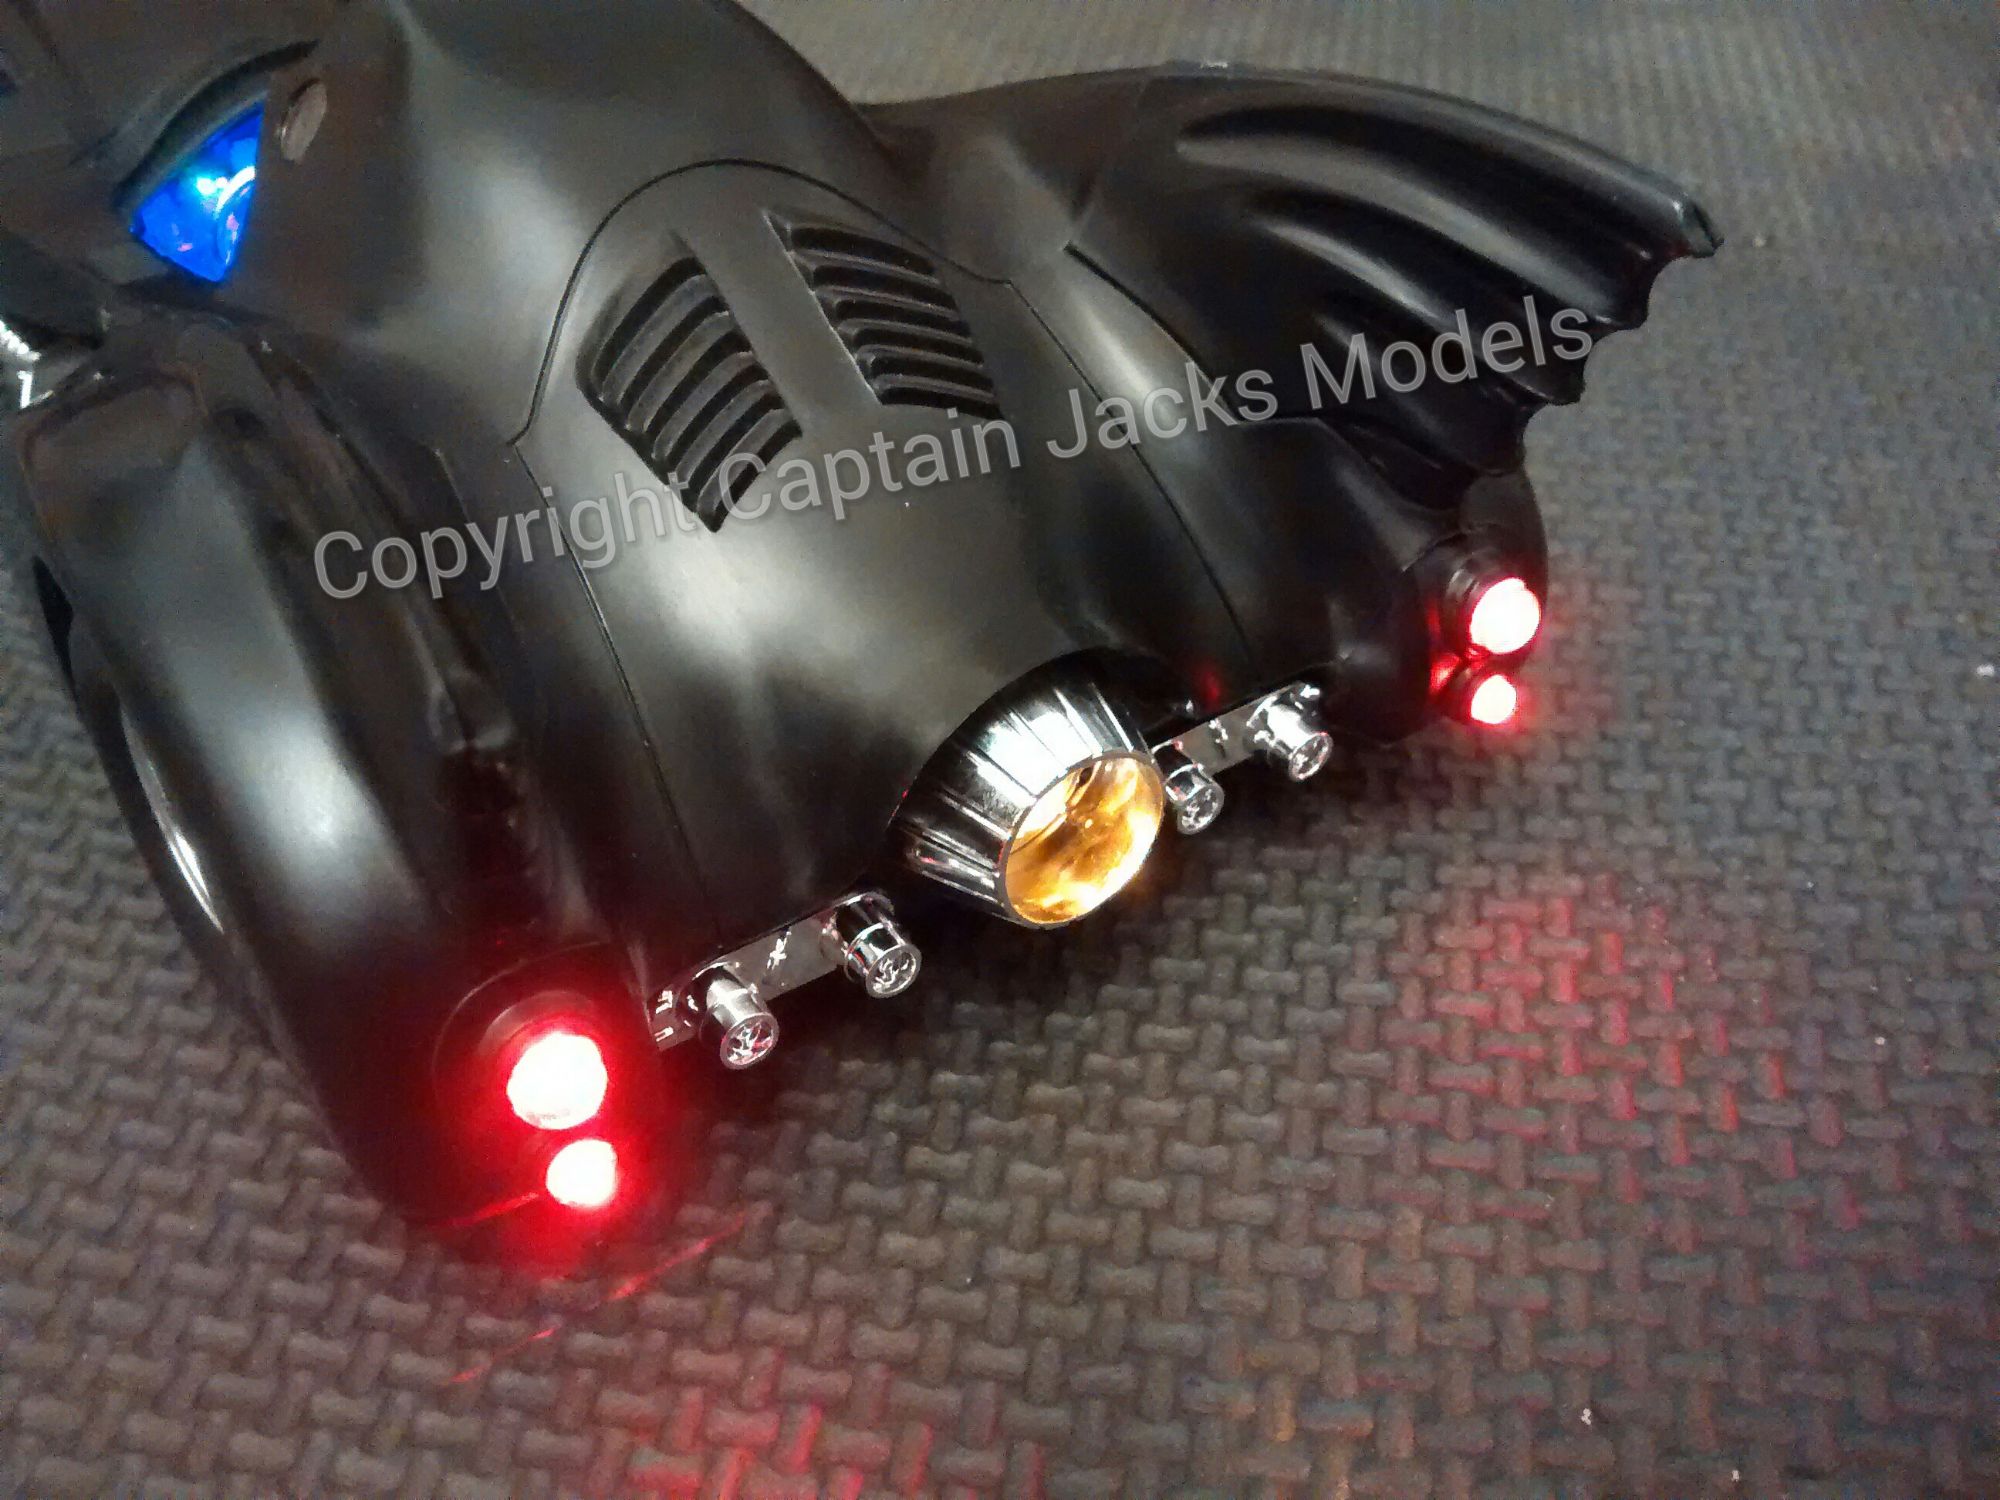
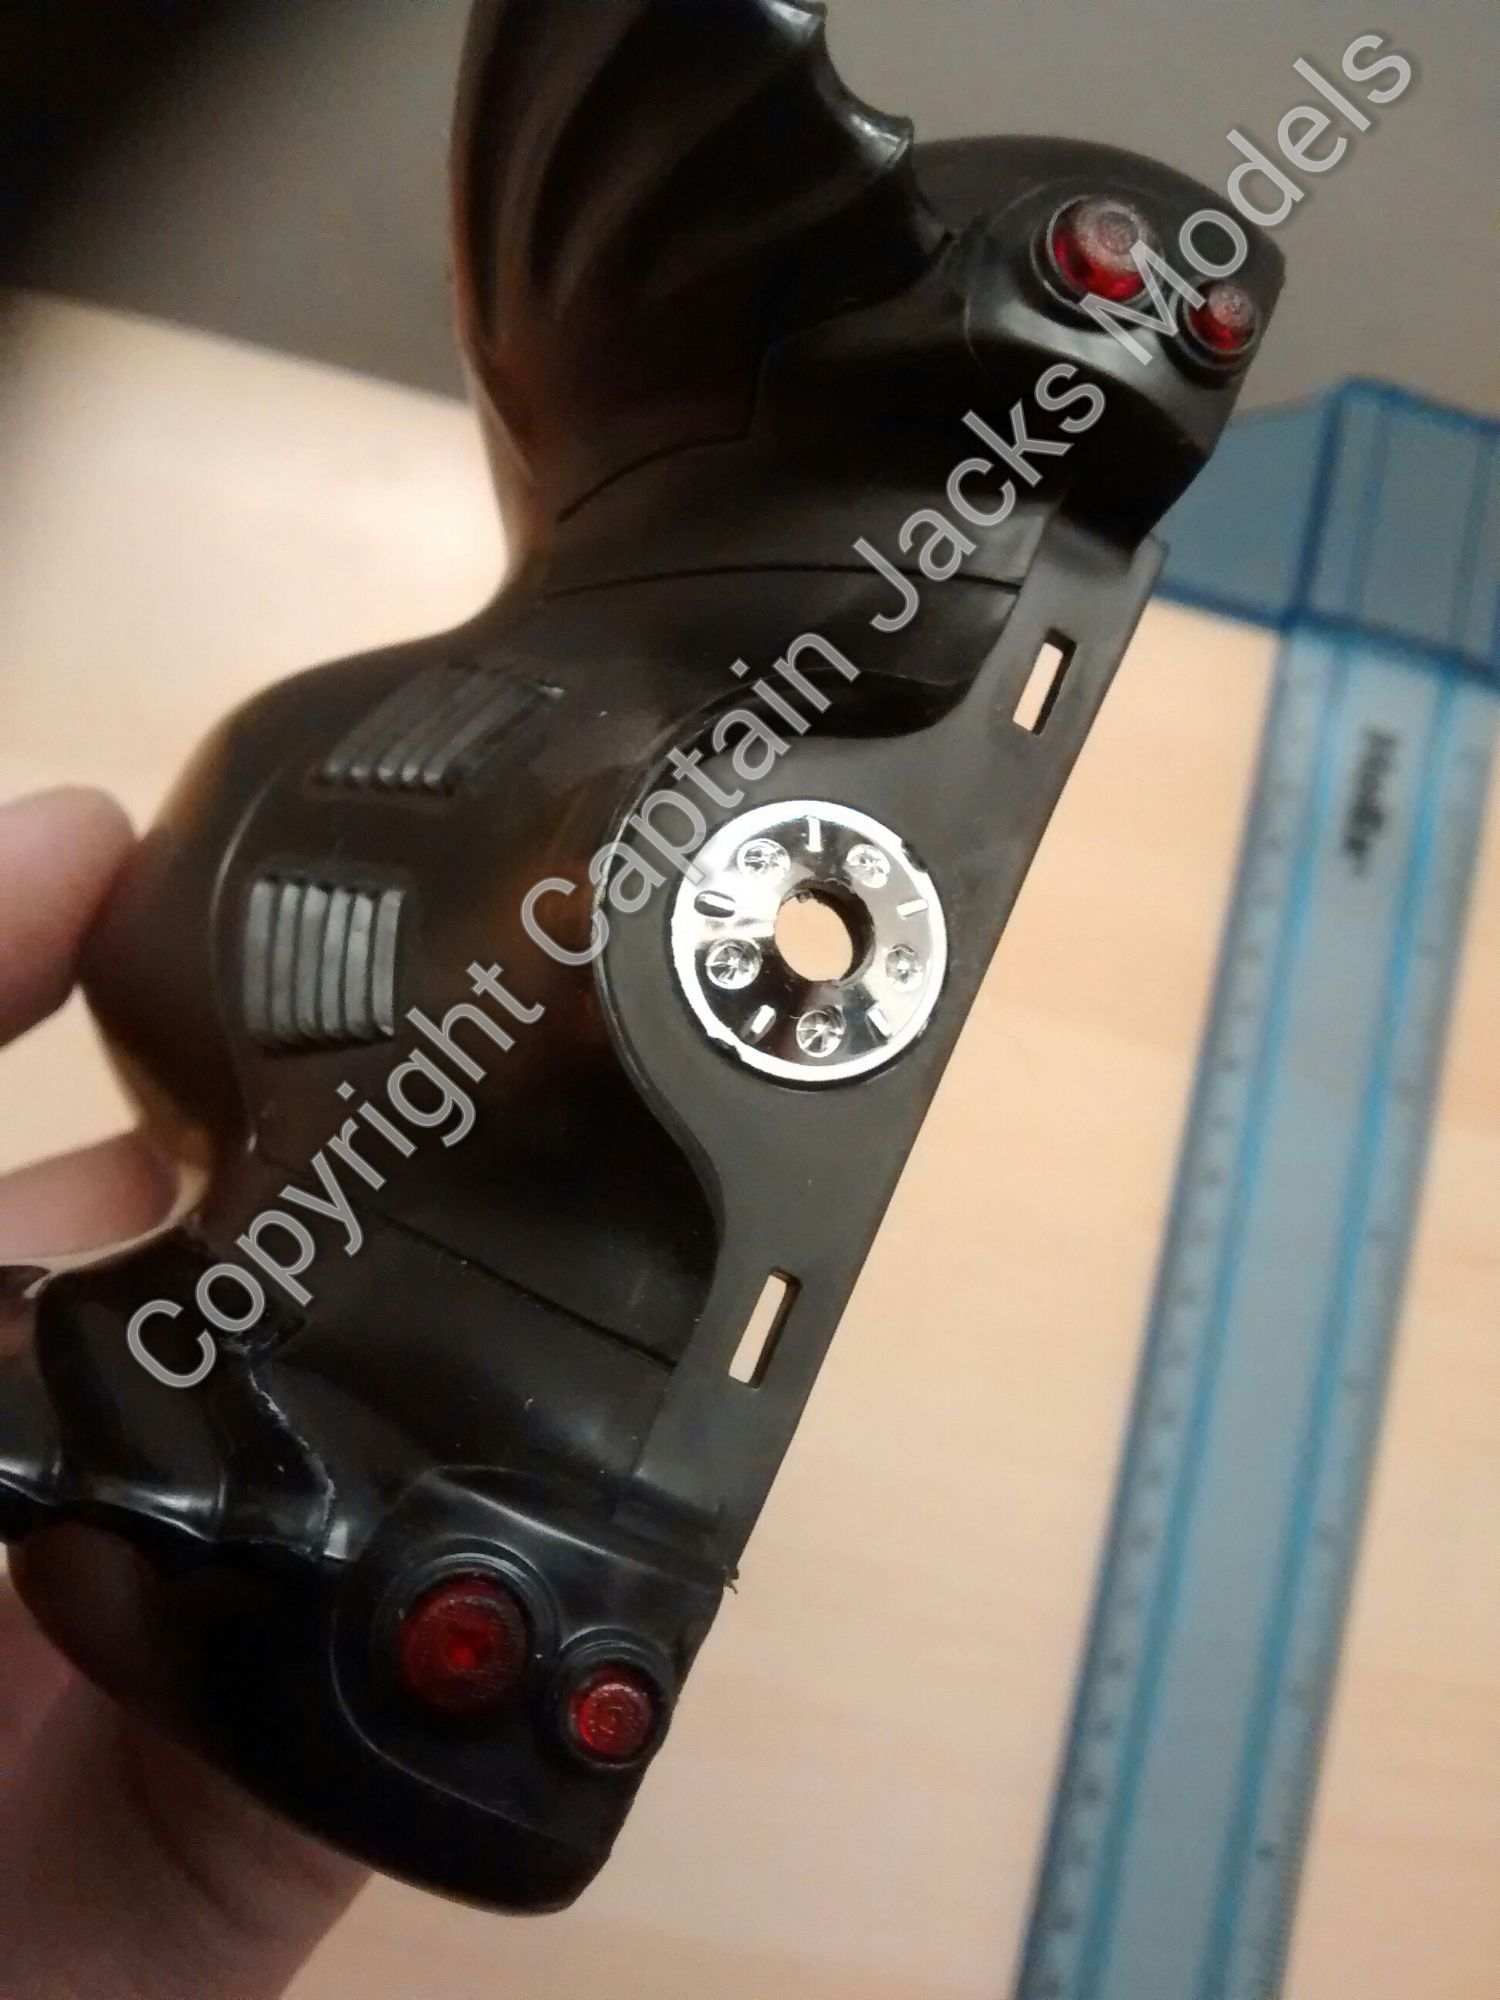
On the upper half of the car body, expand the rear light housings by drilling holes to 3mm diameter.
Step 2
Drill 5mm diameter hole in upper half of car body in the middle of the rear central exhaust.

Step 3
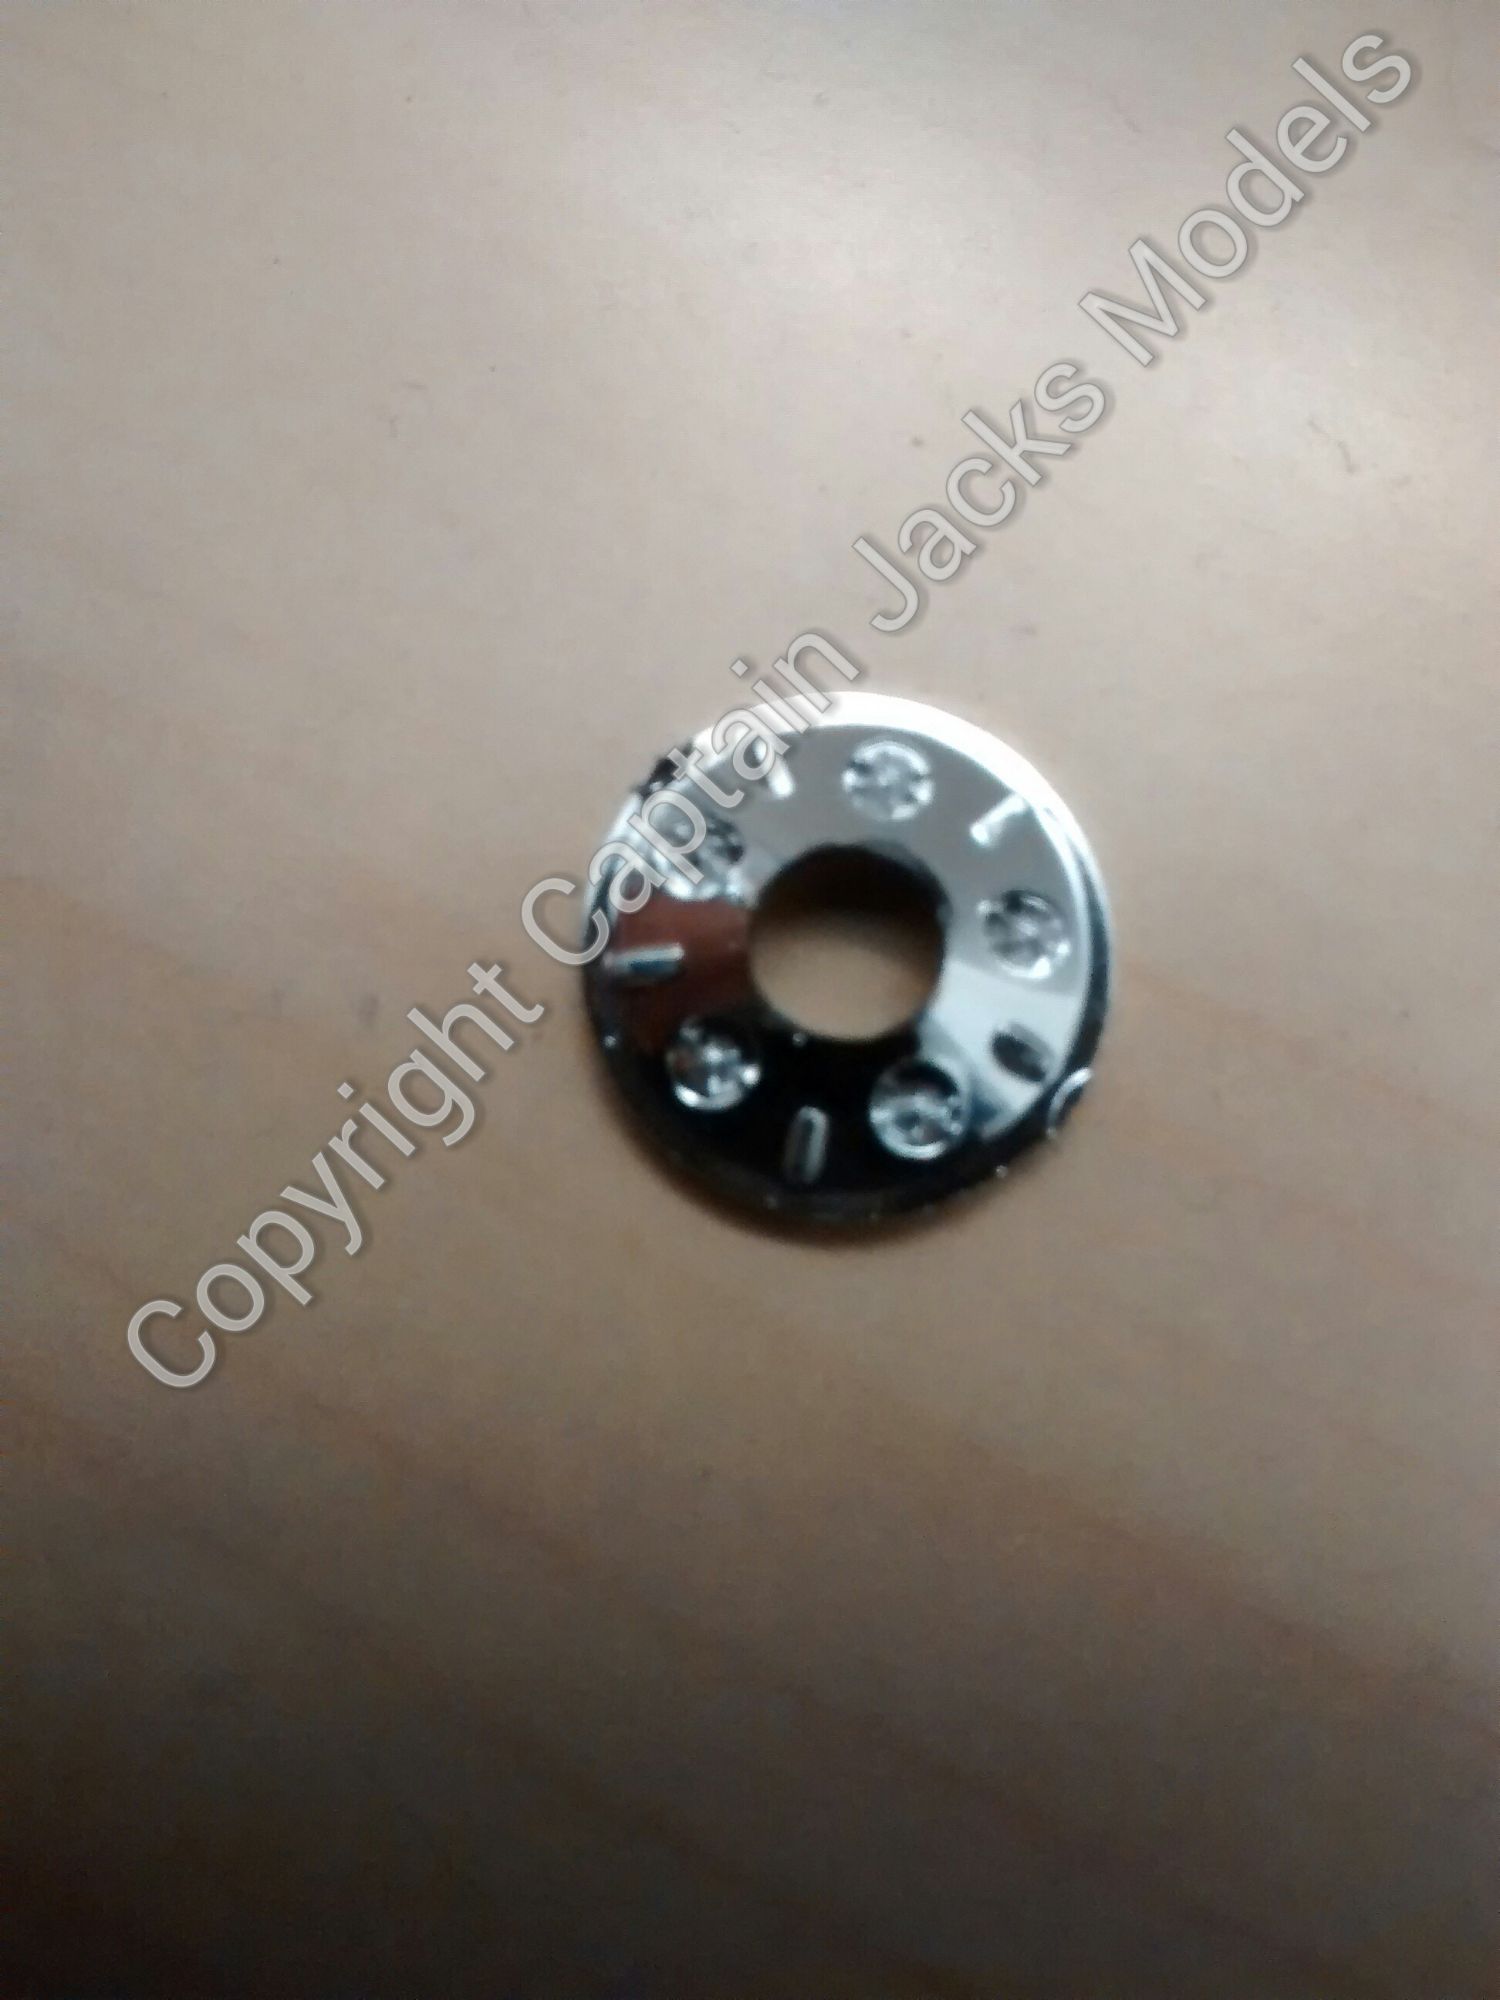
Drill a 5mm hole in the chrome plate that fits directly onto the central exhaust.
Step 4
Glue red rear light lenses into position. I always favour using PVA glue to secure these to prevent any discolouration. If you have them, needle nose pliers make fitting these in place much easier.
Step 5
Glue the chrome plate onto the central exhaust, ensuring that the 5mm holes align.
Step 6
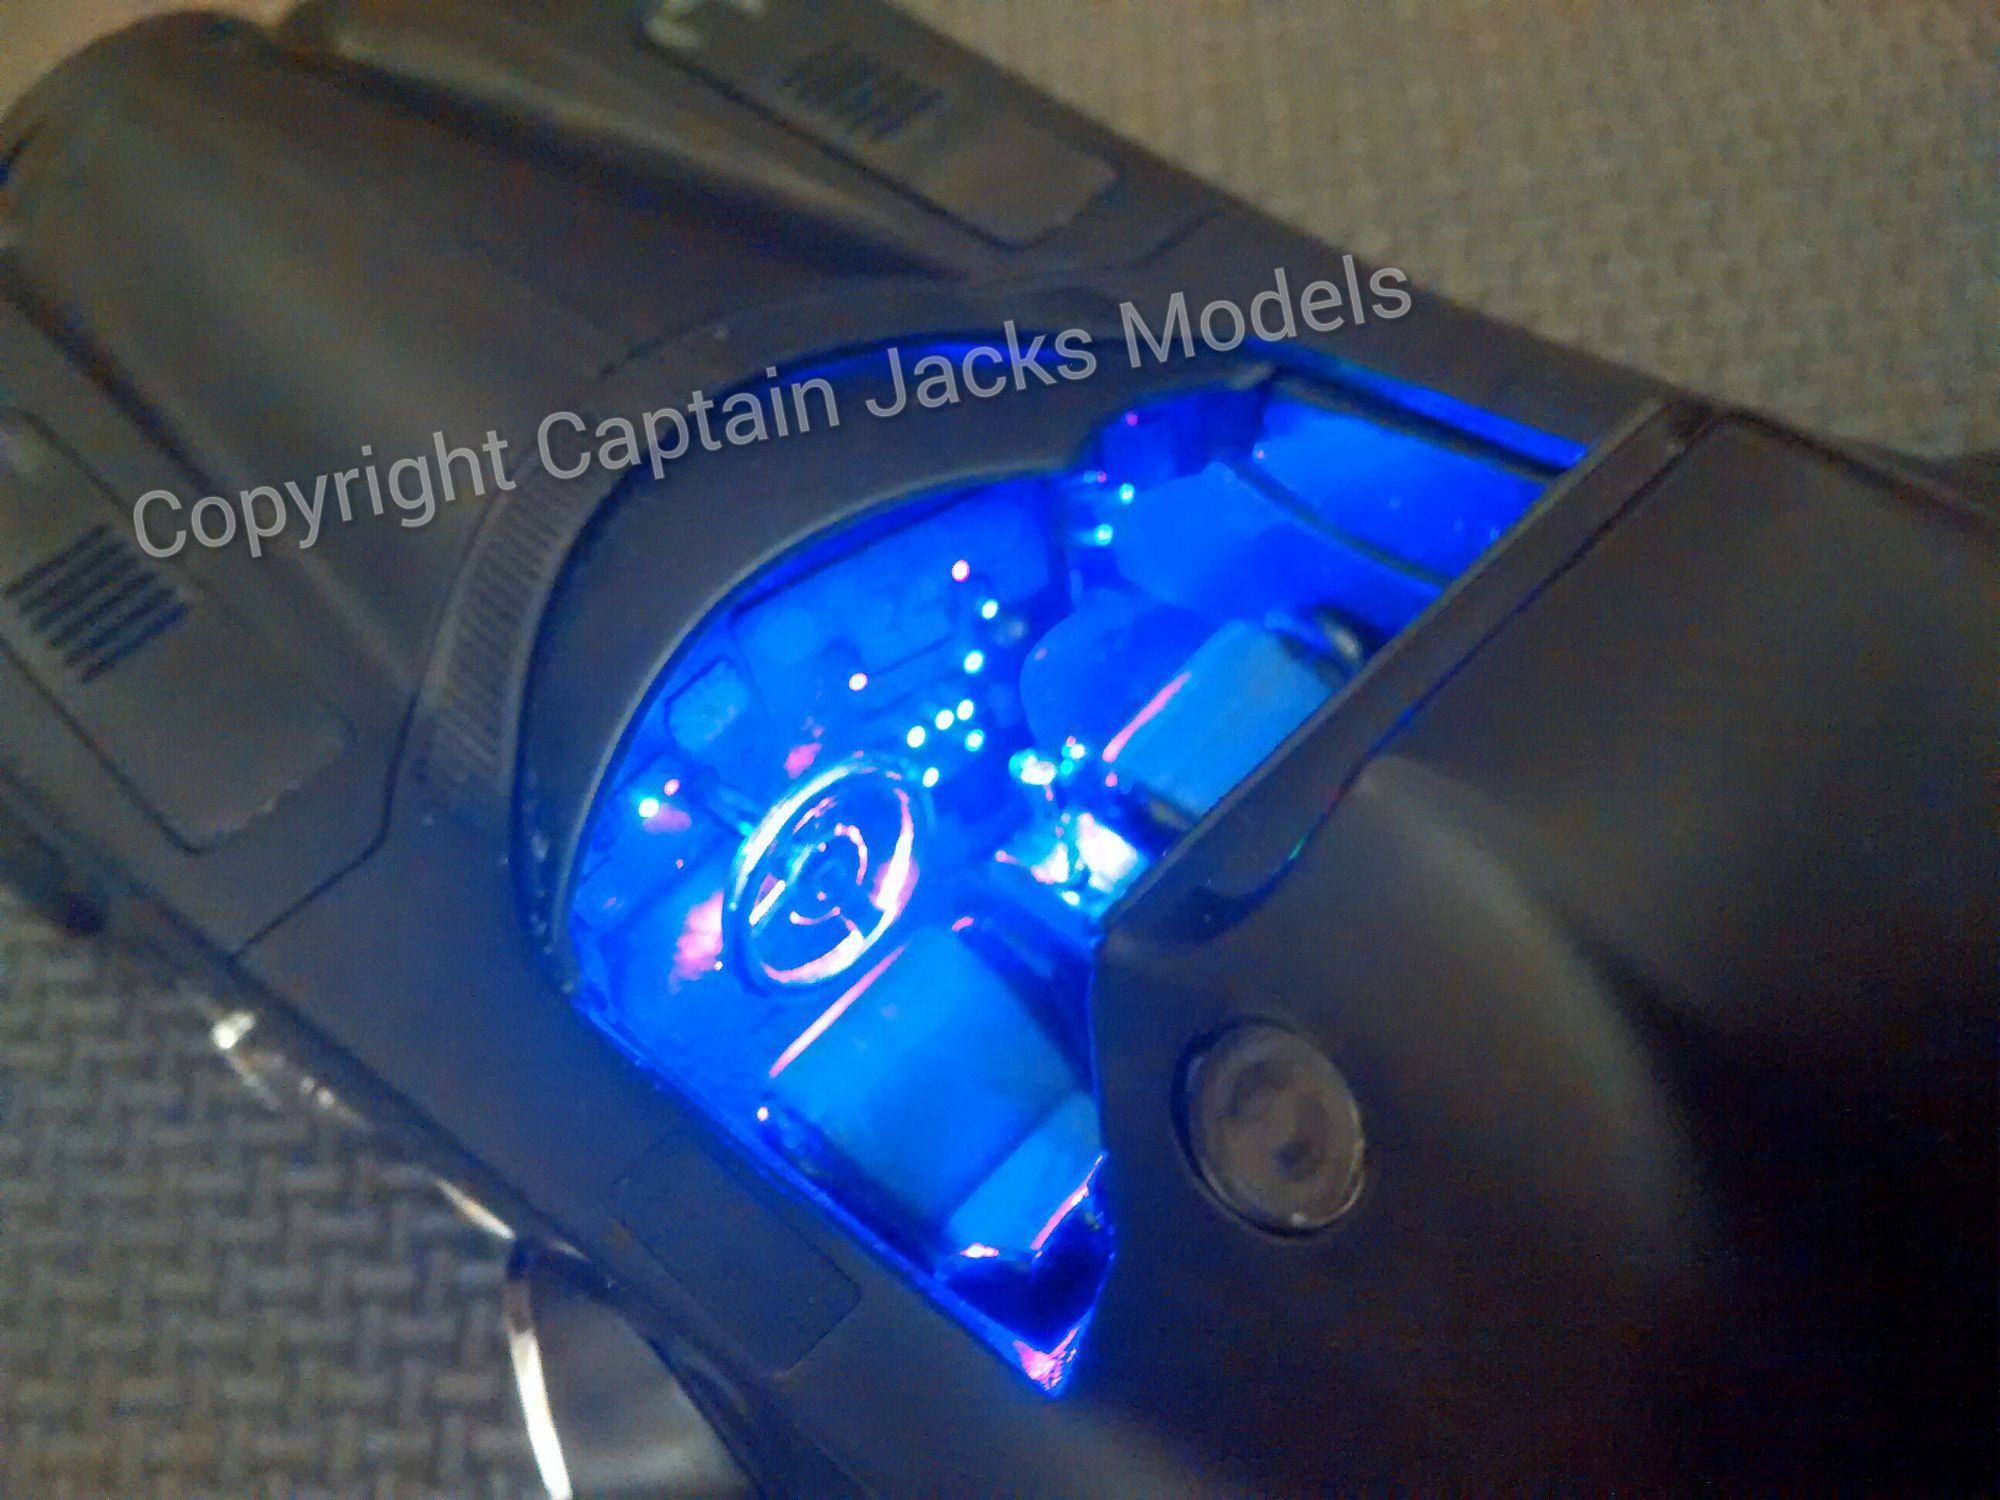
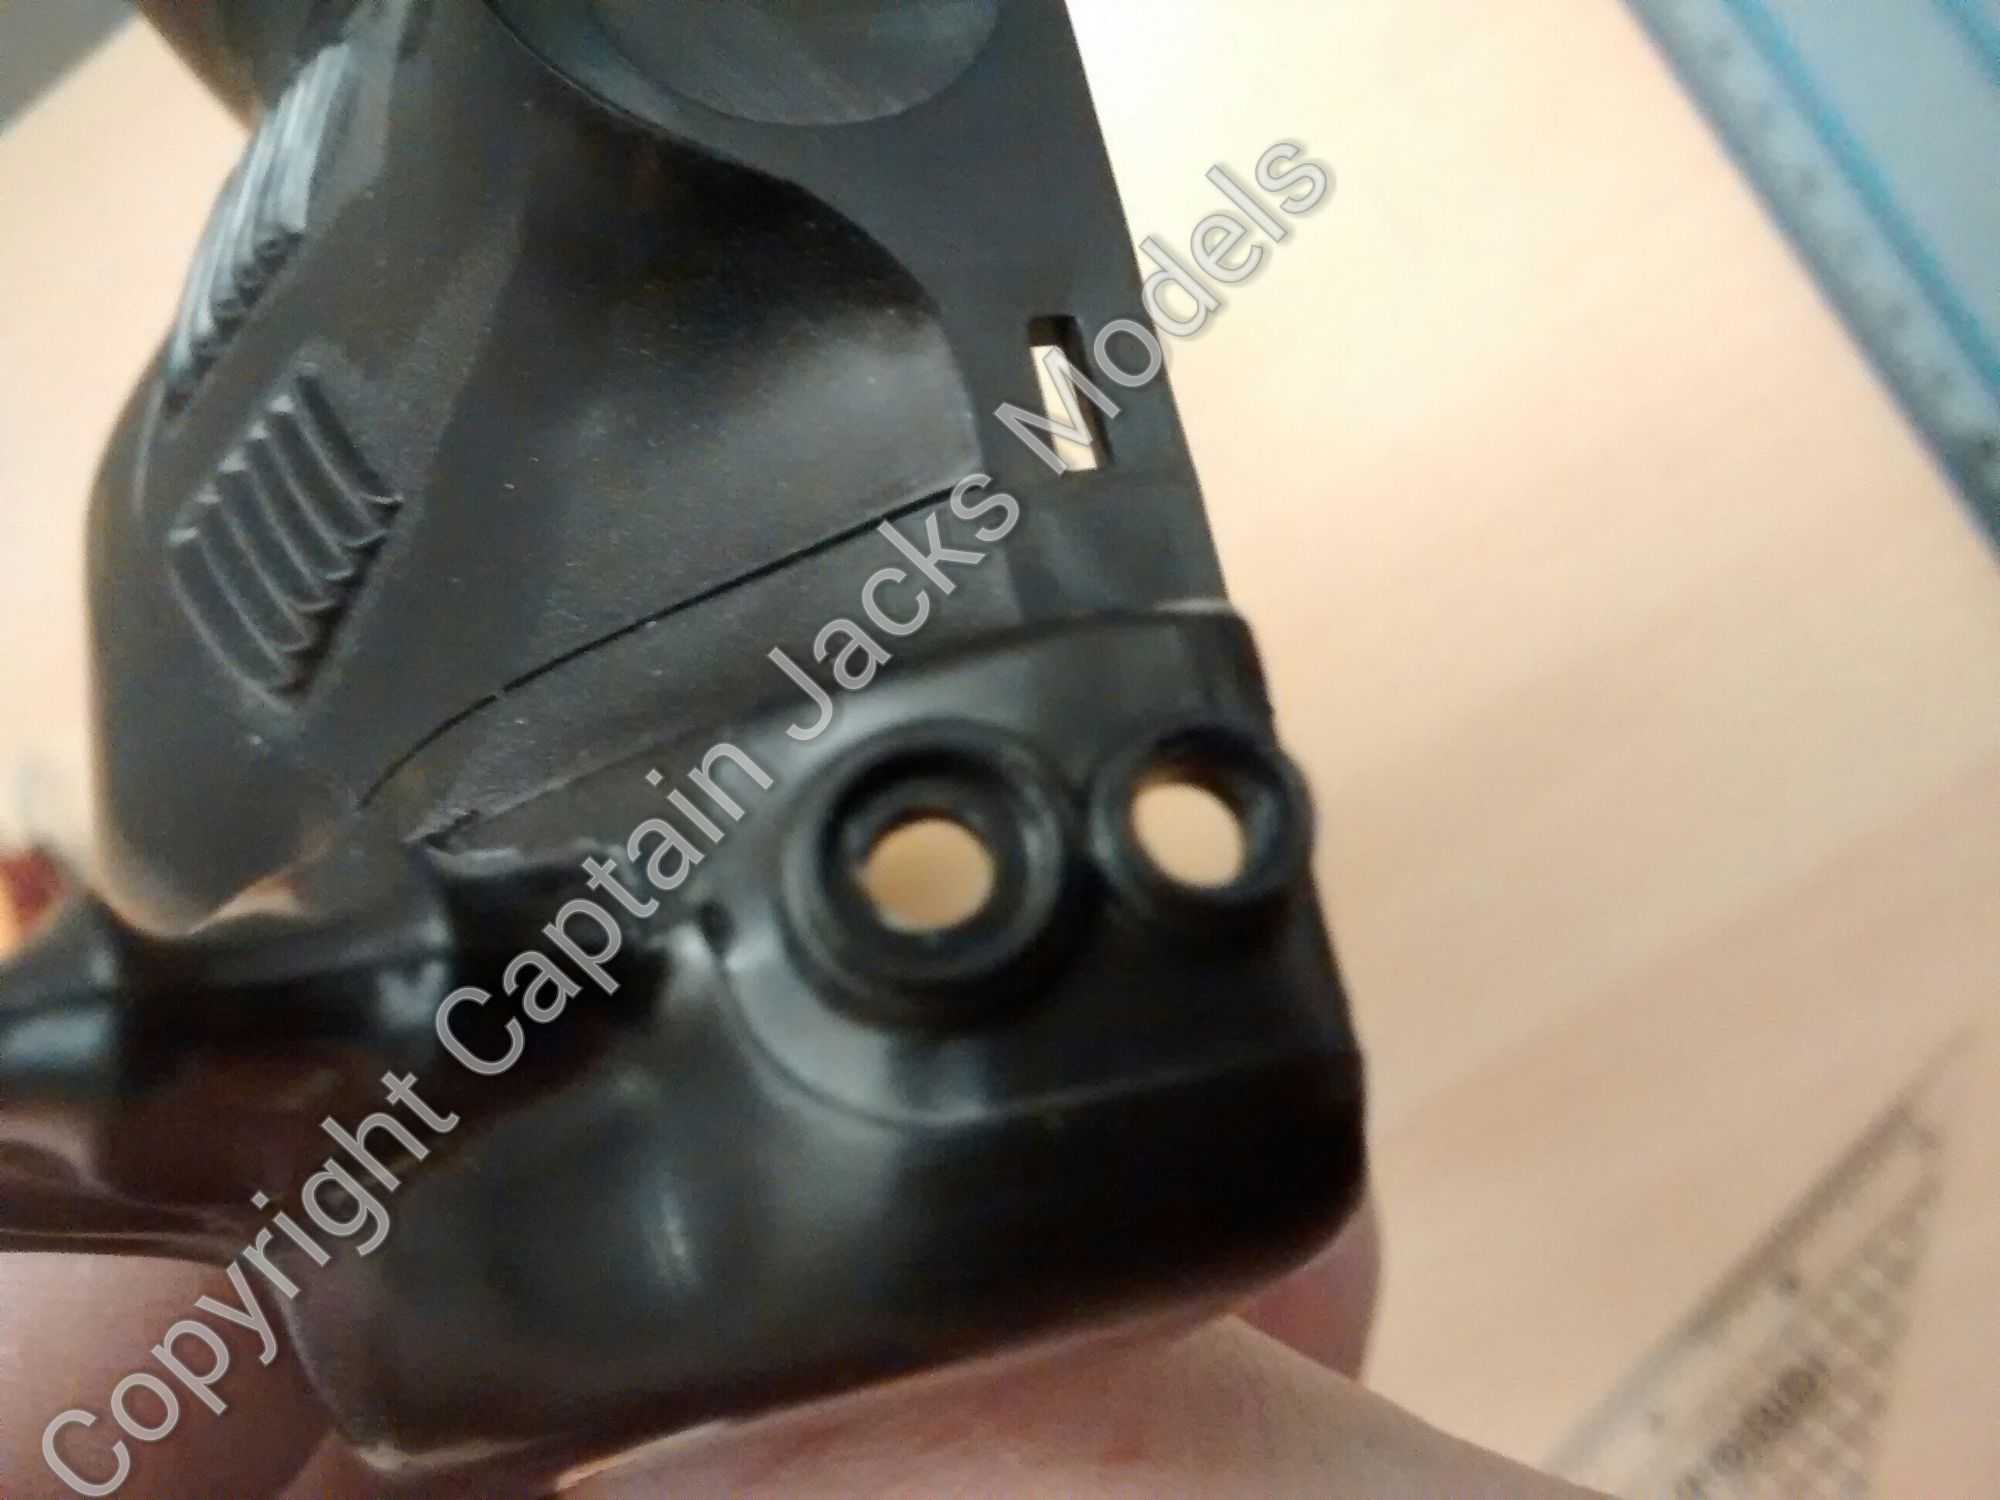
Now we have to work on the cockpit unit. Drill two 3mm holes in the foot-well area as shown for the ultra violet up-lighters.

Step 7
Drill a single 5mm hole as shown behind the centre of the dashboard. This will be used to route the fibre optics that run to the dashboard.
Step 8
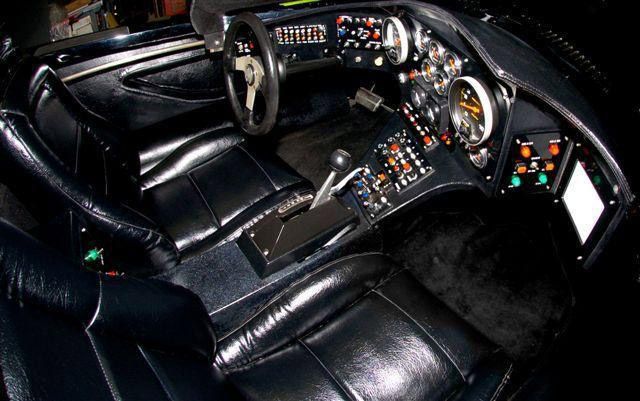
Paint in as much detail as you require on the dash panel. When dry, use a 0.5mm fine drill bit to drill 15 holes in the dash panel at the points where you would like to fit the fibre optics. This can be at the model makers discretion or from reference - I have used the reference photo shown here as a guideline for this build.
Step 9
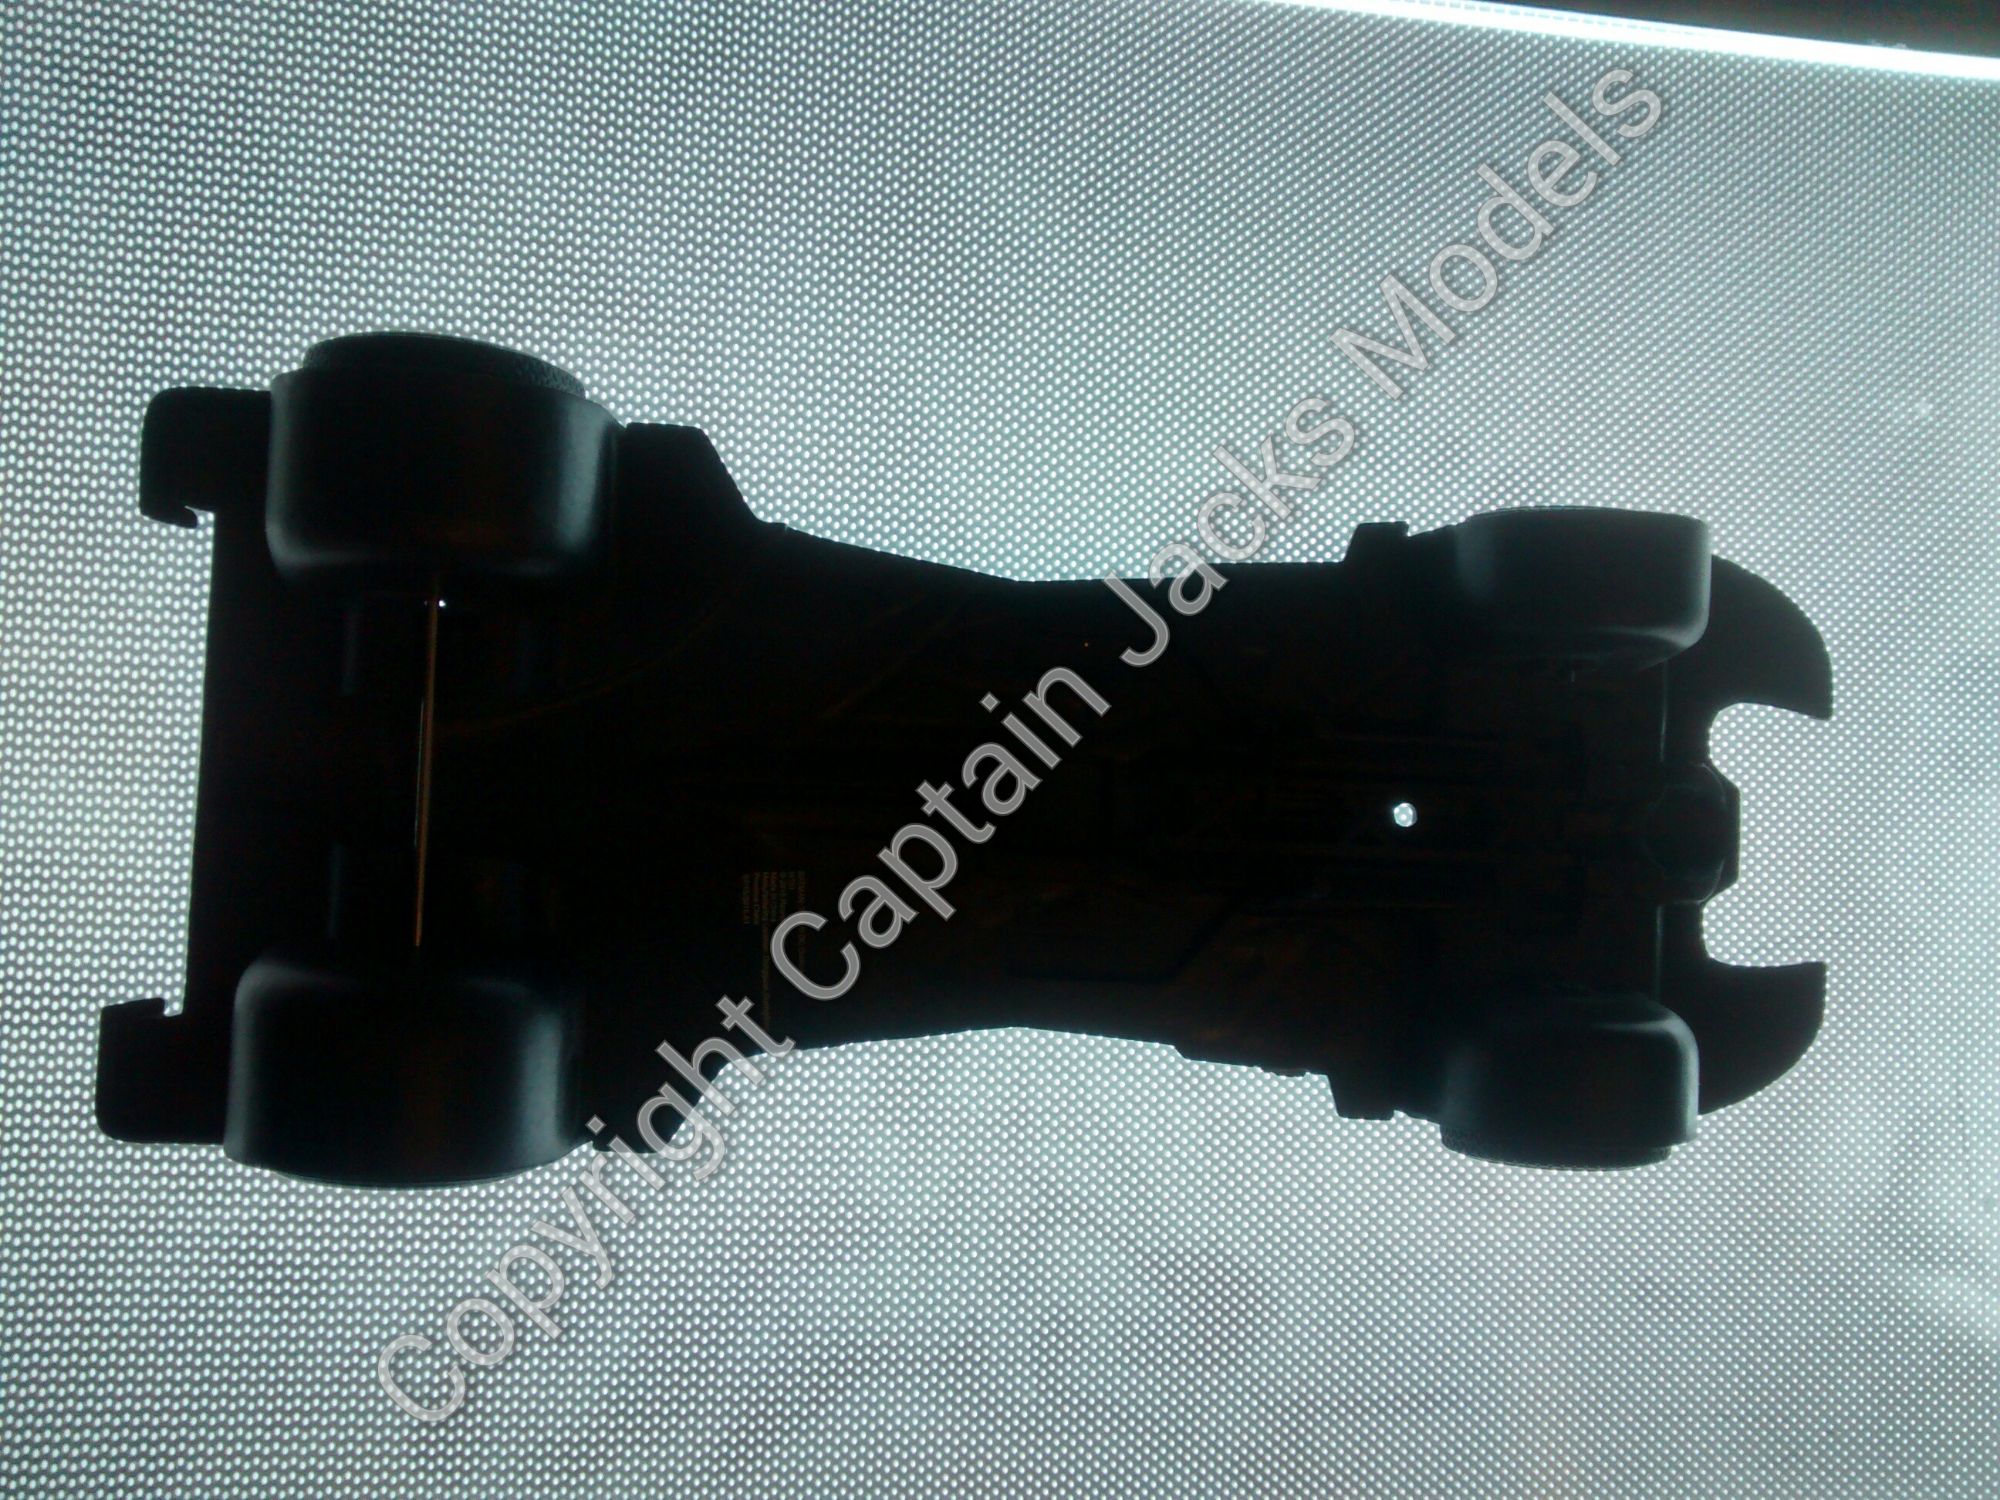
Now at this point, we're going to move back to the base of the car. Drill a 3mm hole on the base of the chassis as shown, just behind the front axle, through which to run the power lead.
Step 10
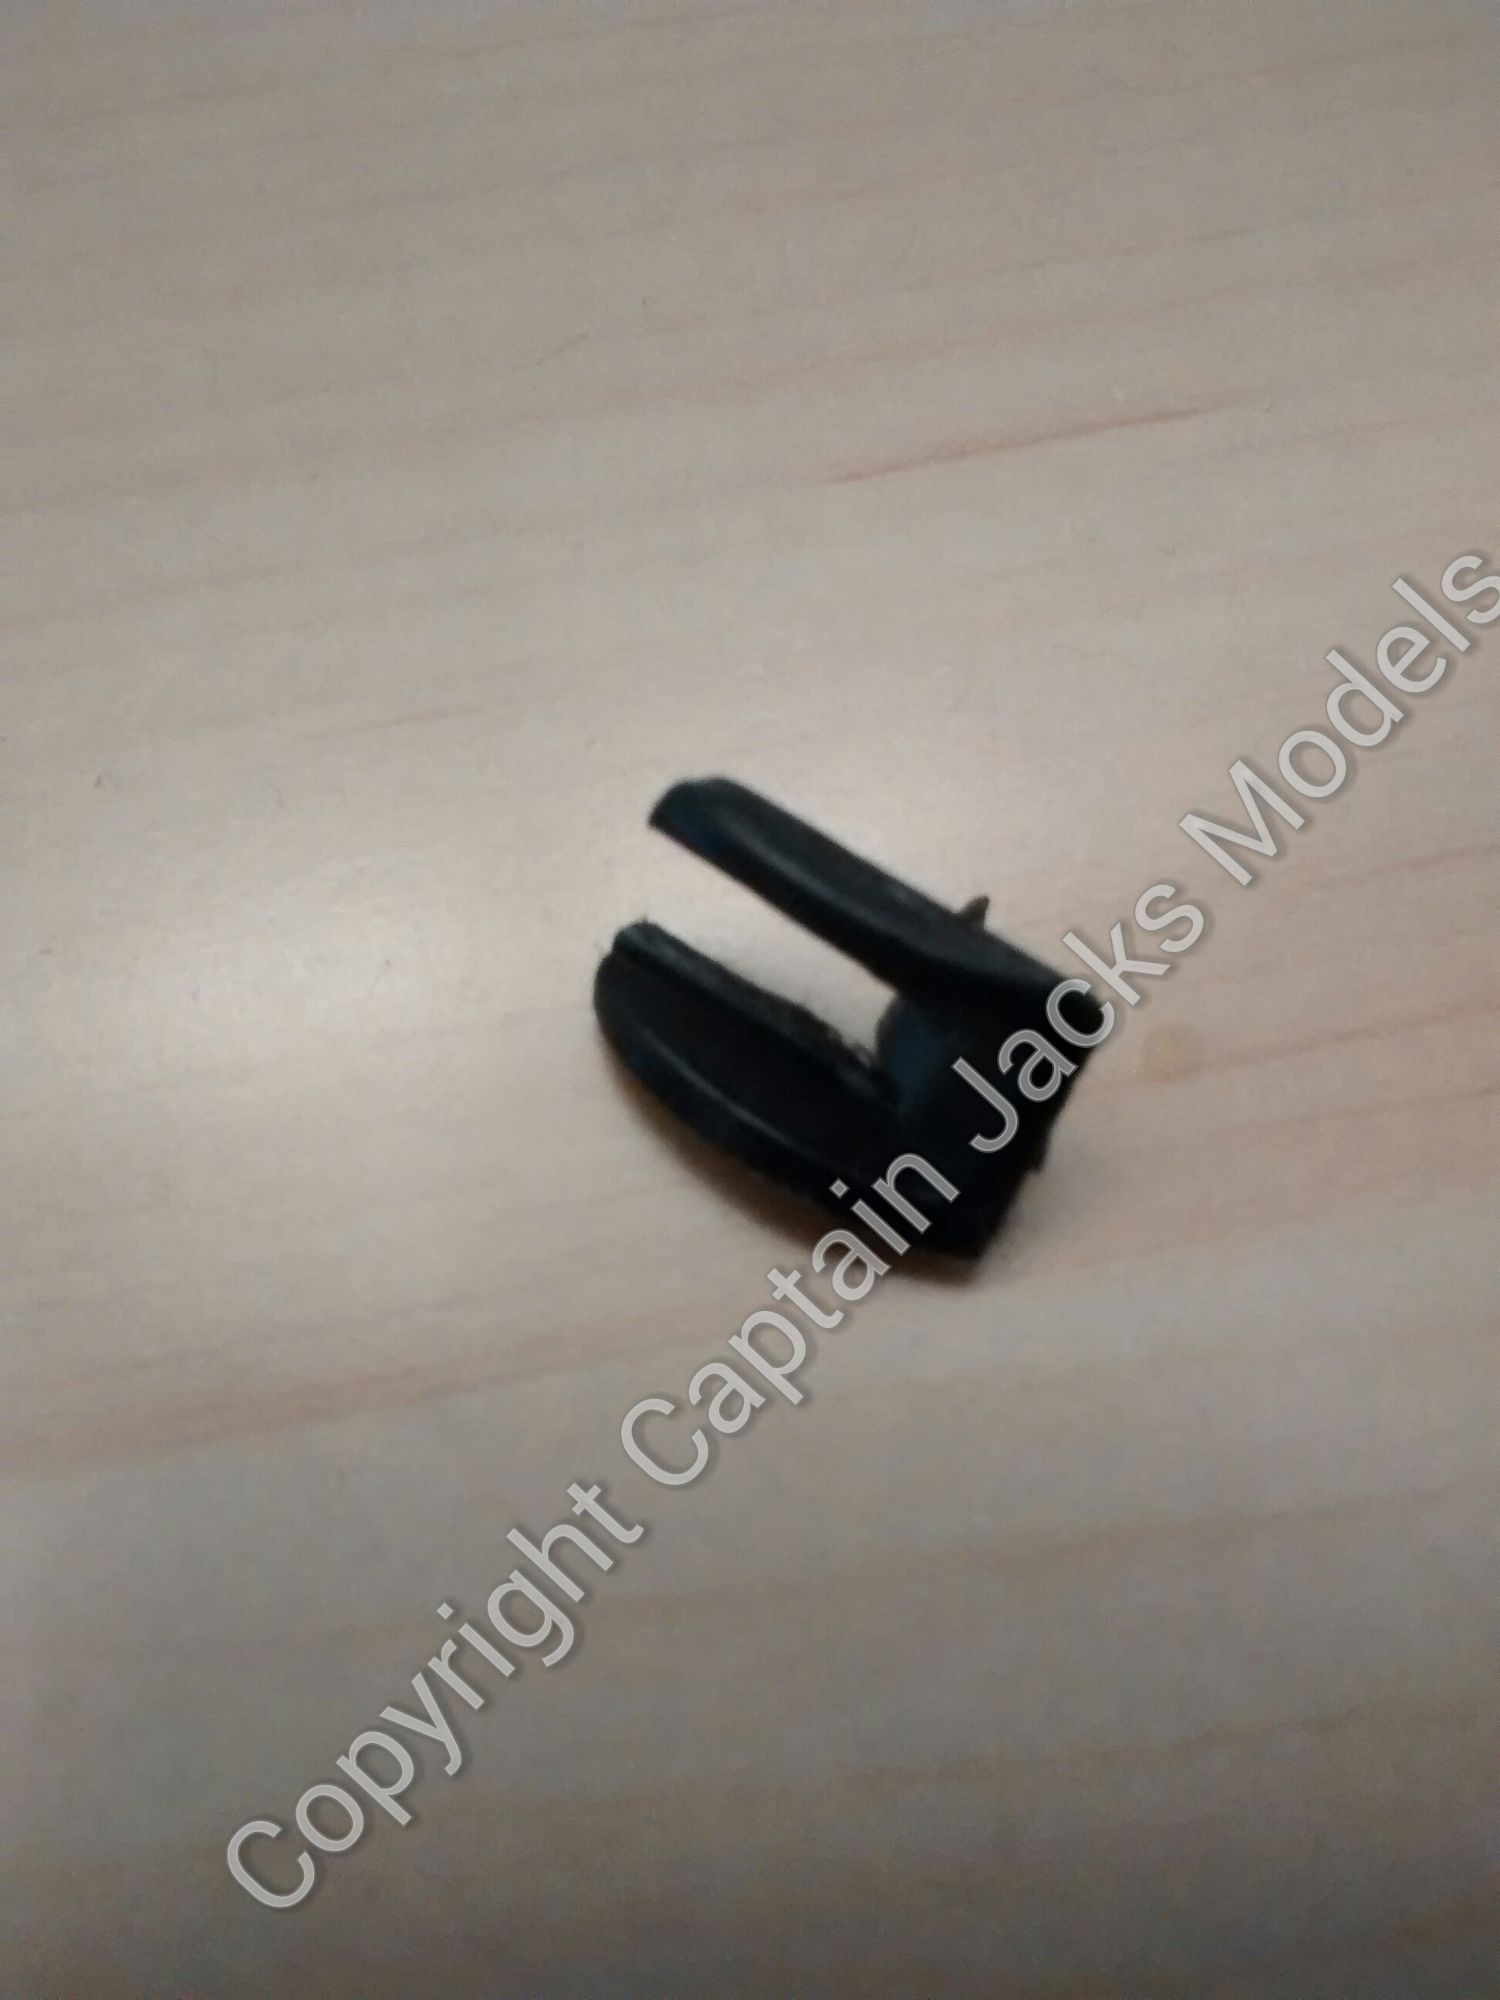
The next step is to modify (or as I prefer to call it, strategically butcher) the front headlight units.
The model kit has two black recessed units onto which you would ordinarily place and glue the clear headlight sections. We need to remove the back of the recessed units so that the leds will be able to shine through the clear lens sections. My preferred way of doing this is to carefully snip out rectangular sections in each one using flush cutters. In this way, firstly you get a straighter cleaner cut, and secondly its easier to leave a small lip around the unit on which to seat the clear lens section. I then find it easier to glue the black recessed units into position on the inside of the shell before adding the clear lens sections. Remember to use glue that will not discolour the clear lens sections when fixing into position.
Step 11
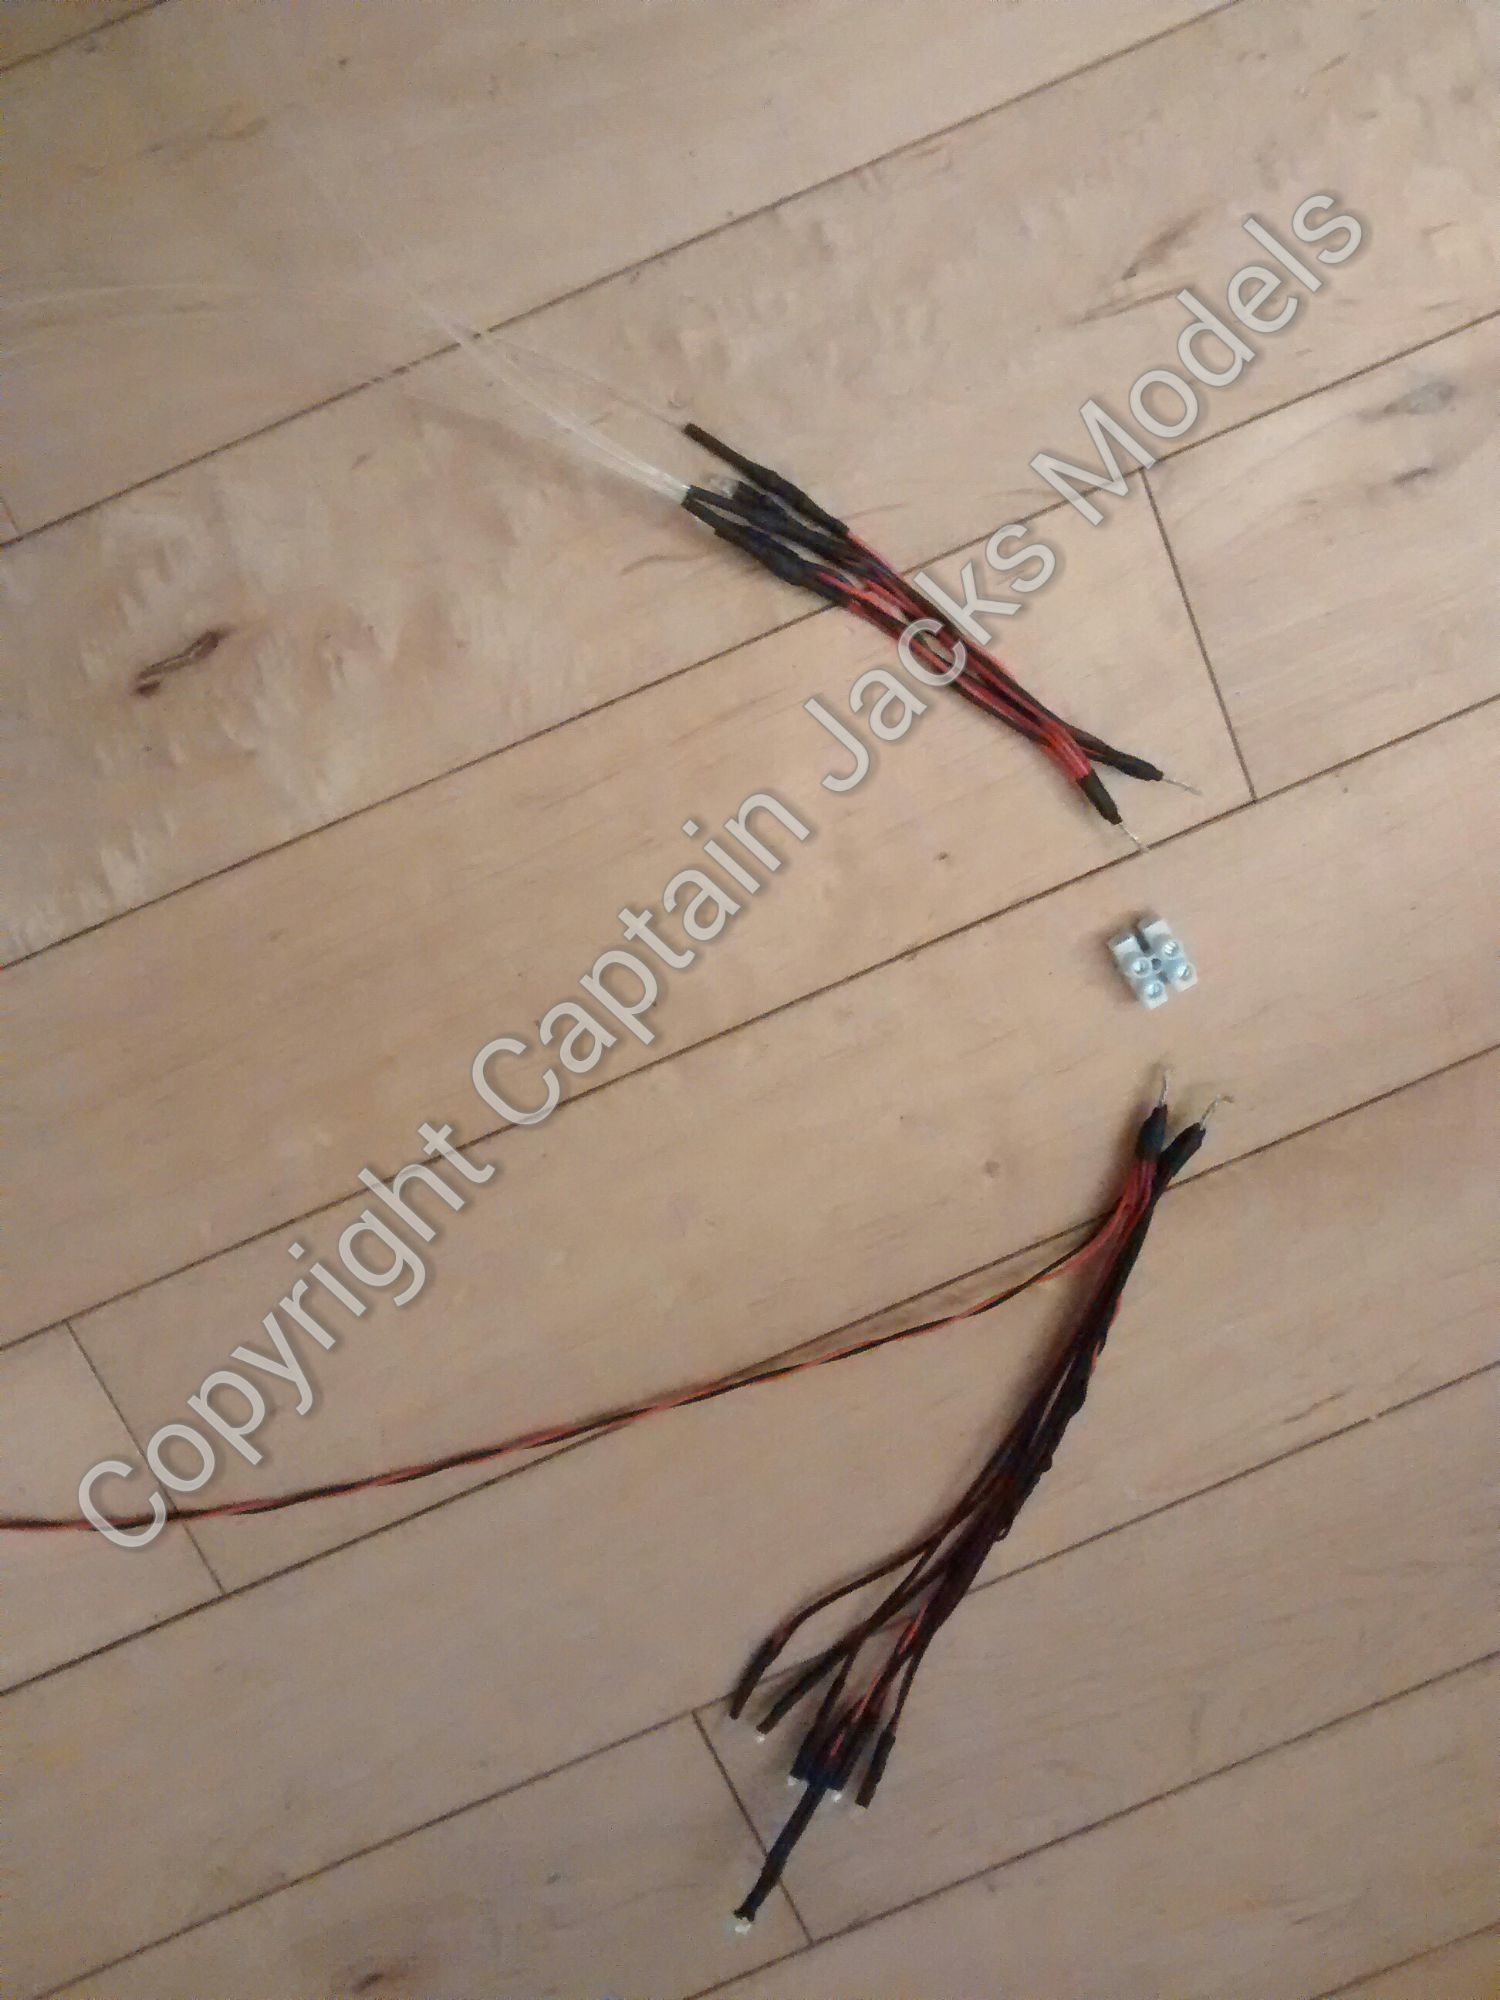
With the top half of the car nearly complete, undo the top screw connector on the light kit as shown. We can now start adding the main car body lights as follows:
A) Insert the 5mm yellow flicker led into the exhaust unit.
B) Starting on the one side, superglue the red leds to the upper and lower rear light units. Place the leds directly against each red plastic lens, glue and hold each led in place for a couple of minutes until the glue is dry.
C) Repeat for the rear light unit on the opposite side.
D) Superglue the two yellow leds as shown, one behind each of the front headlight units.


Step 12
NOW THIS IS ONE OF THE MOST IMPORTANT STEPS. Go to the pub, bake a cake, do anything else that floats your boat - but leave the model to dry. It is tempting that as it's superglue you can carry on working, but patience is a virtue so behave and let everything dry overnight :)
Step 13
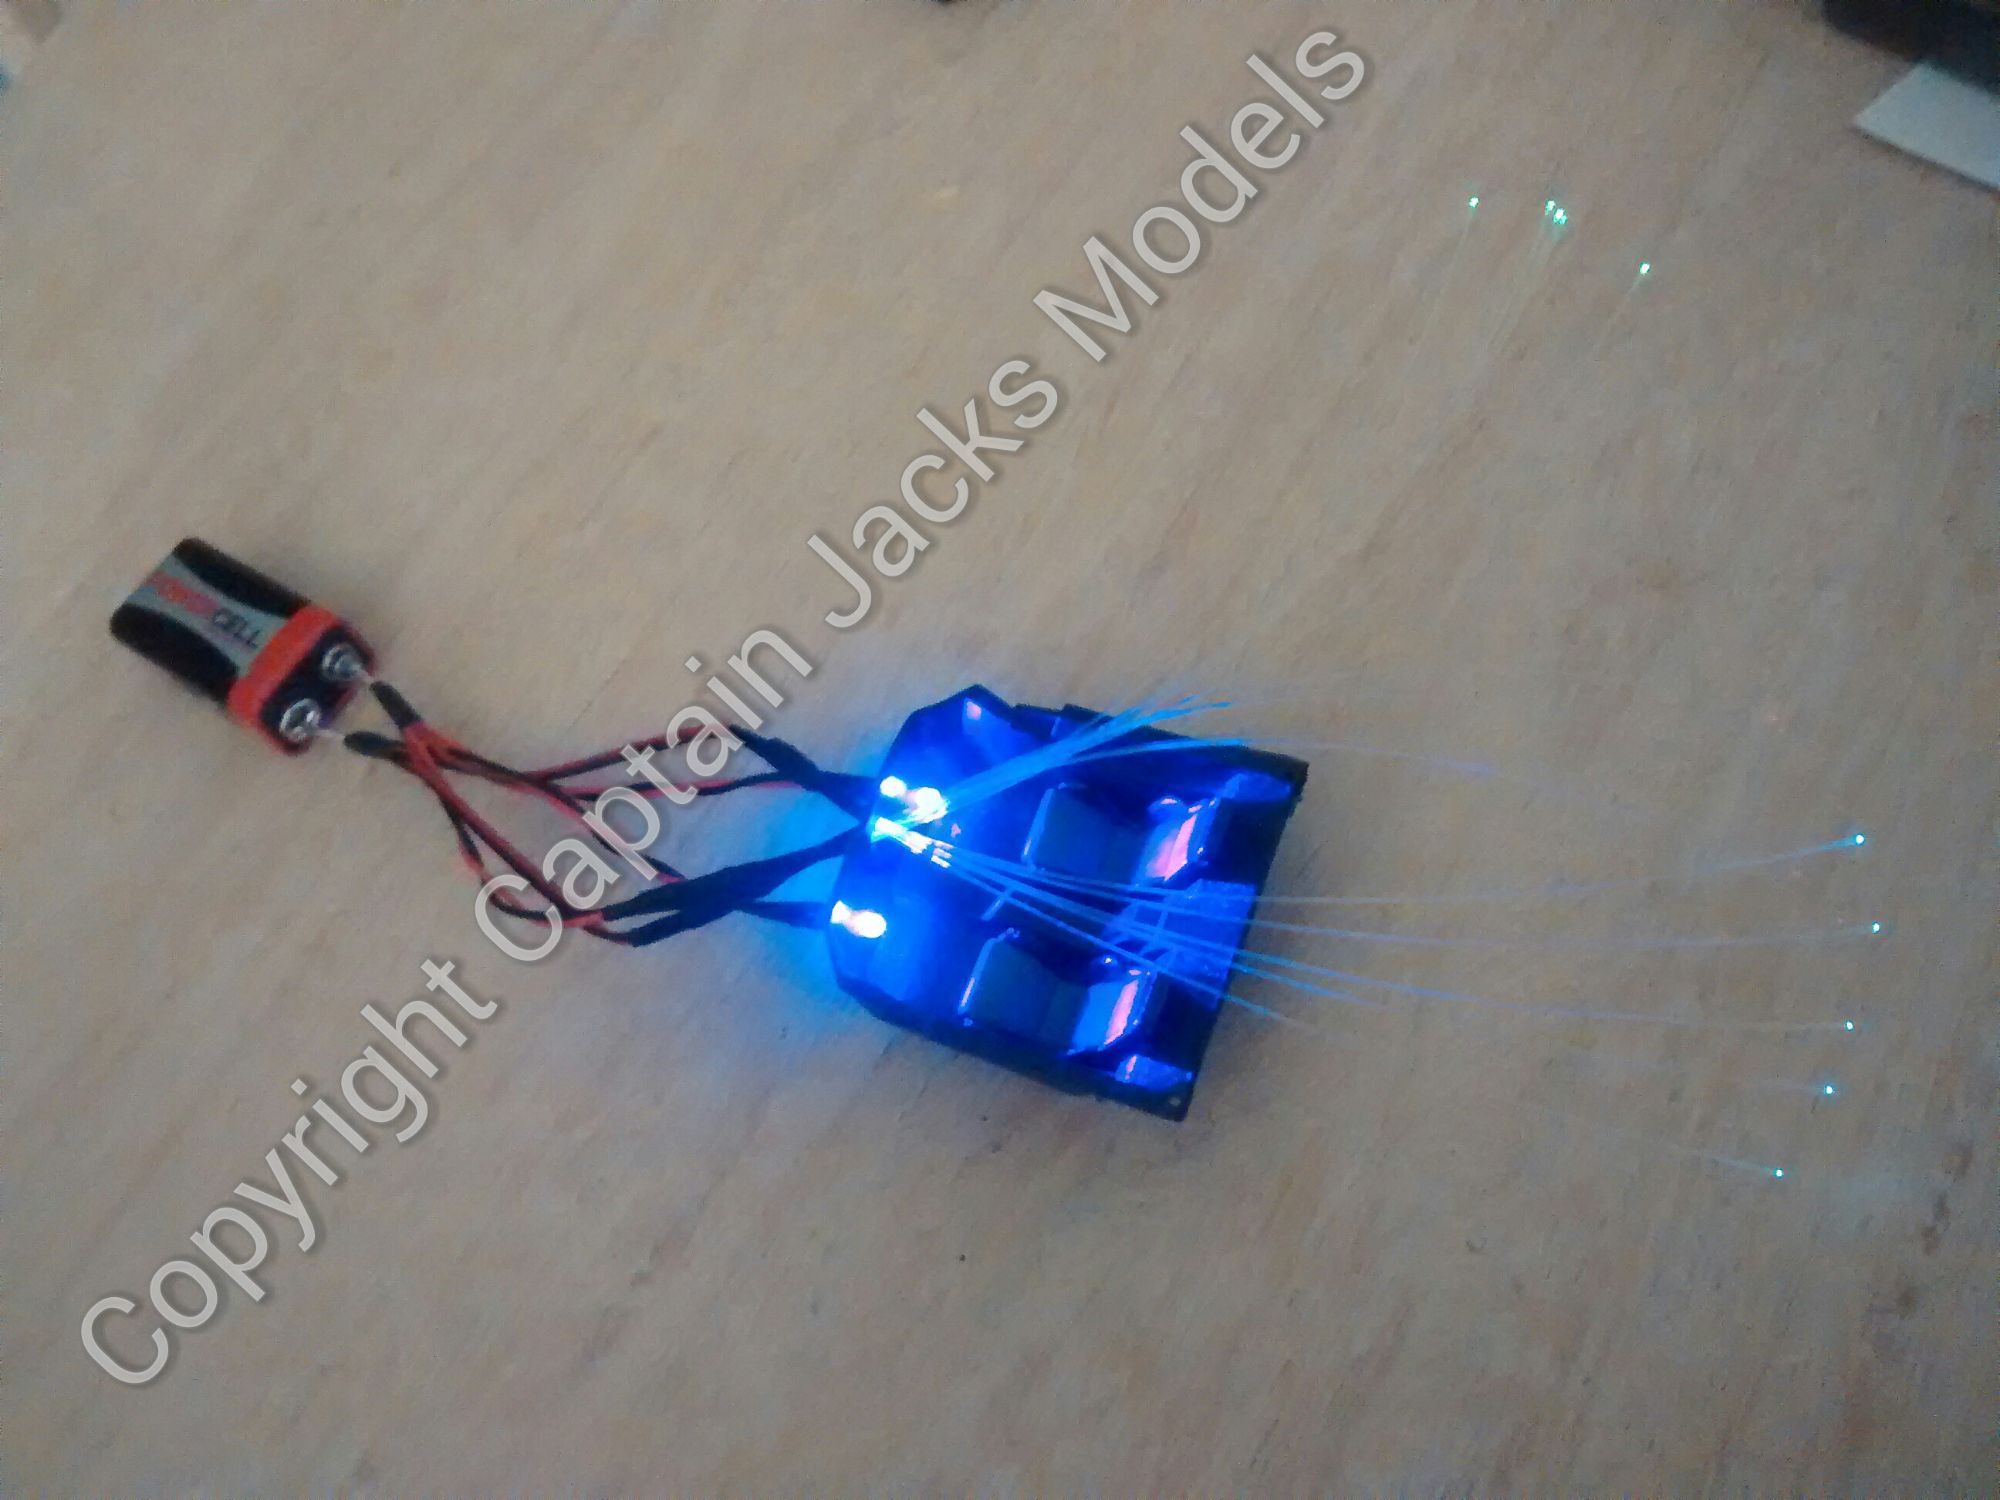
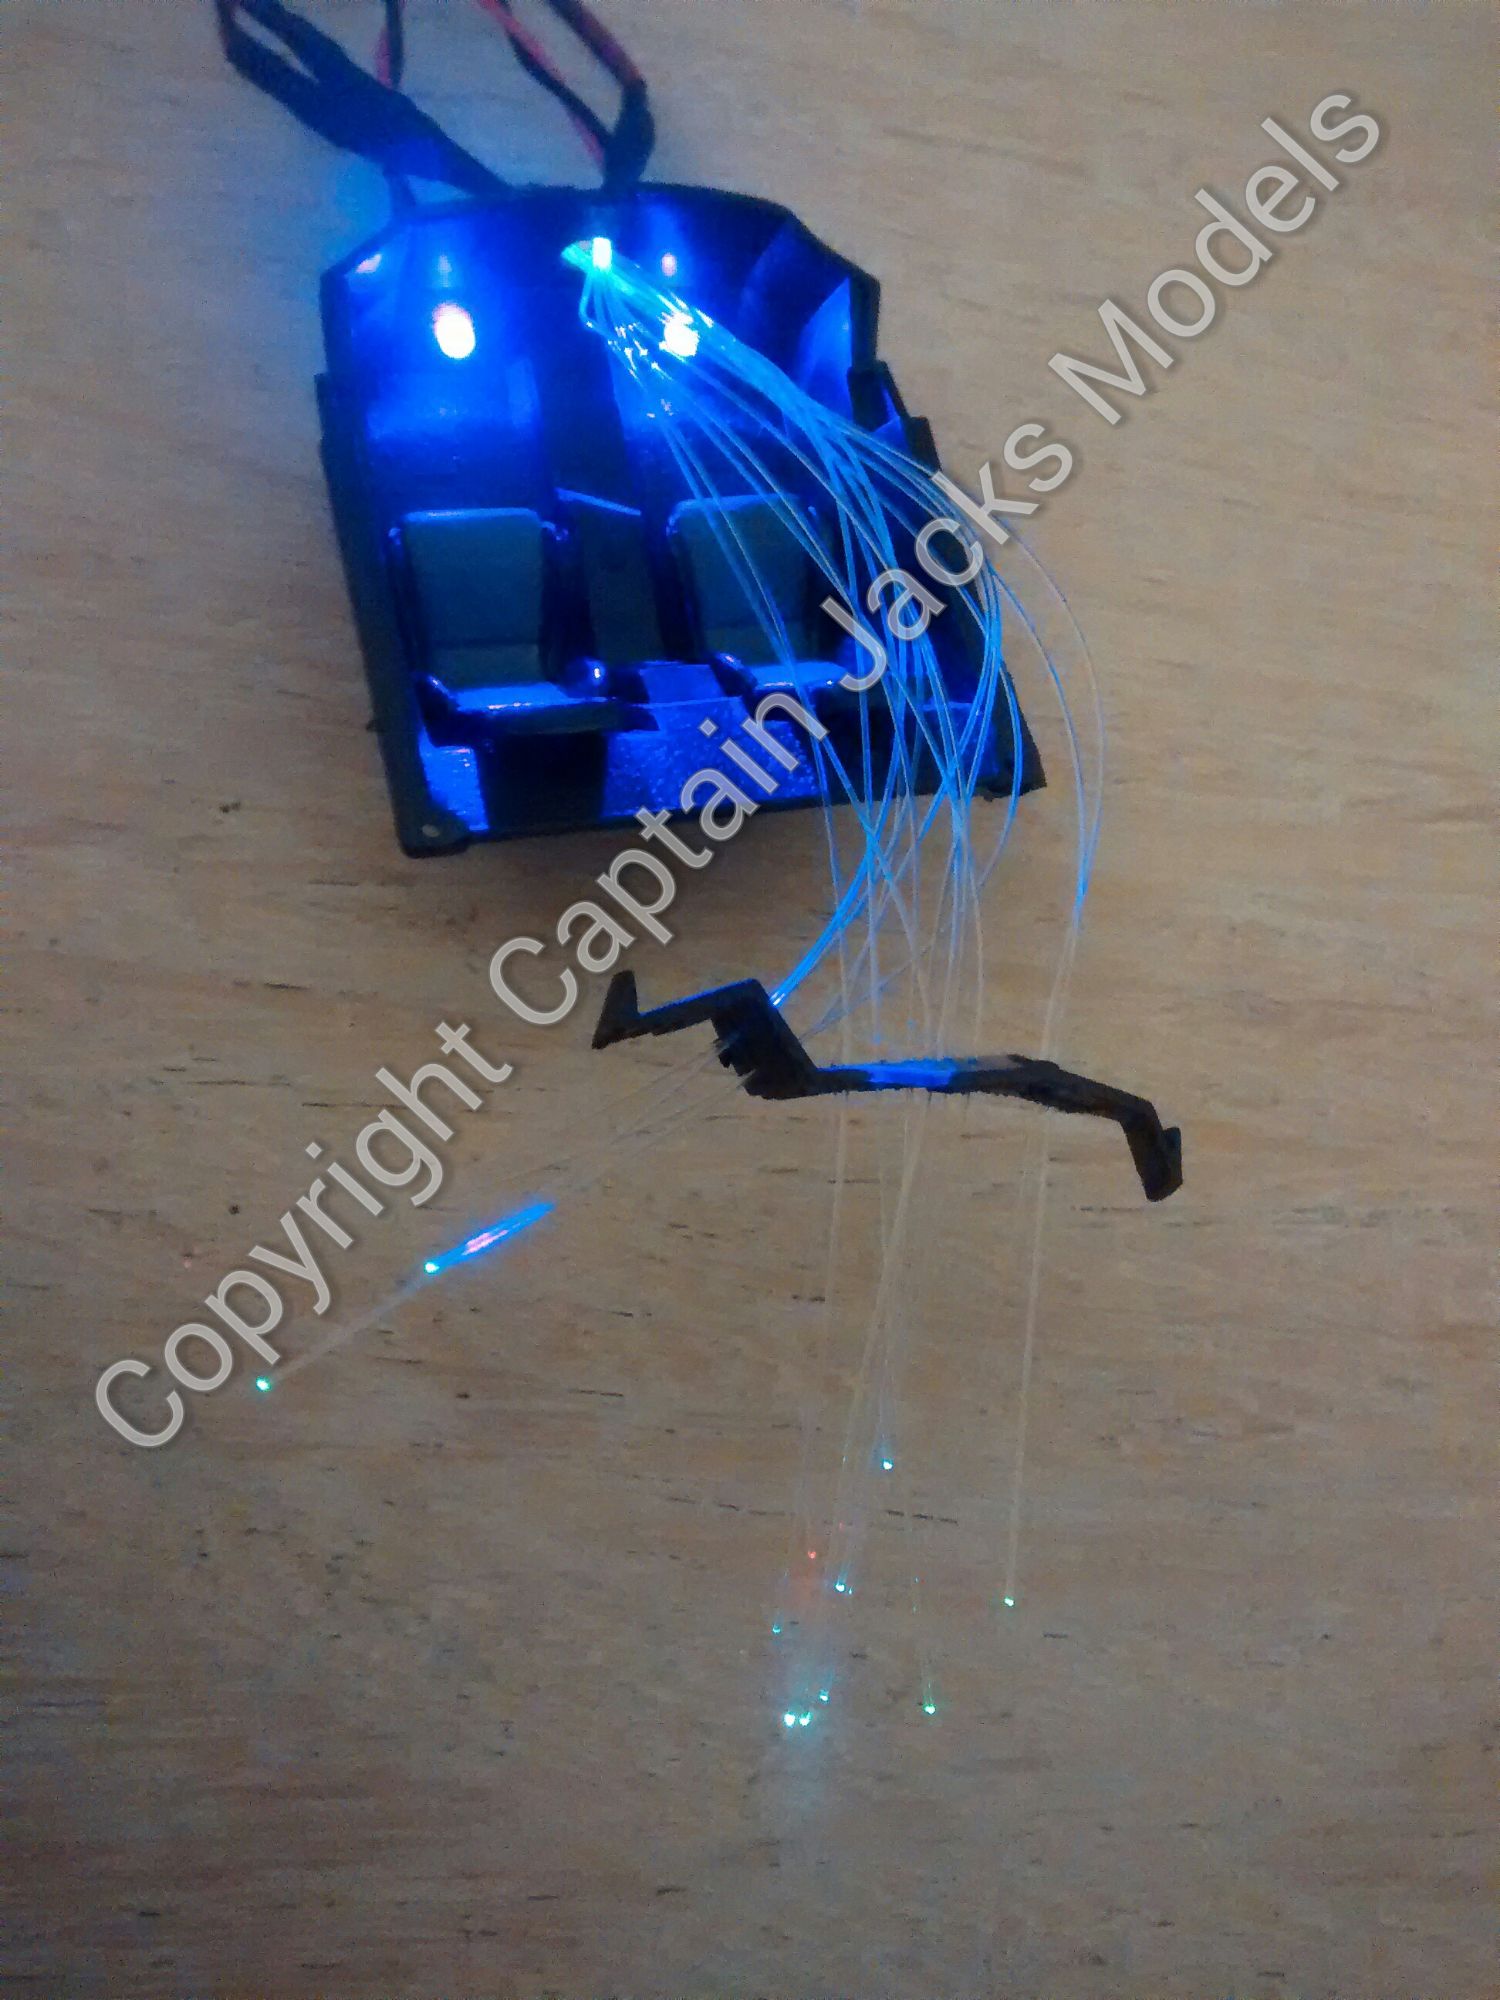
Back to the model making and back to the cockpit section of the car. Fit the seat units into place. Take the second half of the light kit and run the fibre optics through the larger centre hole that you drilled behind the front dash panel. Fit the two 3mm ultra violet leds into the foot-well holes.
Step 14
Place a 9v battery on the bare wire terminals so that you can see the colour of each fibre strand. Run each strand through the pre-drilled 0.5mm holes in their required position. Deburring these holes with a pin prior to fitting makes this much easier.
Pull each strand through around half the length of the fibre optic. When they are all in place, its worth brushing a light coat of PVA on the rear of the panel to secure them.
Step 15
With the fibres still proud of the dash panel, glue the panel and the upper dash cover into place in the cockpit with superglue.

Step 16
Connect the light kit together using the screw terminal connector, matching red to red wires and black to black. Test using a battery to ensure everything's fine. At this point, trim off the four plastic uprights on the base that would normally support the engine unit.
Step 17
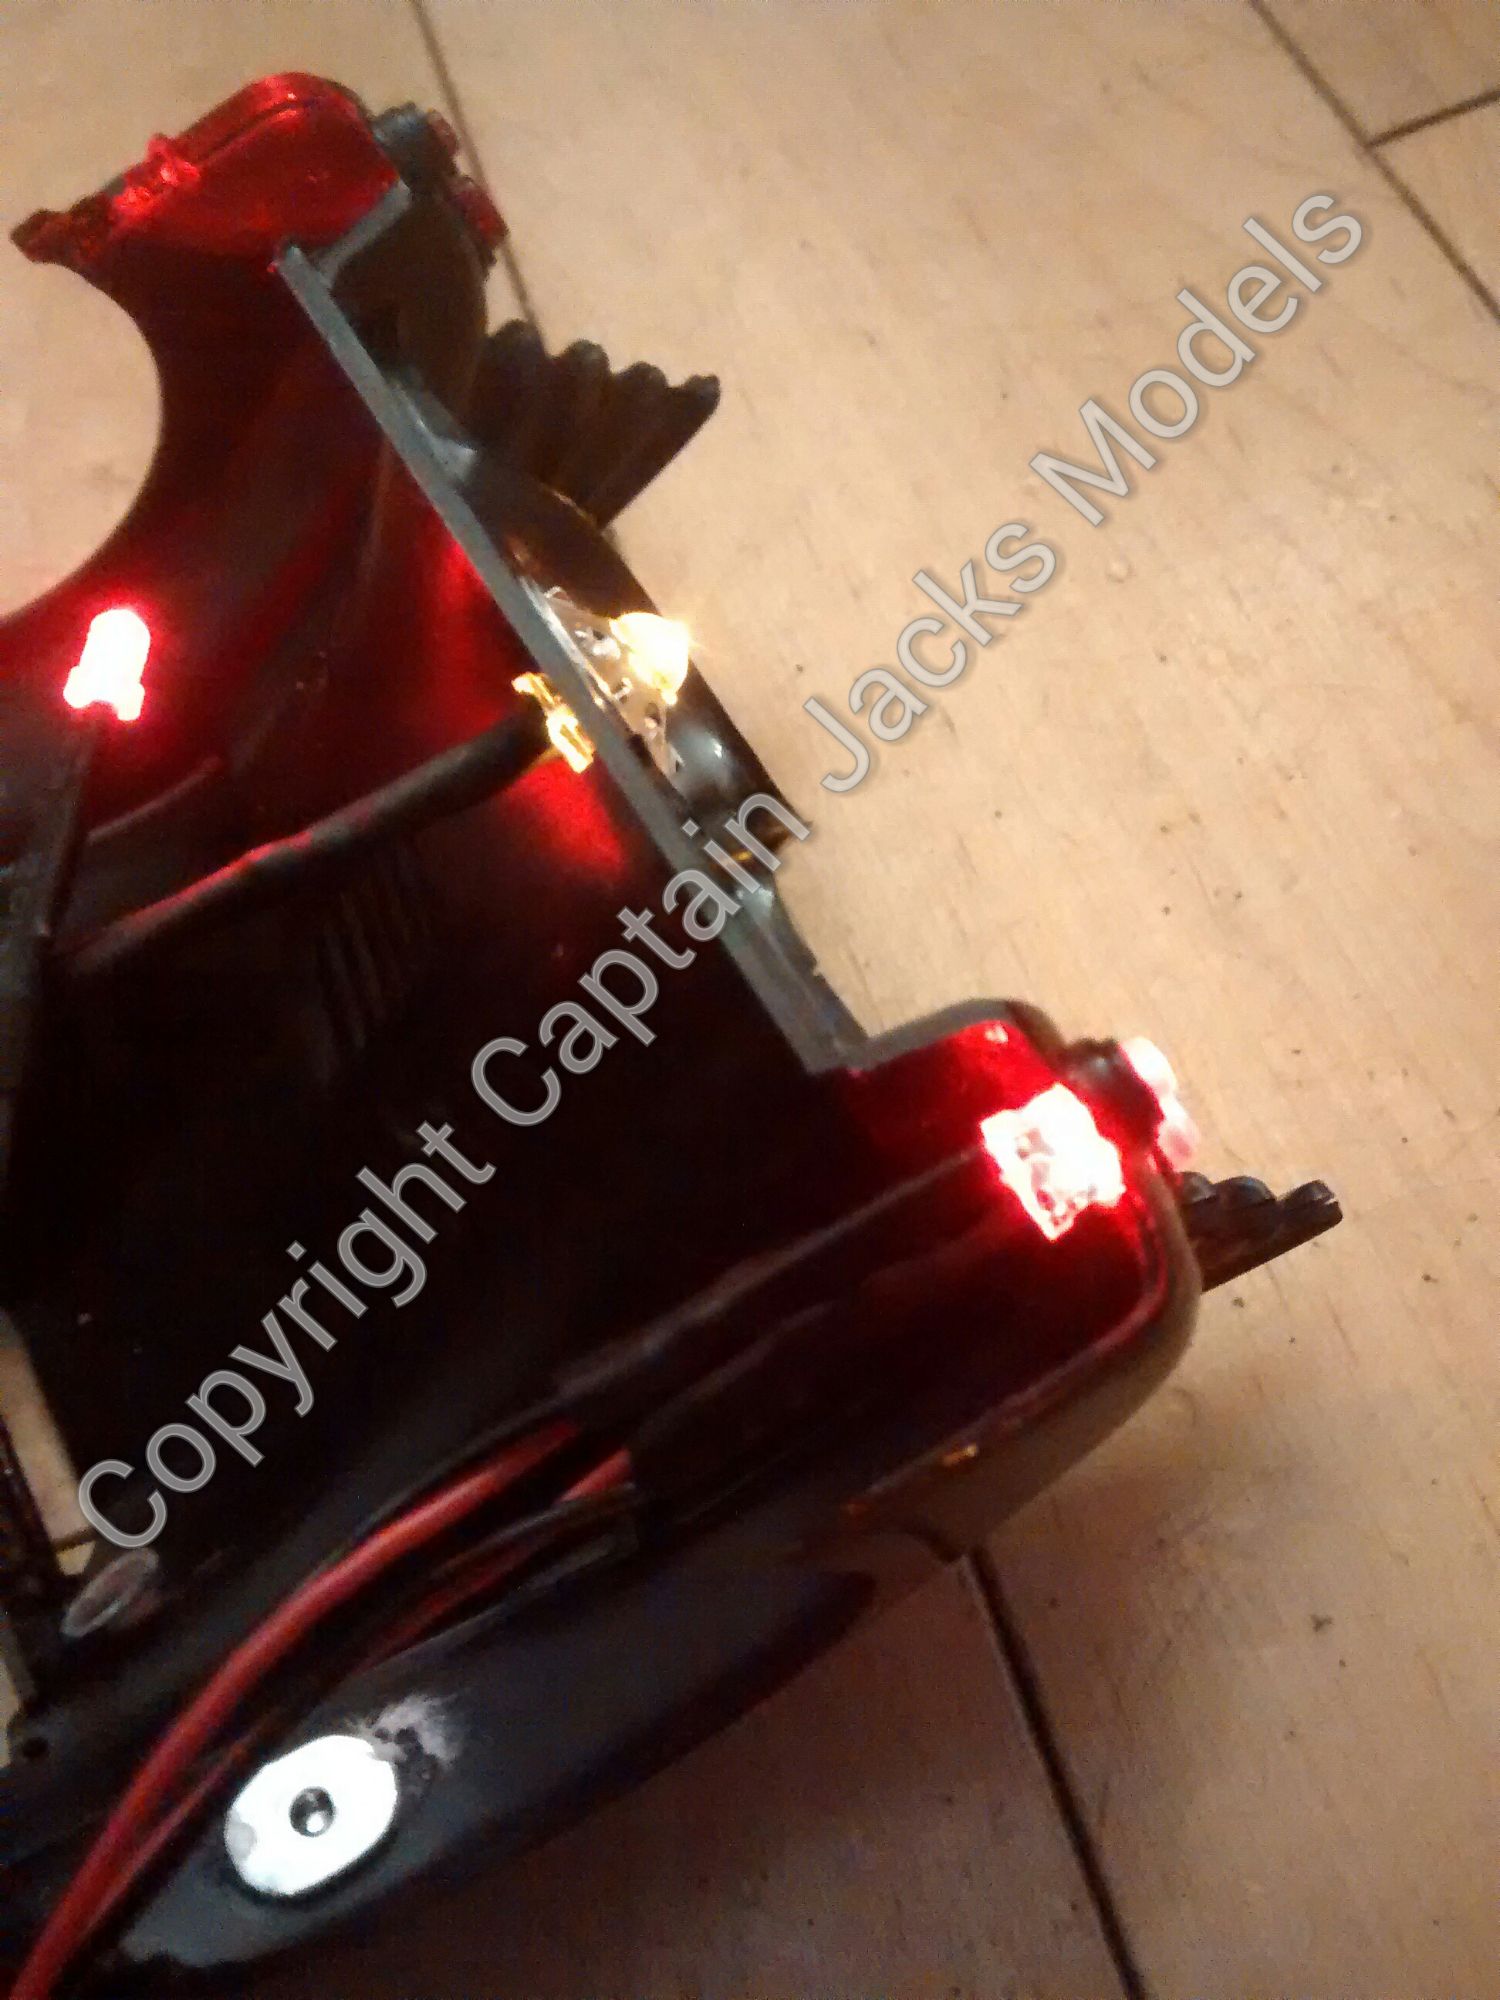
Now its squish time! Run the lighting wires to the rear of the car through the centre groove on the underside of the cockpit section, and secure these in place with tape as show. Carefully bend the wires of the rear light leds inwards slightly to accommodate the rear wheels of the car.
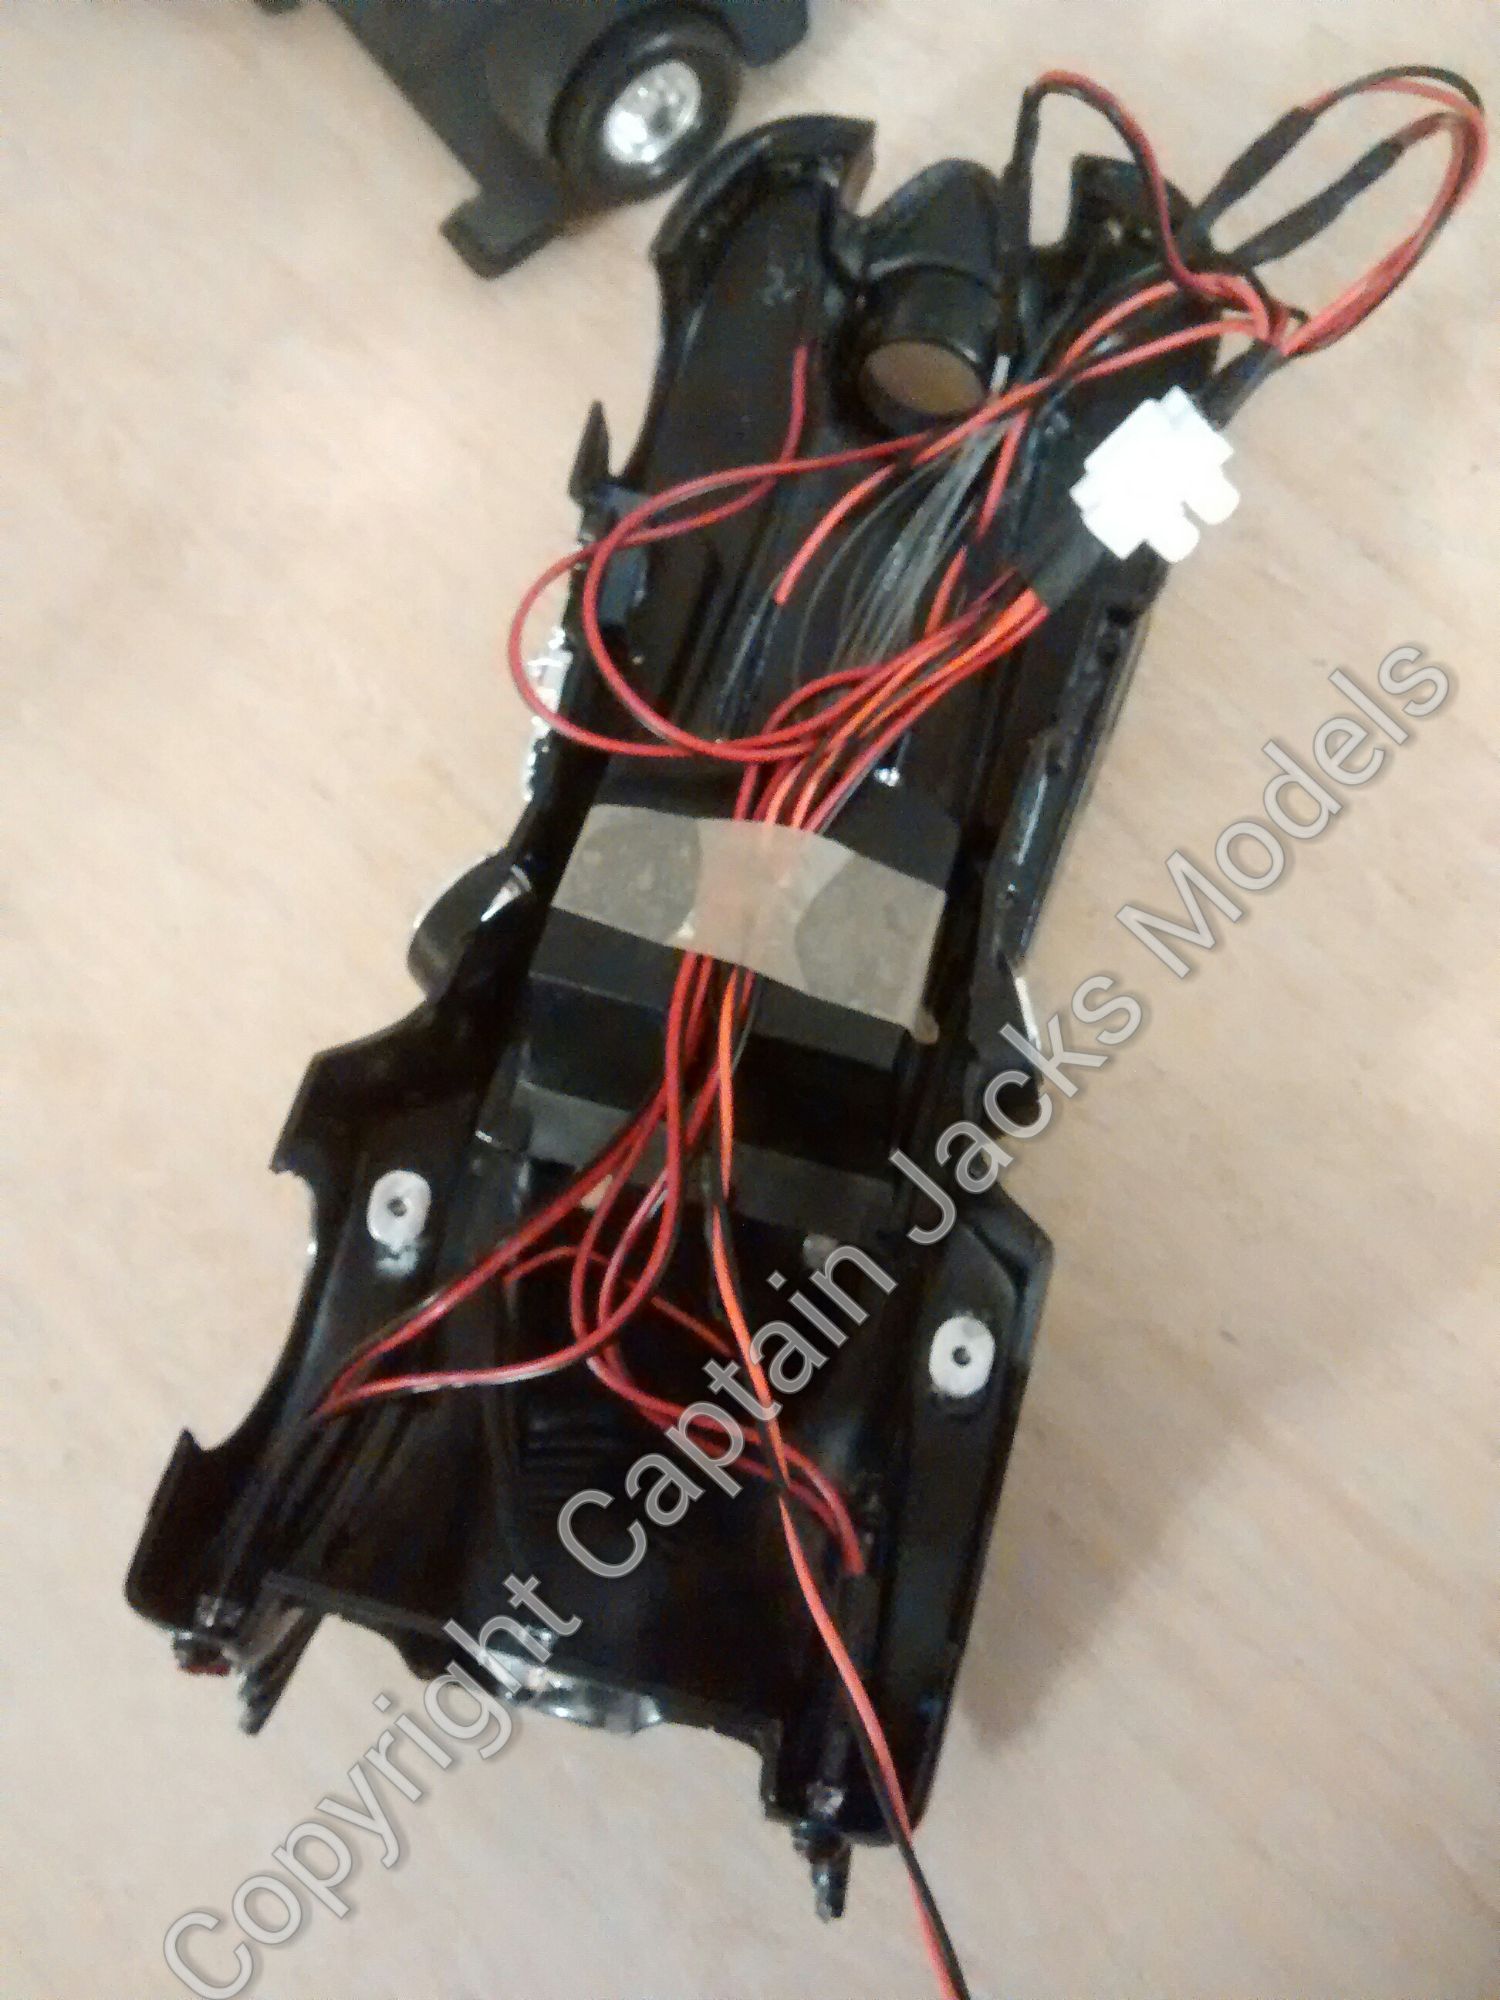
Step 18
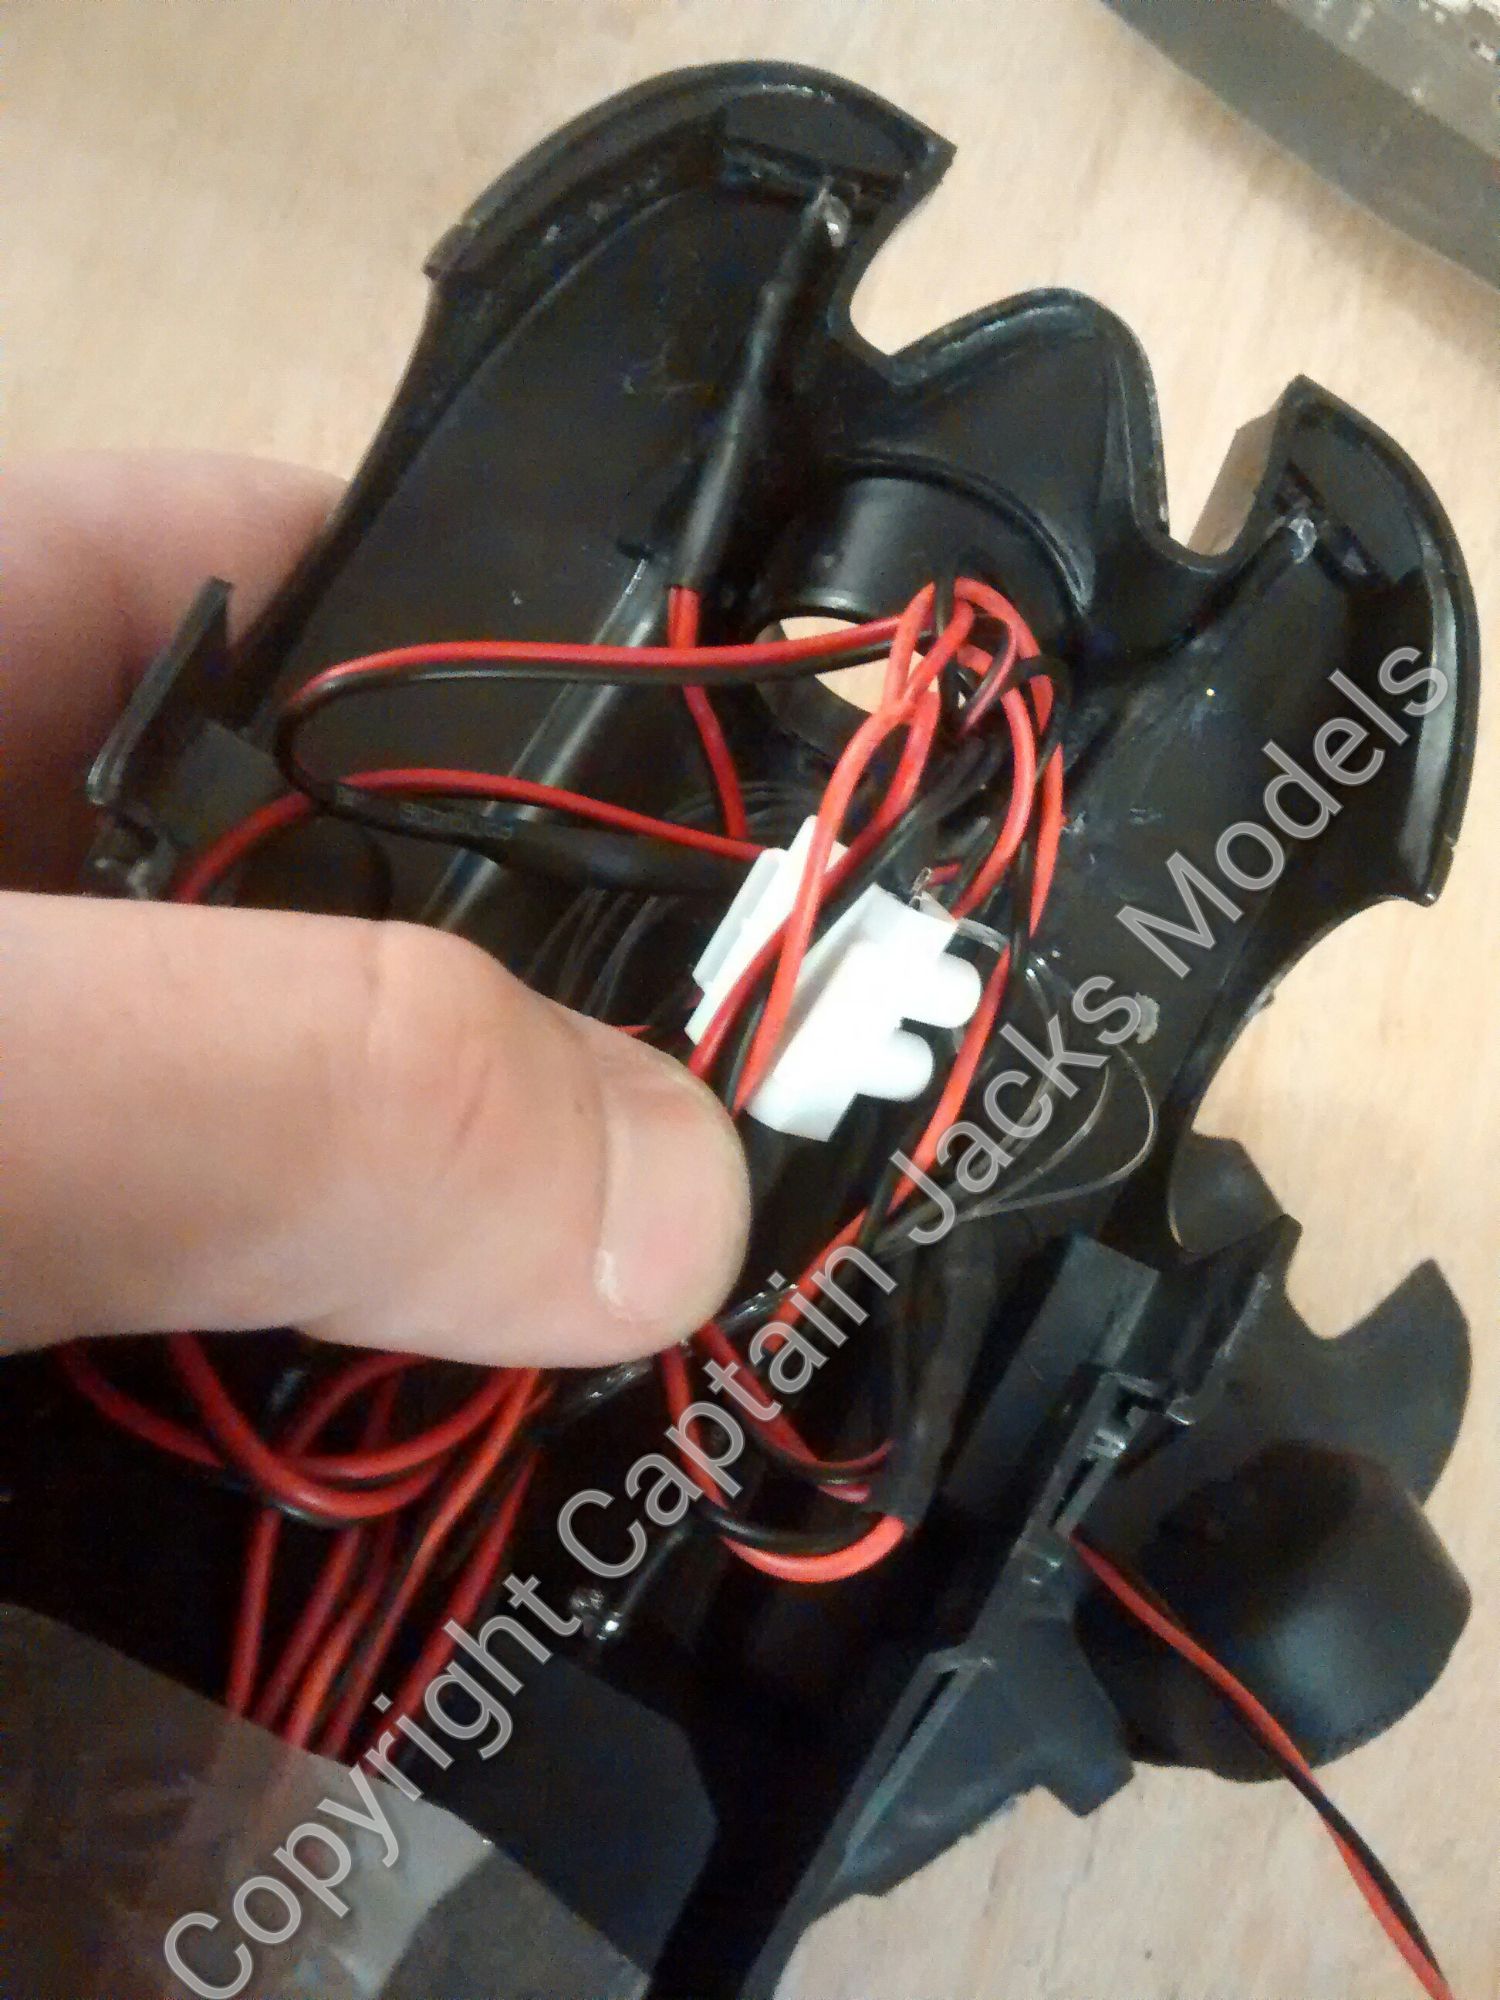
Thread the power lead through the hole in the base. Fold in the wiring and fibre optics on the front of the car as shown. Ease the bottom of the car into position - fitting the front first and then the rear. Take your time to ensure that the lighting to the rear wheels misses the rear wheel arches.
When the base of the car is level, it is best to superglue it in place in six to eight places to ensure it remains secure.

Step 19
Nearly done now, it's only reallly the finishing touches that remain. Firstly trim the fibre optics in the cockpit (ideally using flush cutters for a clean level cut) so that they are proud of the dash surface by 0.5mm. Install the steering wheel and gear levers. It's down to personal preference, but I always leave the cockpit cover so that it's removeable - people can see the full detail then.
For the front headlights, the clear lens units now need to be fixed in place. Again to avoid frosting of the plastics, I always opt for the good old PVA glue for this.
The battery box can now be connected to the power lead if you wish.
Step 20
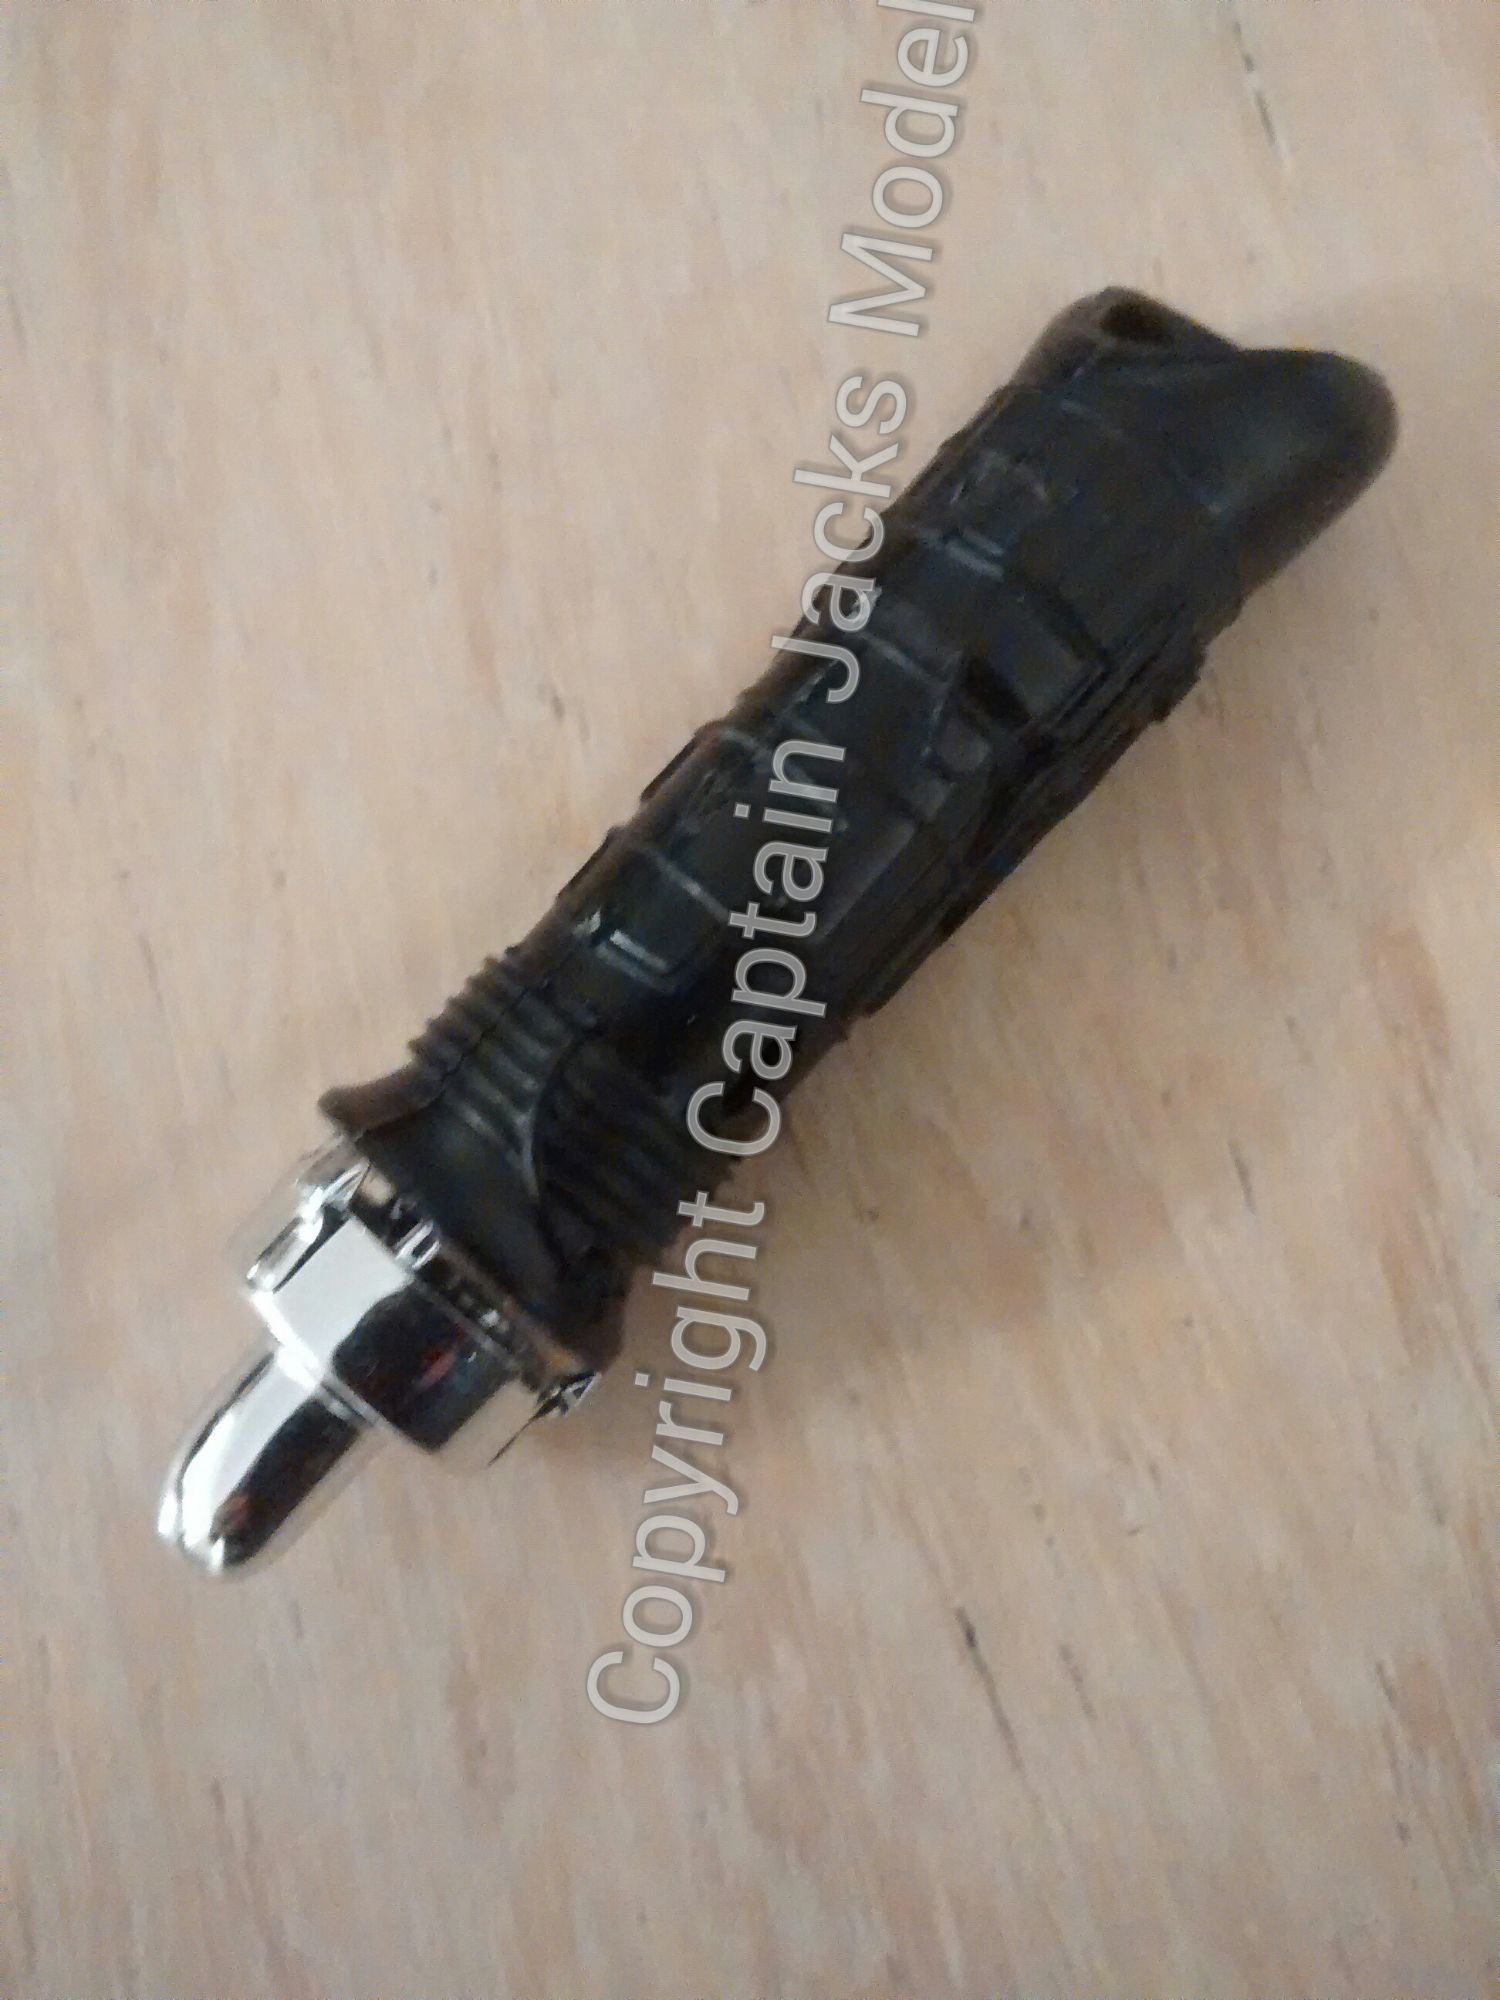
The final major modification will depend on if you have fitted the light kit with the fibre optics, or just attempted the basic headlight set.
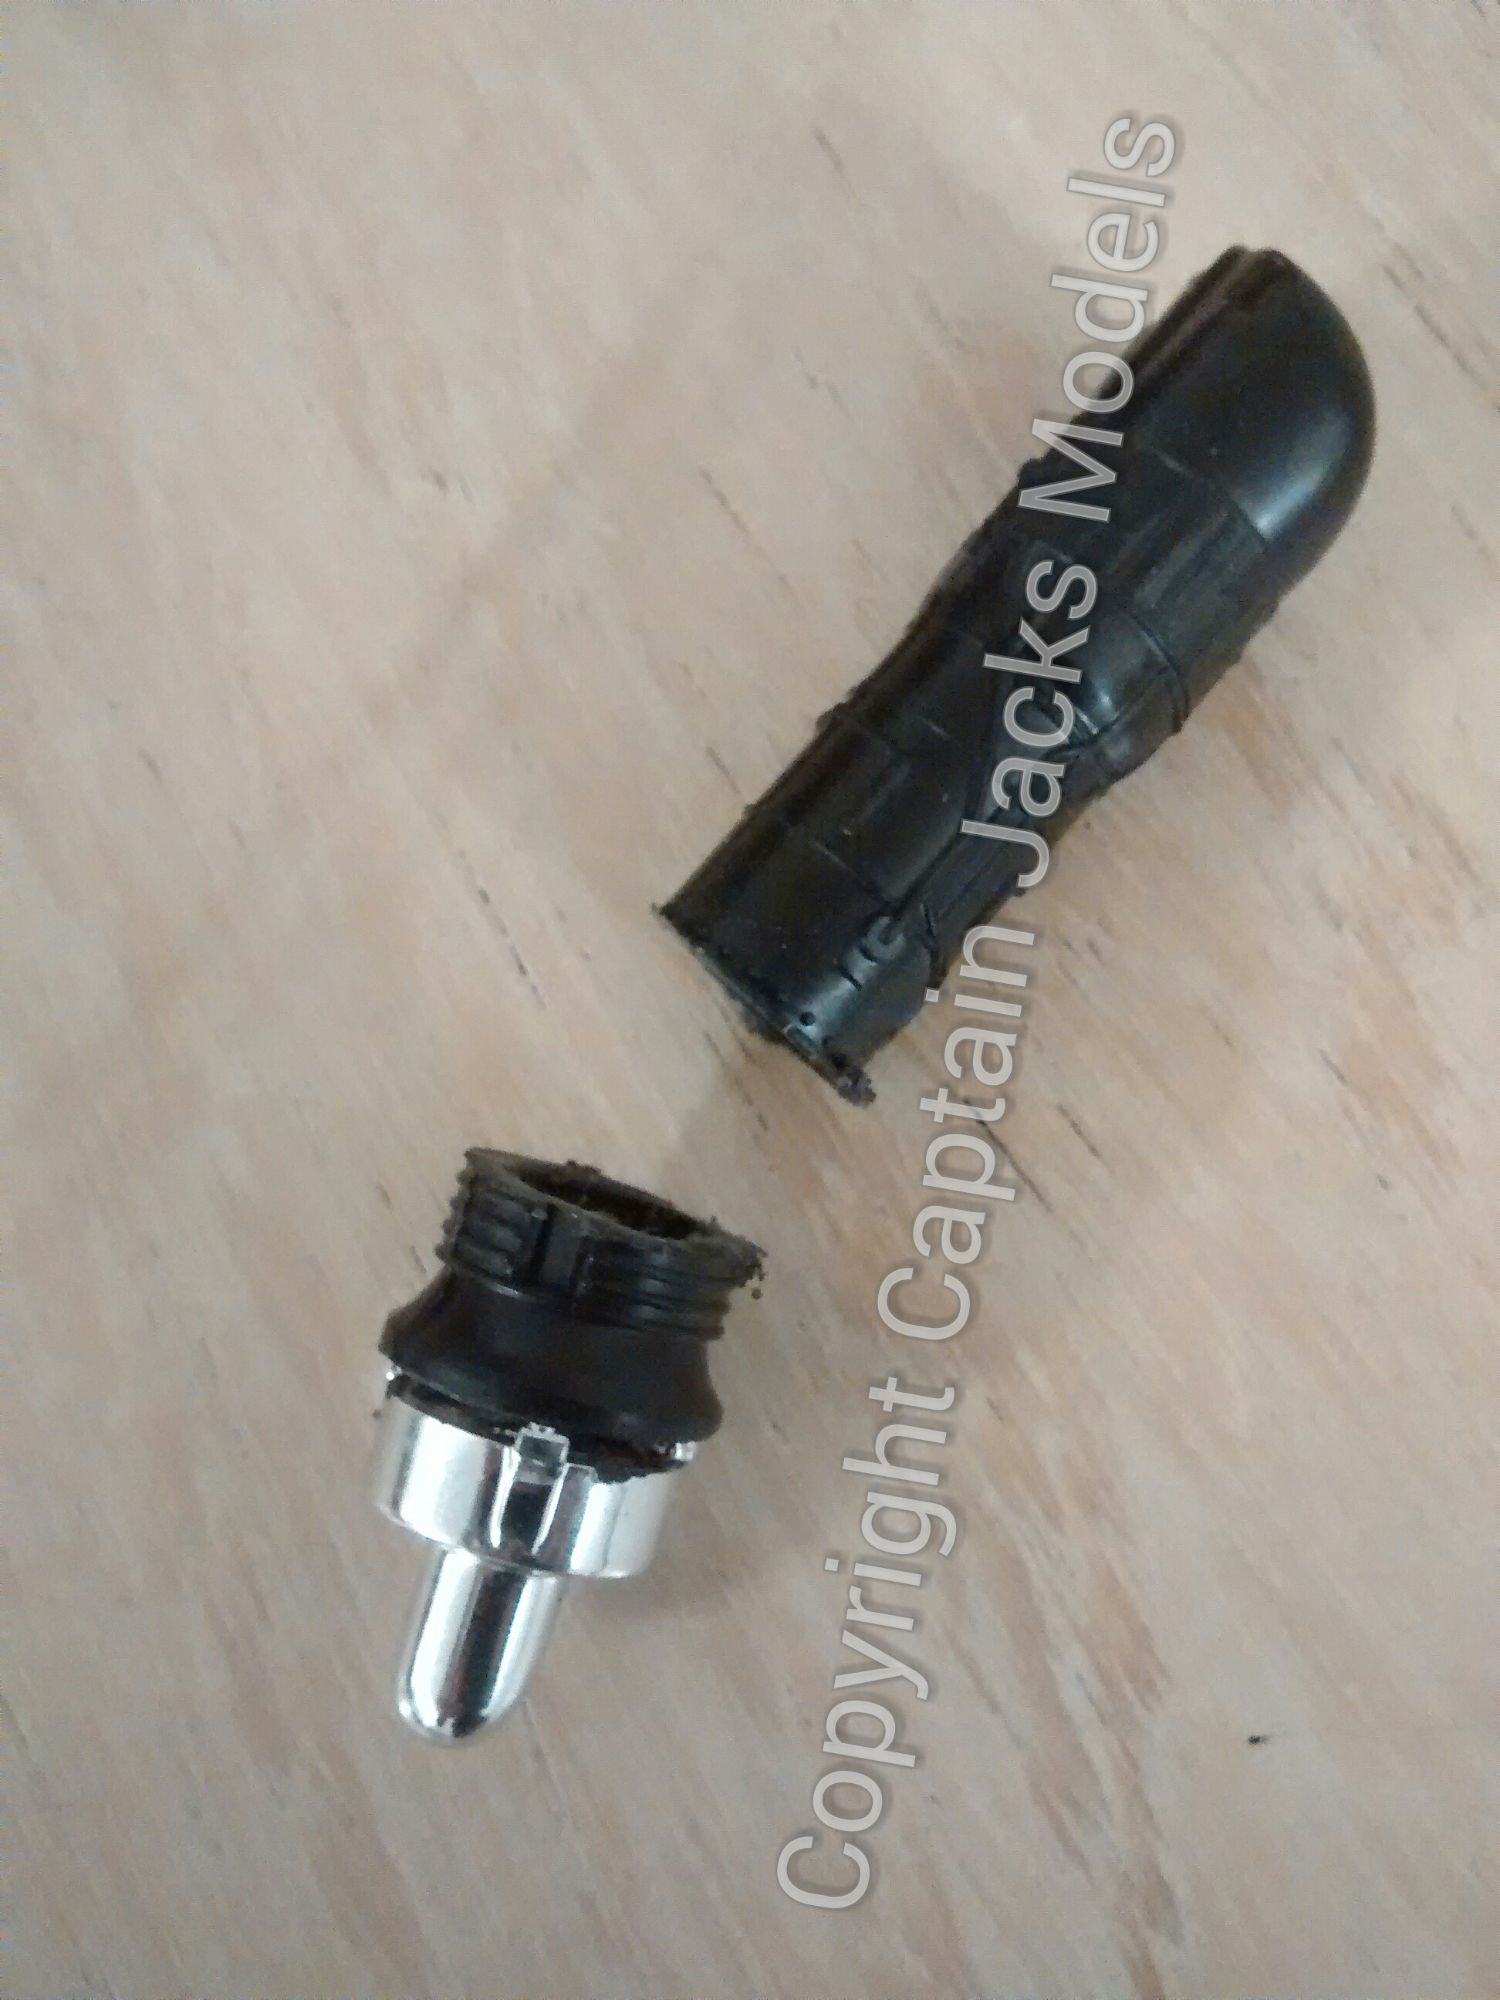
We need to make room in the front of the car for the wiring and fibre optics, and so if you've opted for the more advanced set, Batmans horsepower needs to be significantly reduced. To do this, build the engine unit as normal, and then use a fine saw to trim the chrome end off. You need to leave enough of the black section as shown in order to seat the engine correctly. Again take your time and take care - eight fingers and two thumbs at both the start and the end of the task is a good result.
That's it - job done! You now have a nicely lit model of one of the most iconic Batmobiles created, and a great centrepiece for anyones collection :)