AMT Ghostbusters Ecto-1A Light Kit Installation Guide

Please be aware.....
There are two Ecto-1 model kits currently available.
This first light kit is designed to be used with the AMT Ecto-1A kit shown.
The traditional Ecto-1 has a slightly different roof lighting set-up. Before starting the build, please see additional information for the Traditional Ecto-1 Light Kit HERE
The Ghostbusters Ecto-1A was one of those models just screaming out for a good quality standard light kit, and up until now was sadly neglected. It's one of my favourite models to build, with all model parts giving a great fit and super finish.
As you read on, you'll see that there are a couple of ways the light kit can be installed, depending on the finish you require from the model interior. The model kit is easily adapted to both, however I always airbrush the windows to blank them out as a personal preference - yes, I admit I like the easy life :)
Lets begin....
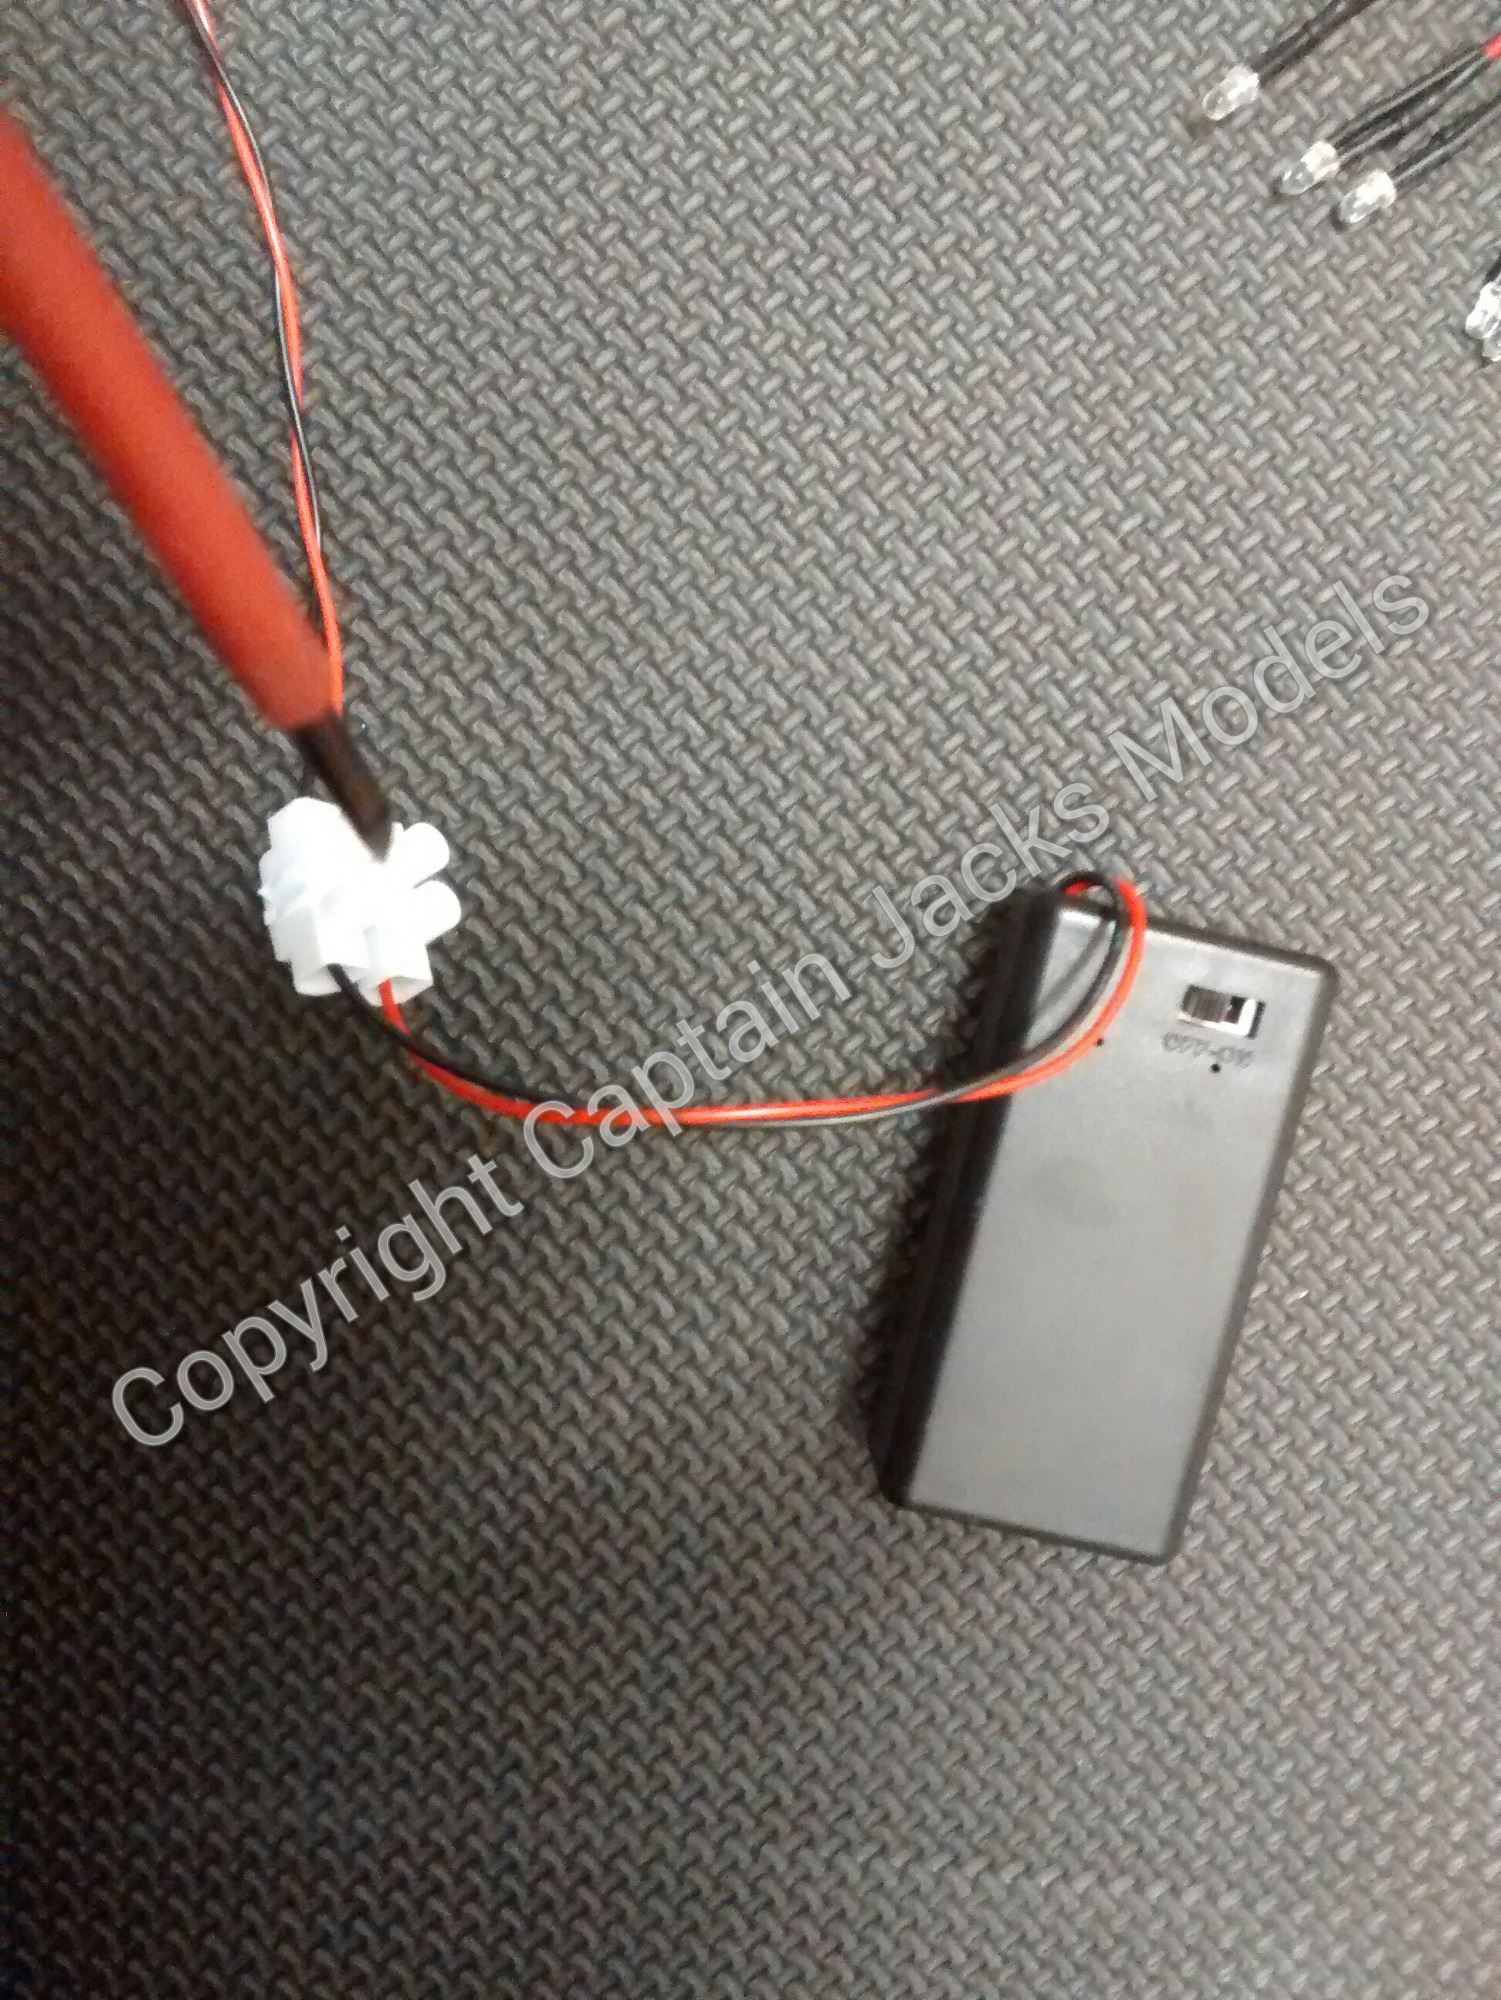
Start off by removing the battery box from the light kit by loosening all four screws at the lower terminal connector.
This light kit uses a standard 9v battery, and is designed and tested for battery use only. I always recommend using the good quality ones eg Duracell for all our light kits. Rechargeables are not advised as they can blow components if you are using a set with delicate componenents.
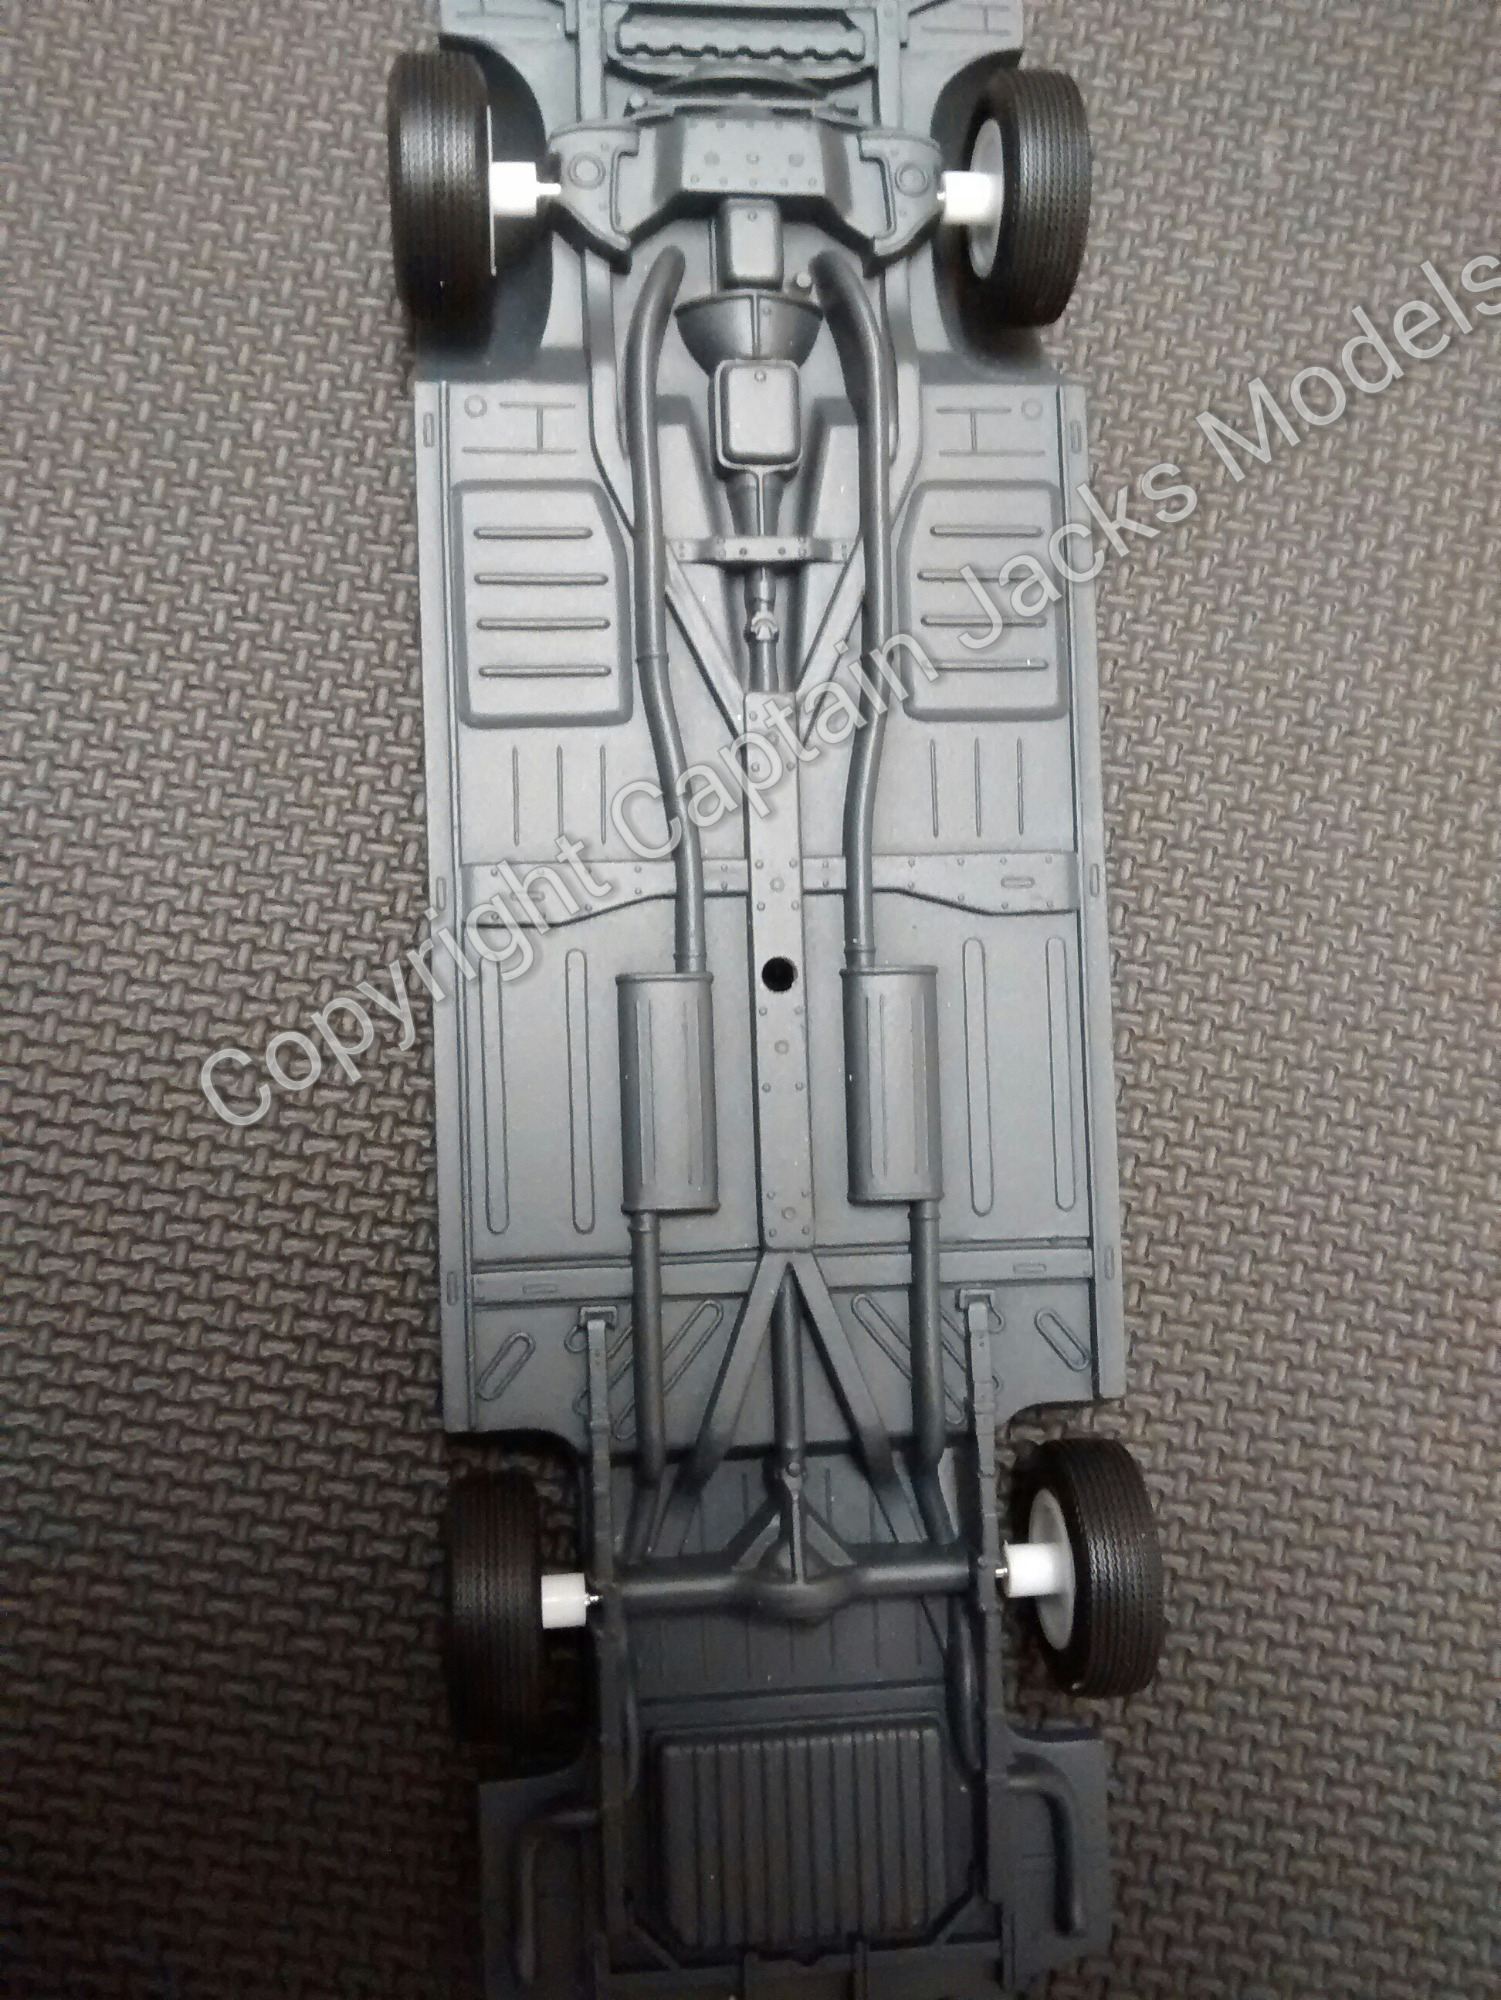
Step 1 - Start by drilling a 3mm hole in the model base, as shown between the two exhausts.
Step 2 - A 4mm hole needs to be drilled in the cars roof as shown (we'll get to the light-bar section in a bit), and if you intend on fitting the interior of the model, three 6mm fitting holes for the roof lights need to be drilled in the seat section. The light kit is much easier to fit if the model interior is left out and the windows tinted, but this is dependent on the builders preference.


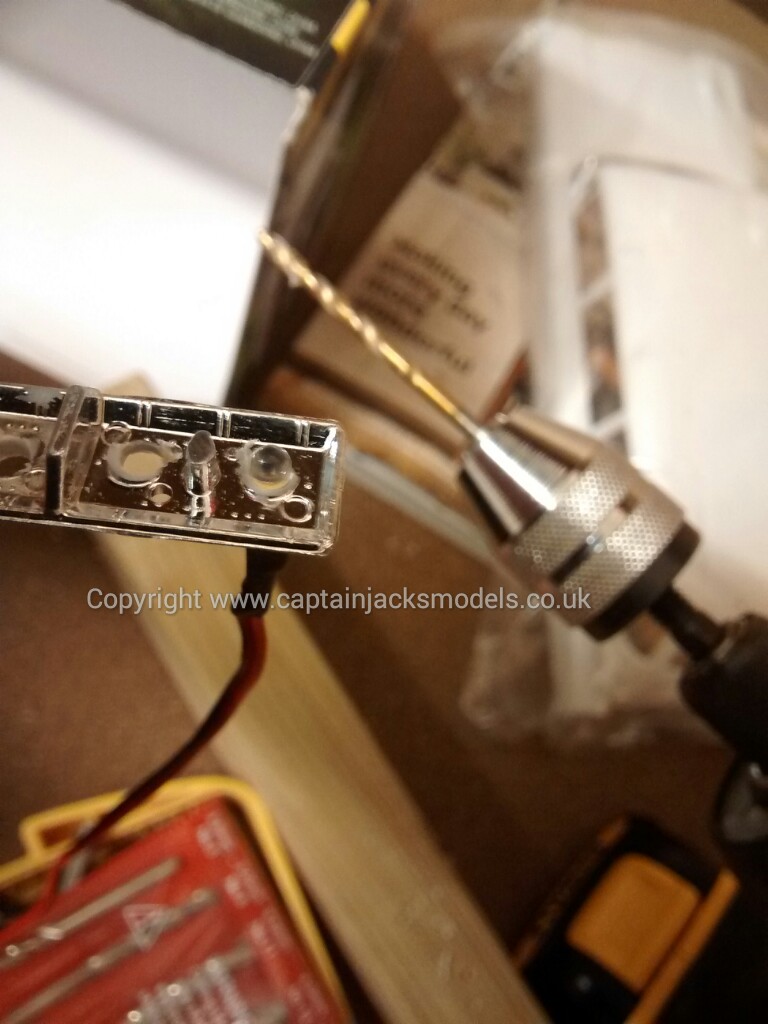
Step 3 - Now the front grill for the four headlights needs to be drilled. Don't attempt to drill each hole in one go, as its a beveled surface and easy to slip with a drill. I start out on each light with a 1mm drill, then go to 3mm, and finally widen each hole out with a five mm drill for an accurate fit.
Step 4 - We now need to drill out the six holes on the front rood light box for the flashing red/blue leds. To do this, take the chrome plated light box base, and using a pair of flush cutters, clip off the pre-molded "bulbs" in the piece. Now as per the front grill, pre-drill each hole with a 1mm drill to correctly position, and then widen each one to 3mm. When done, glue the section in place on the roof and allow to dry. When dry, drill down through each hole through the car roof with a 3mm drill.


Step 5 - The final modification to the roof is the flashing beacon light. This led is fitted under the red plastic beacon housing supplied in the model kit. Please note that I've used a flashing cool white led for this beacon, as cool white leds have the highest mcd value, much brighter than the red, and shine nicely through the red housing when its fitted. Look on the plans for the section where the red beacon is located, and drill it from the underside with a 3mm drill.
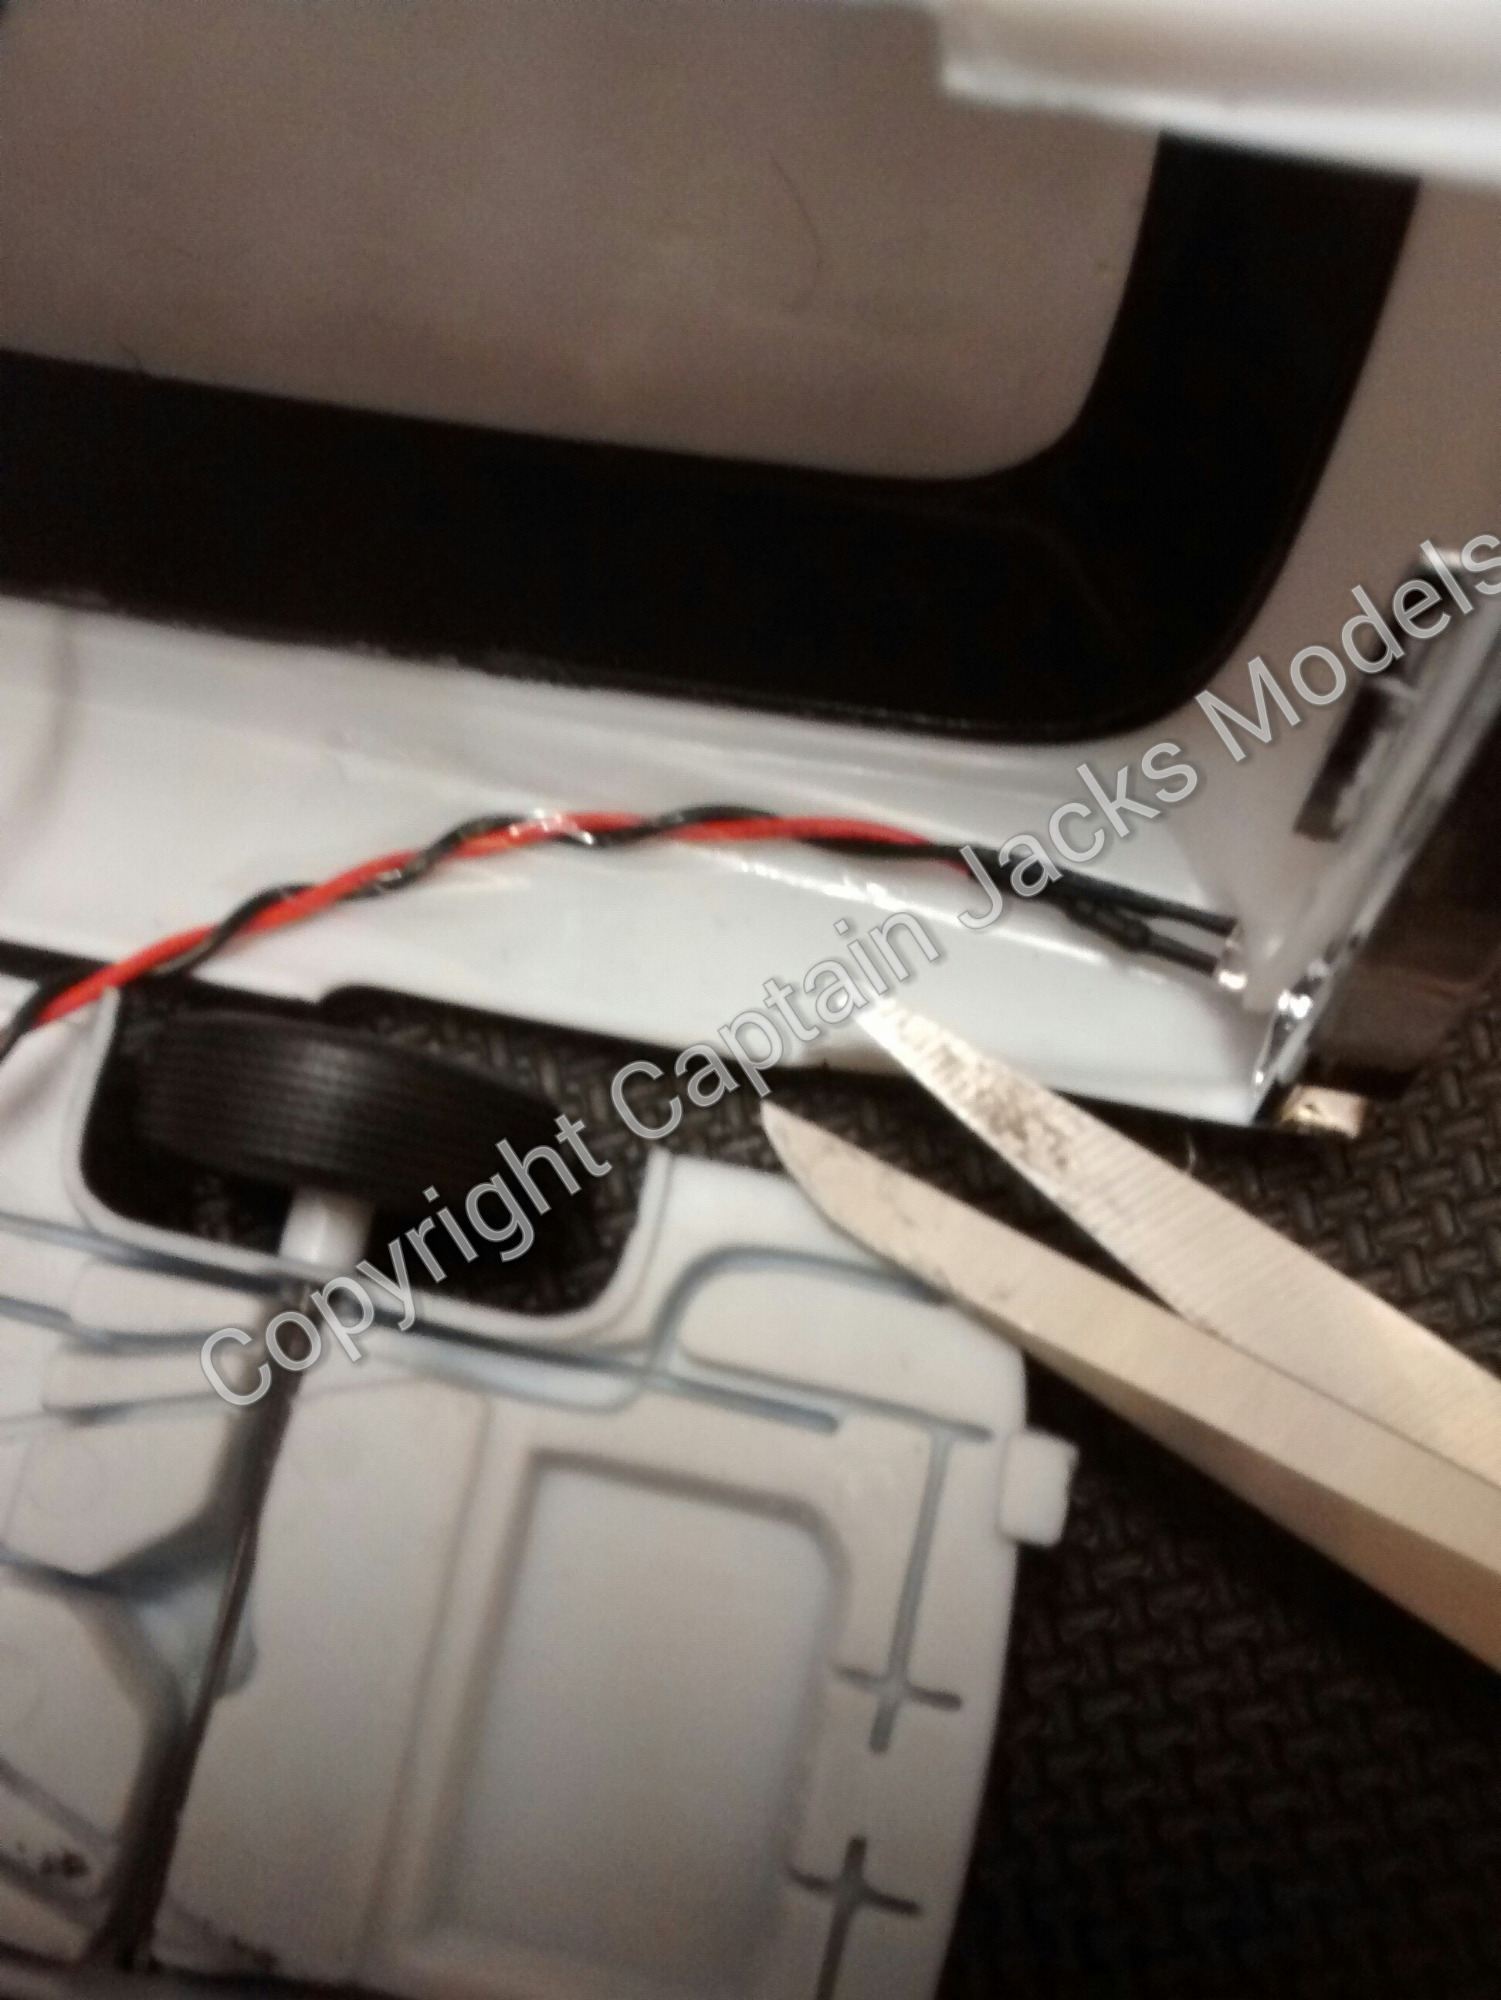
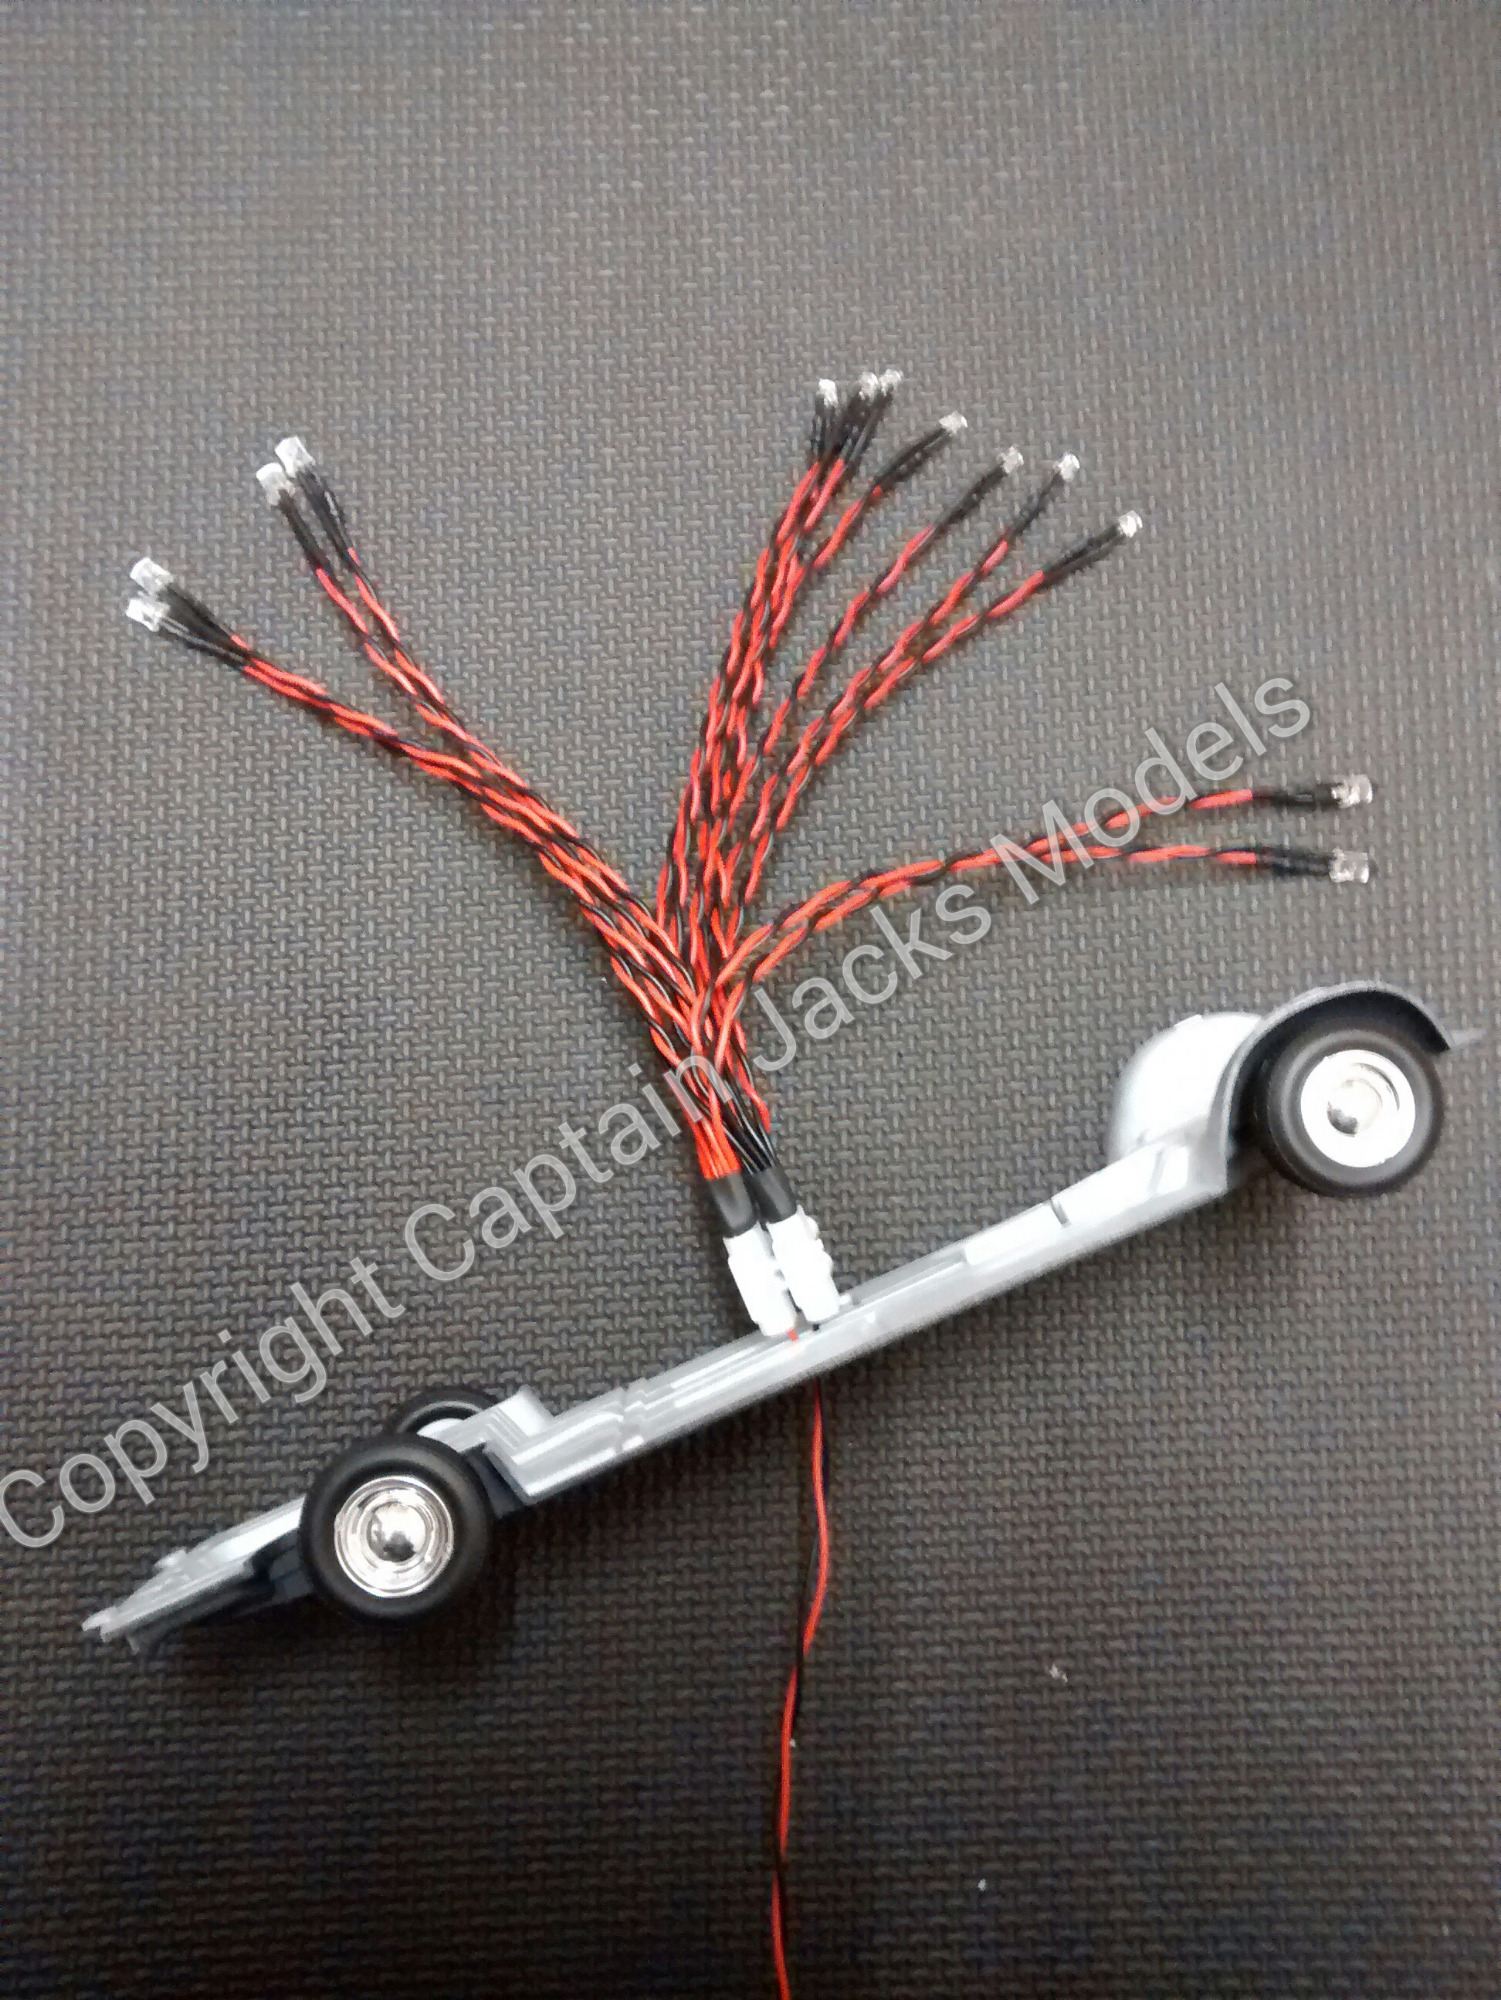
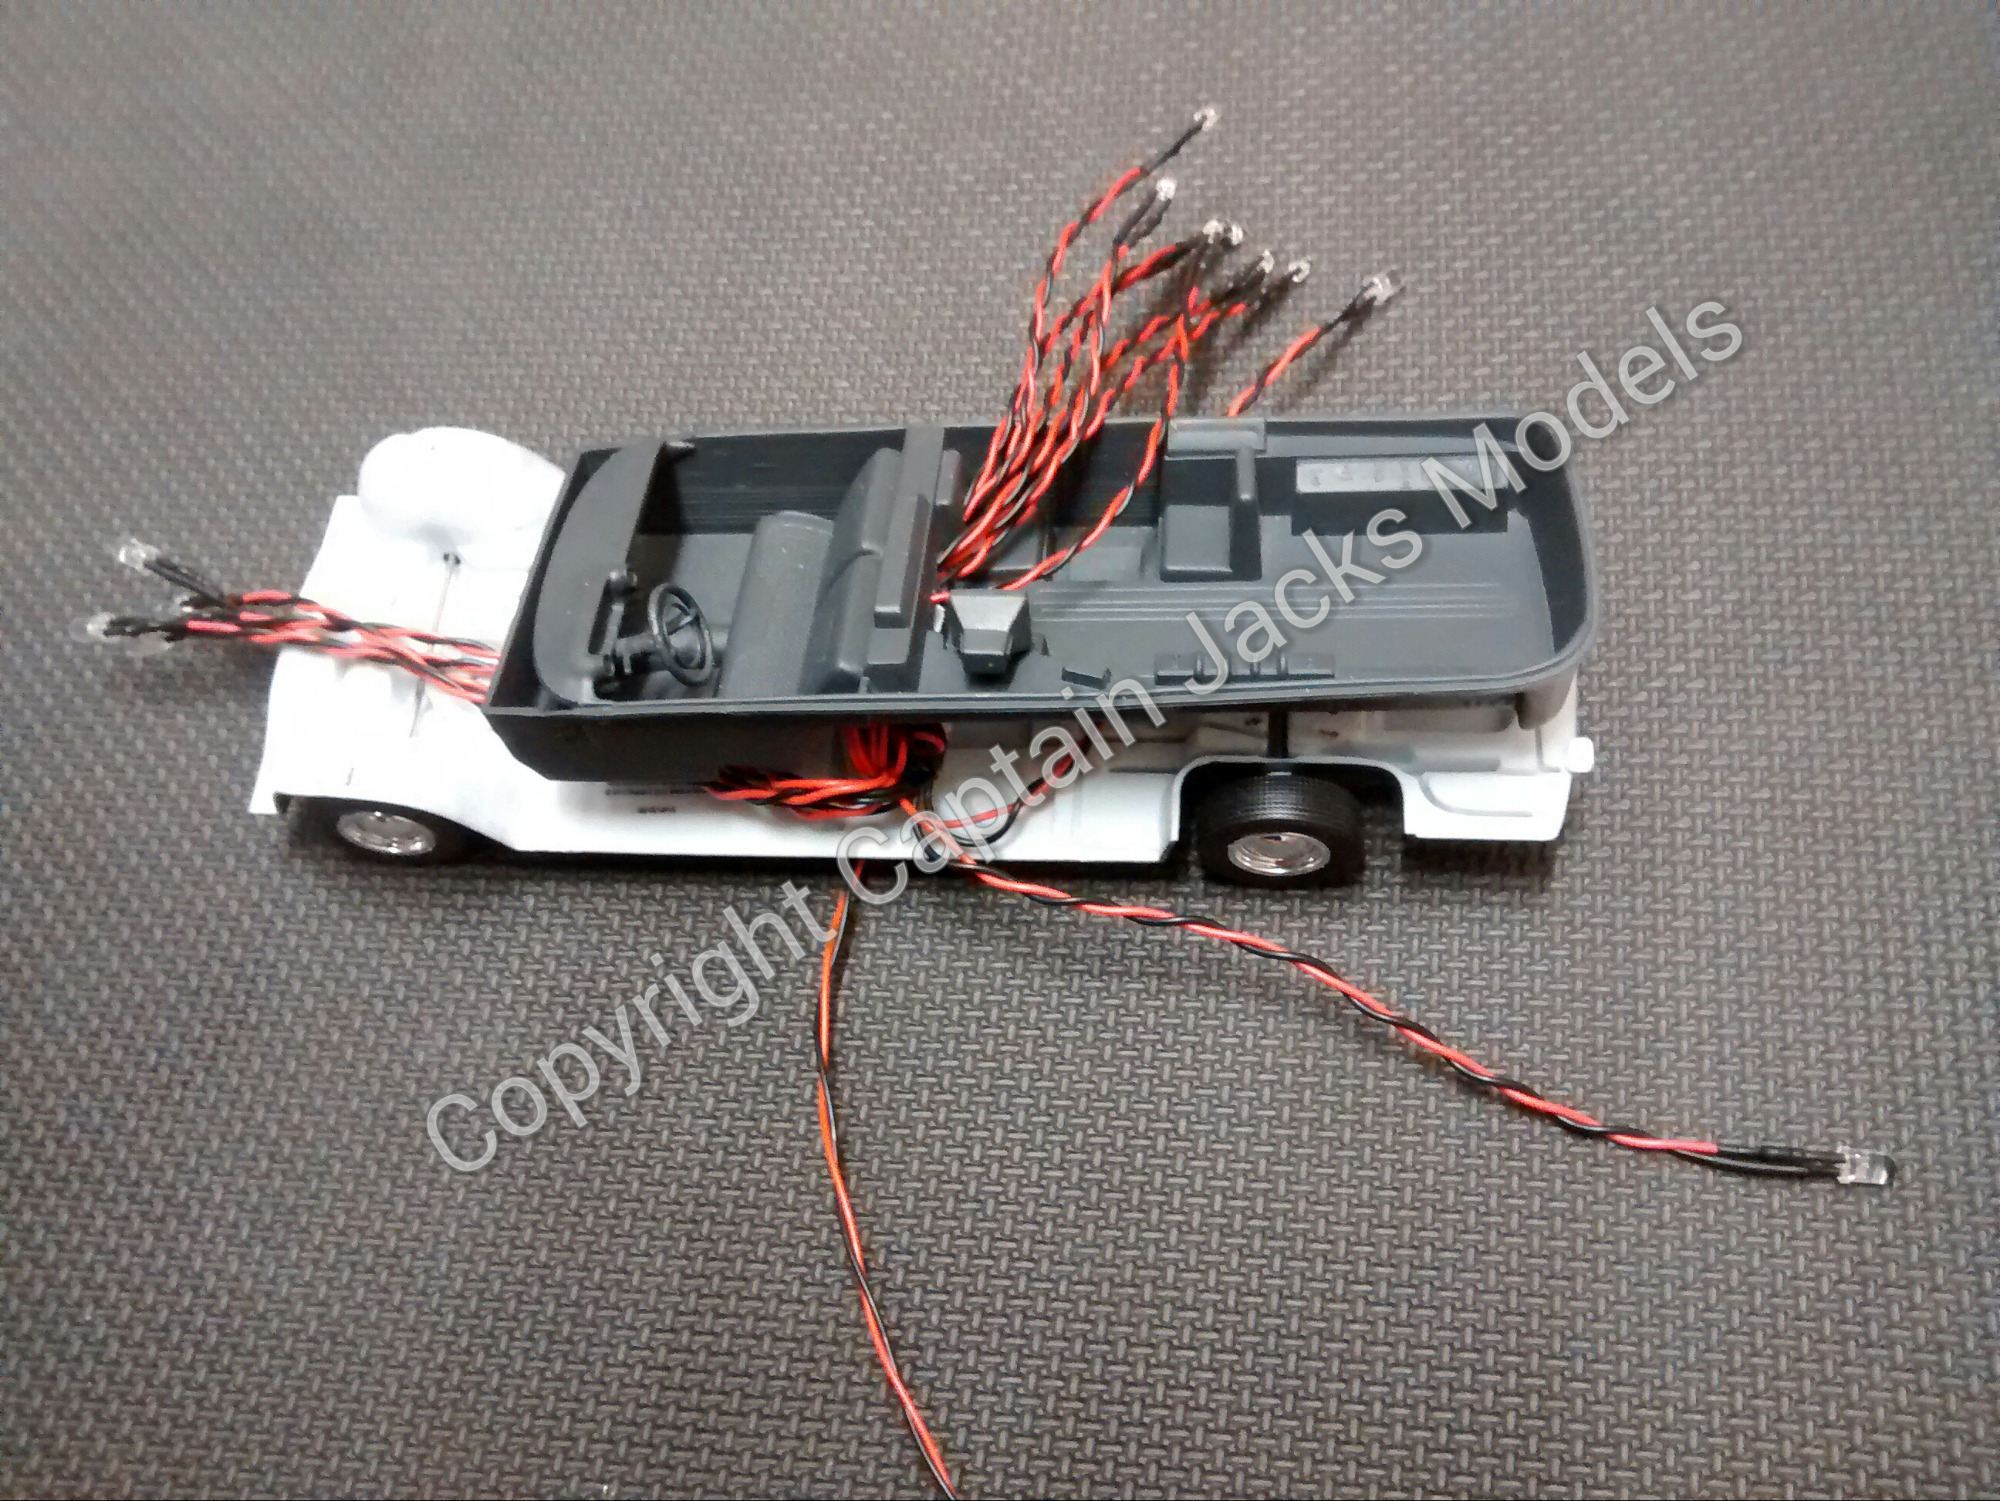
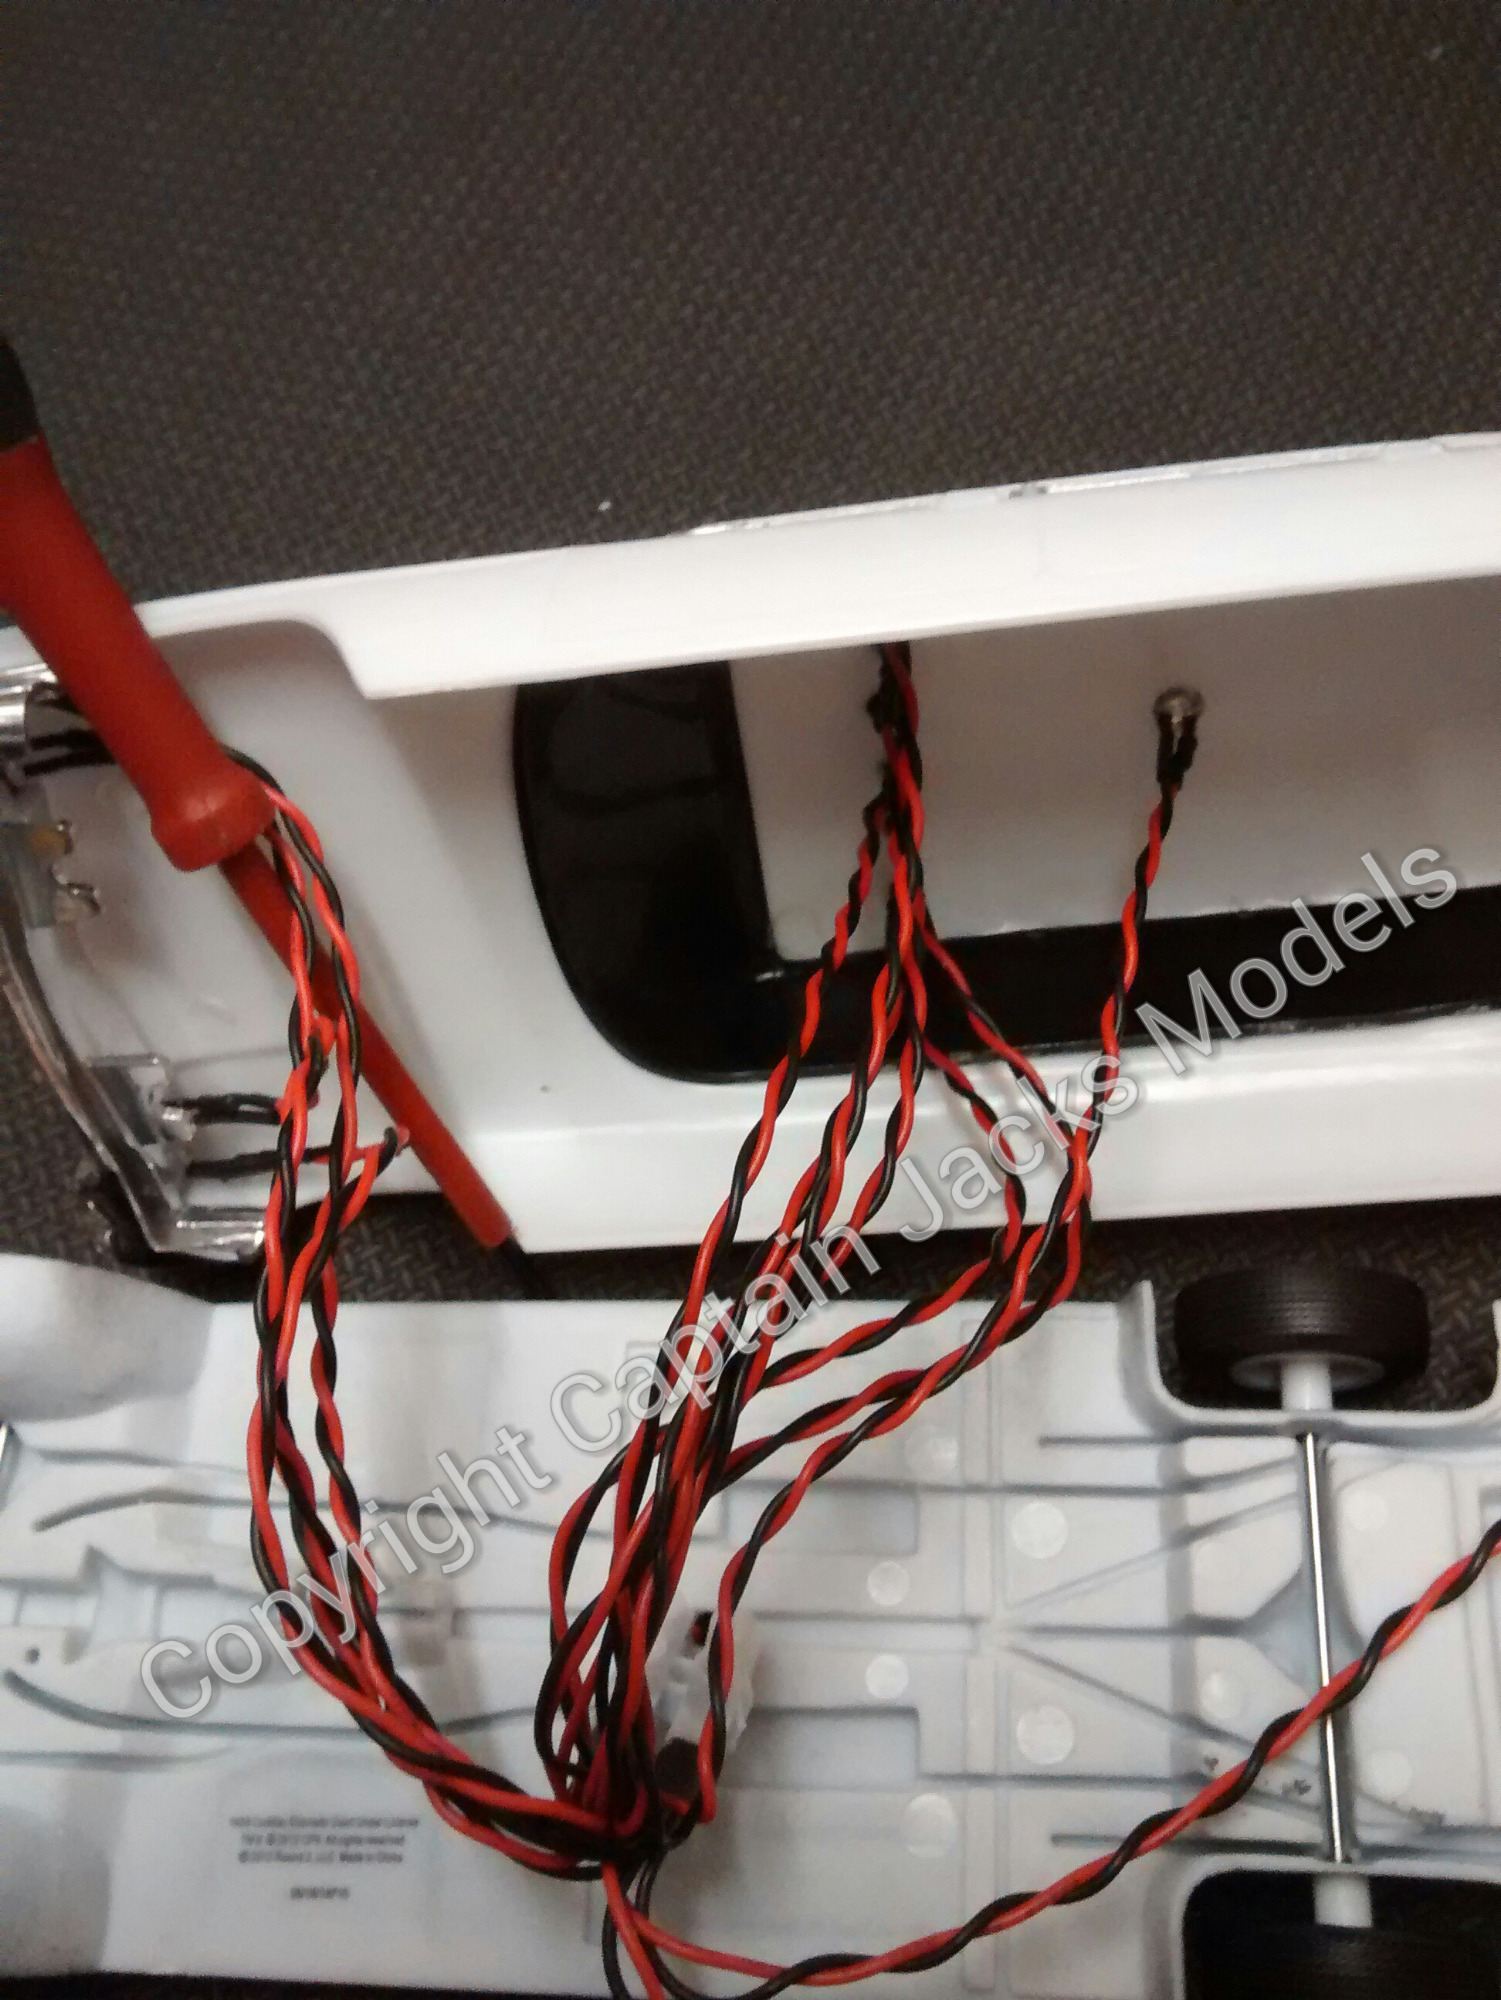
Step 6 - Now the fun begins. Feed the power lead through the base of the car as shown. The light kit terminal block will fit on its side at the back of where the drivers seat is positionned. If you're not fitting the interior, then the complete wiring loom can fill the inside of the model. If you are fitting the interior, its worth cutting a black card board backing to fit at the back of the drivers seat to blank off the back of the model at this point and hide the wiring. The red / blue and flashing white 3mm leds need to be run through the fitting holes in the back of the seats. The four front 5mm white headlights will press into the model base, allowing them to run to the front of the model.
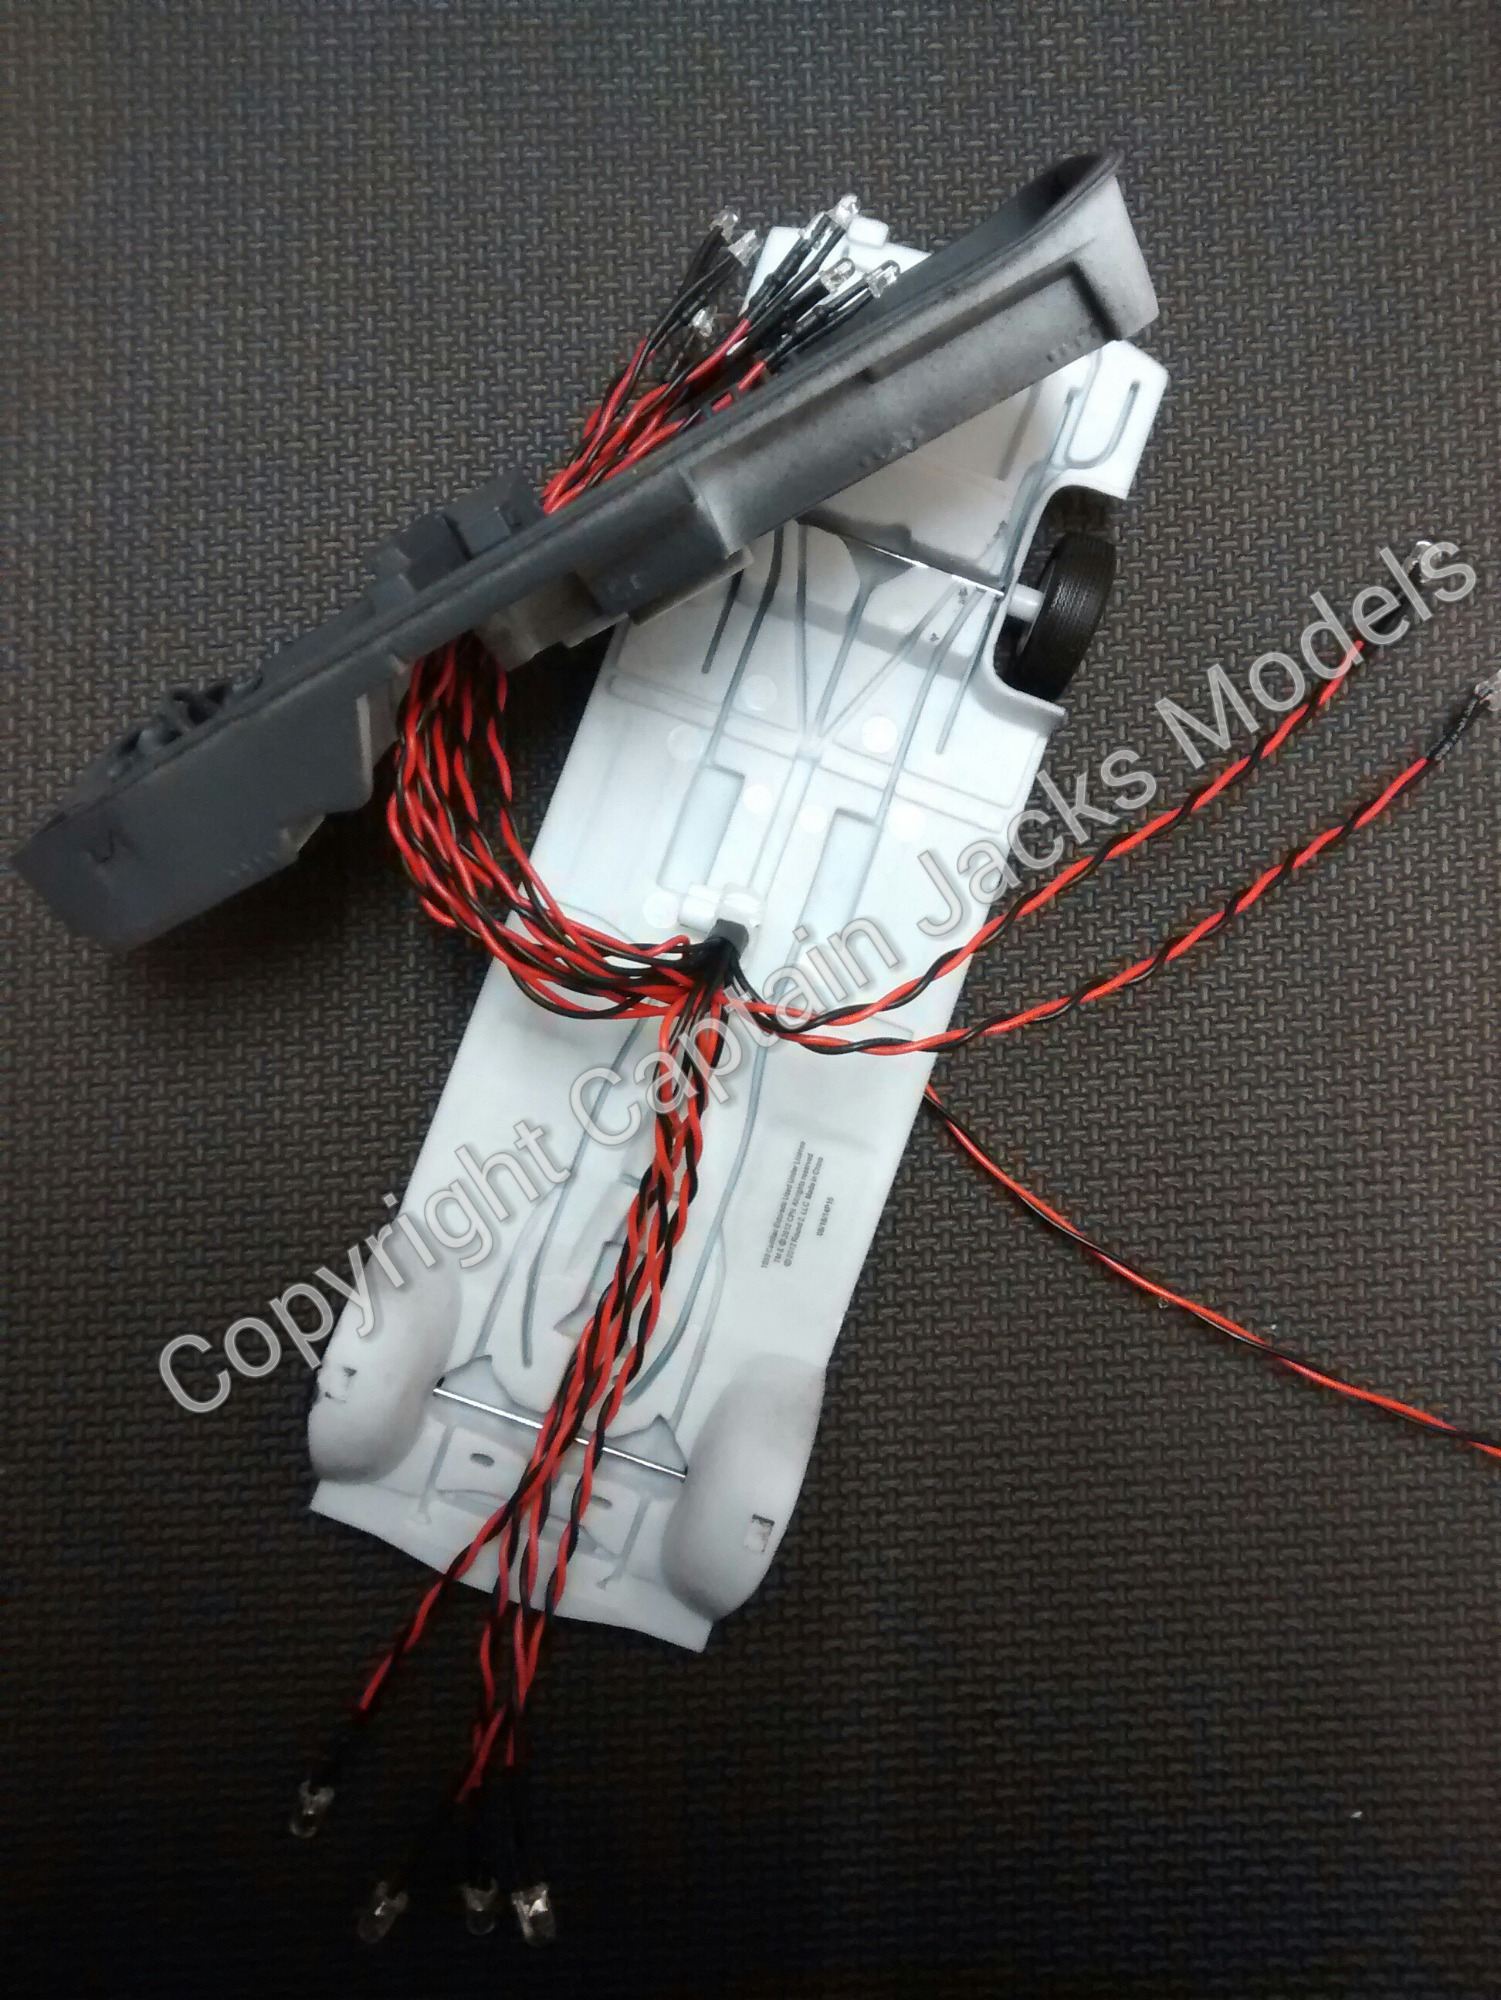
Step 7 - This is the part where you need to have a little patience. To make life easier, leds should be fitted from front of the model first, then the roof, and finally the tail lights. Fit the 5mm cool white headlights in position in the front grill. When happy with the fit, glue them in place. PVA is good, personally I use superglue (but you have to be precise with this to avoid a stick mess or clouding the leds. If in doubt use PVA). Allow the glue to dry fully.
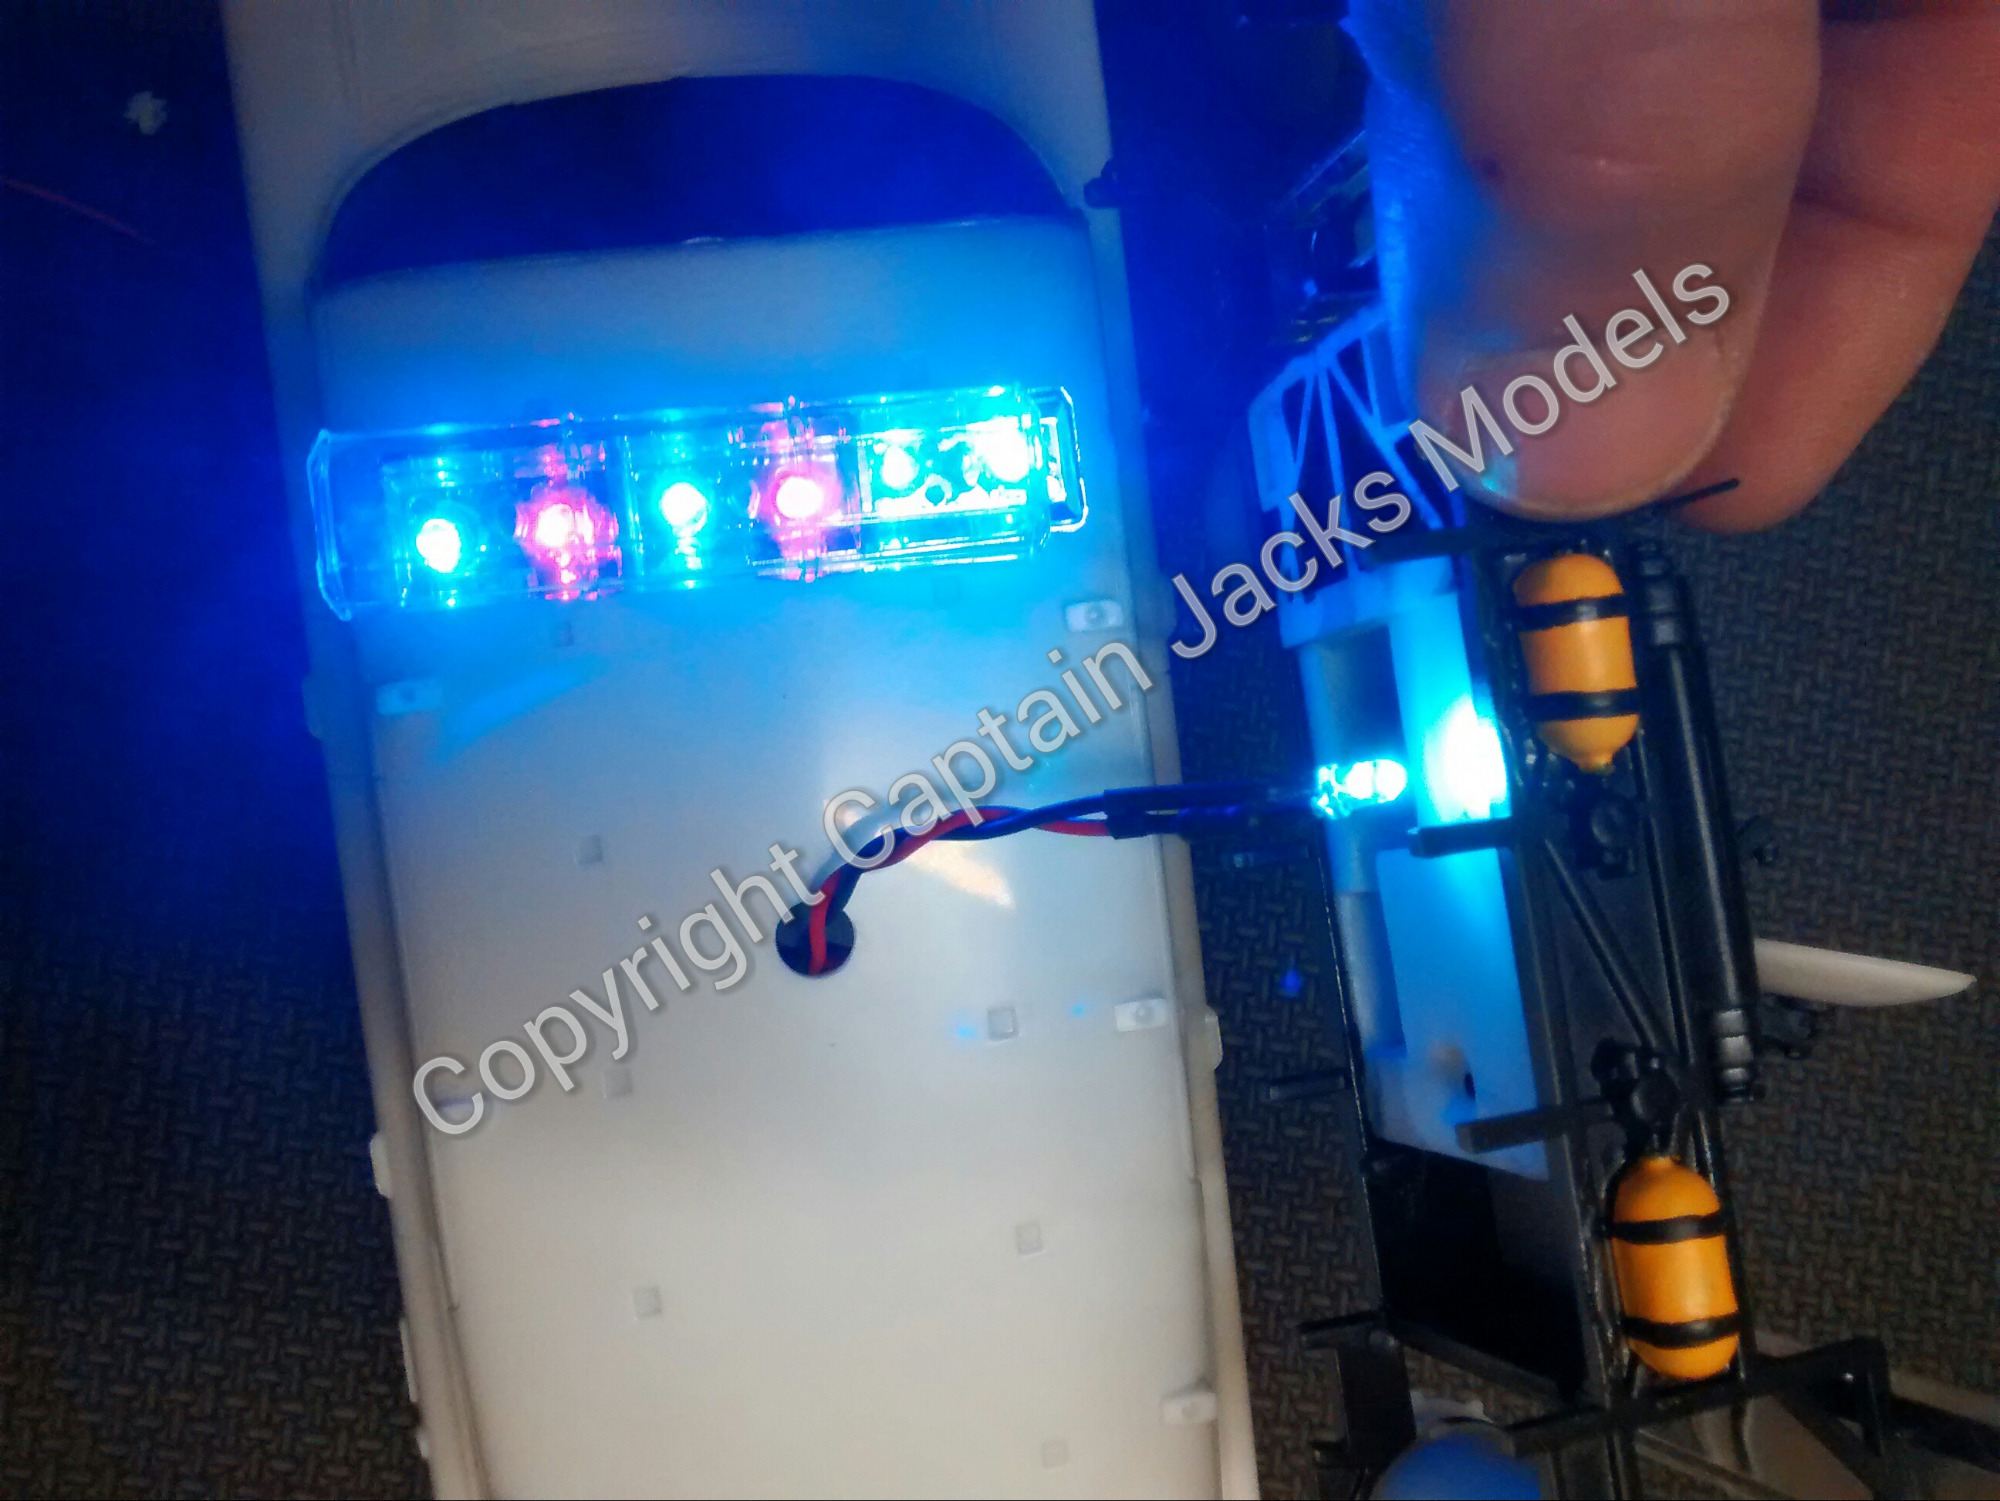
When the headlights are secure, push the six red / blue flashing leds into the front light box on the roof, and the single flashing white into position to fill the red beacon. There is no need to glue these - I never do, as it reduces the chance of ruining the finish on the led, chrome and clear surfaces.

Step 8 - To finish installing the light kit, the rear light 5mm reds need to be run down the inside of the shell on each side. A very easy and effective way to secure these is to use ordinary sticky tape to secure the wires on the inside of the car shell. Simple but effective.
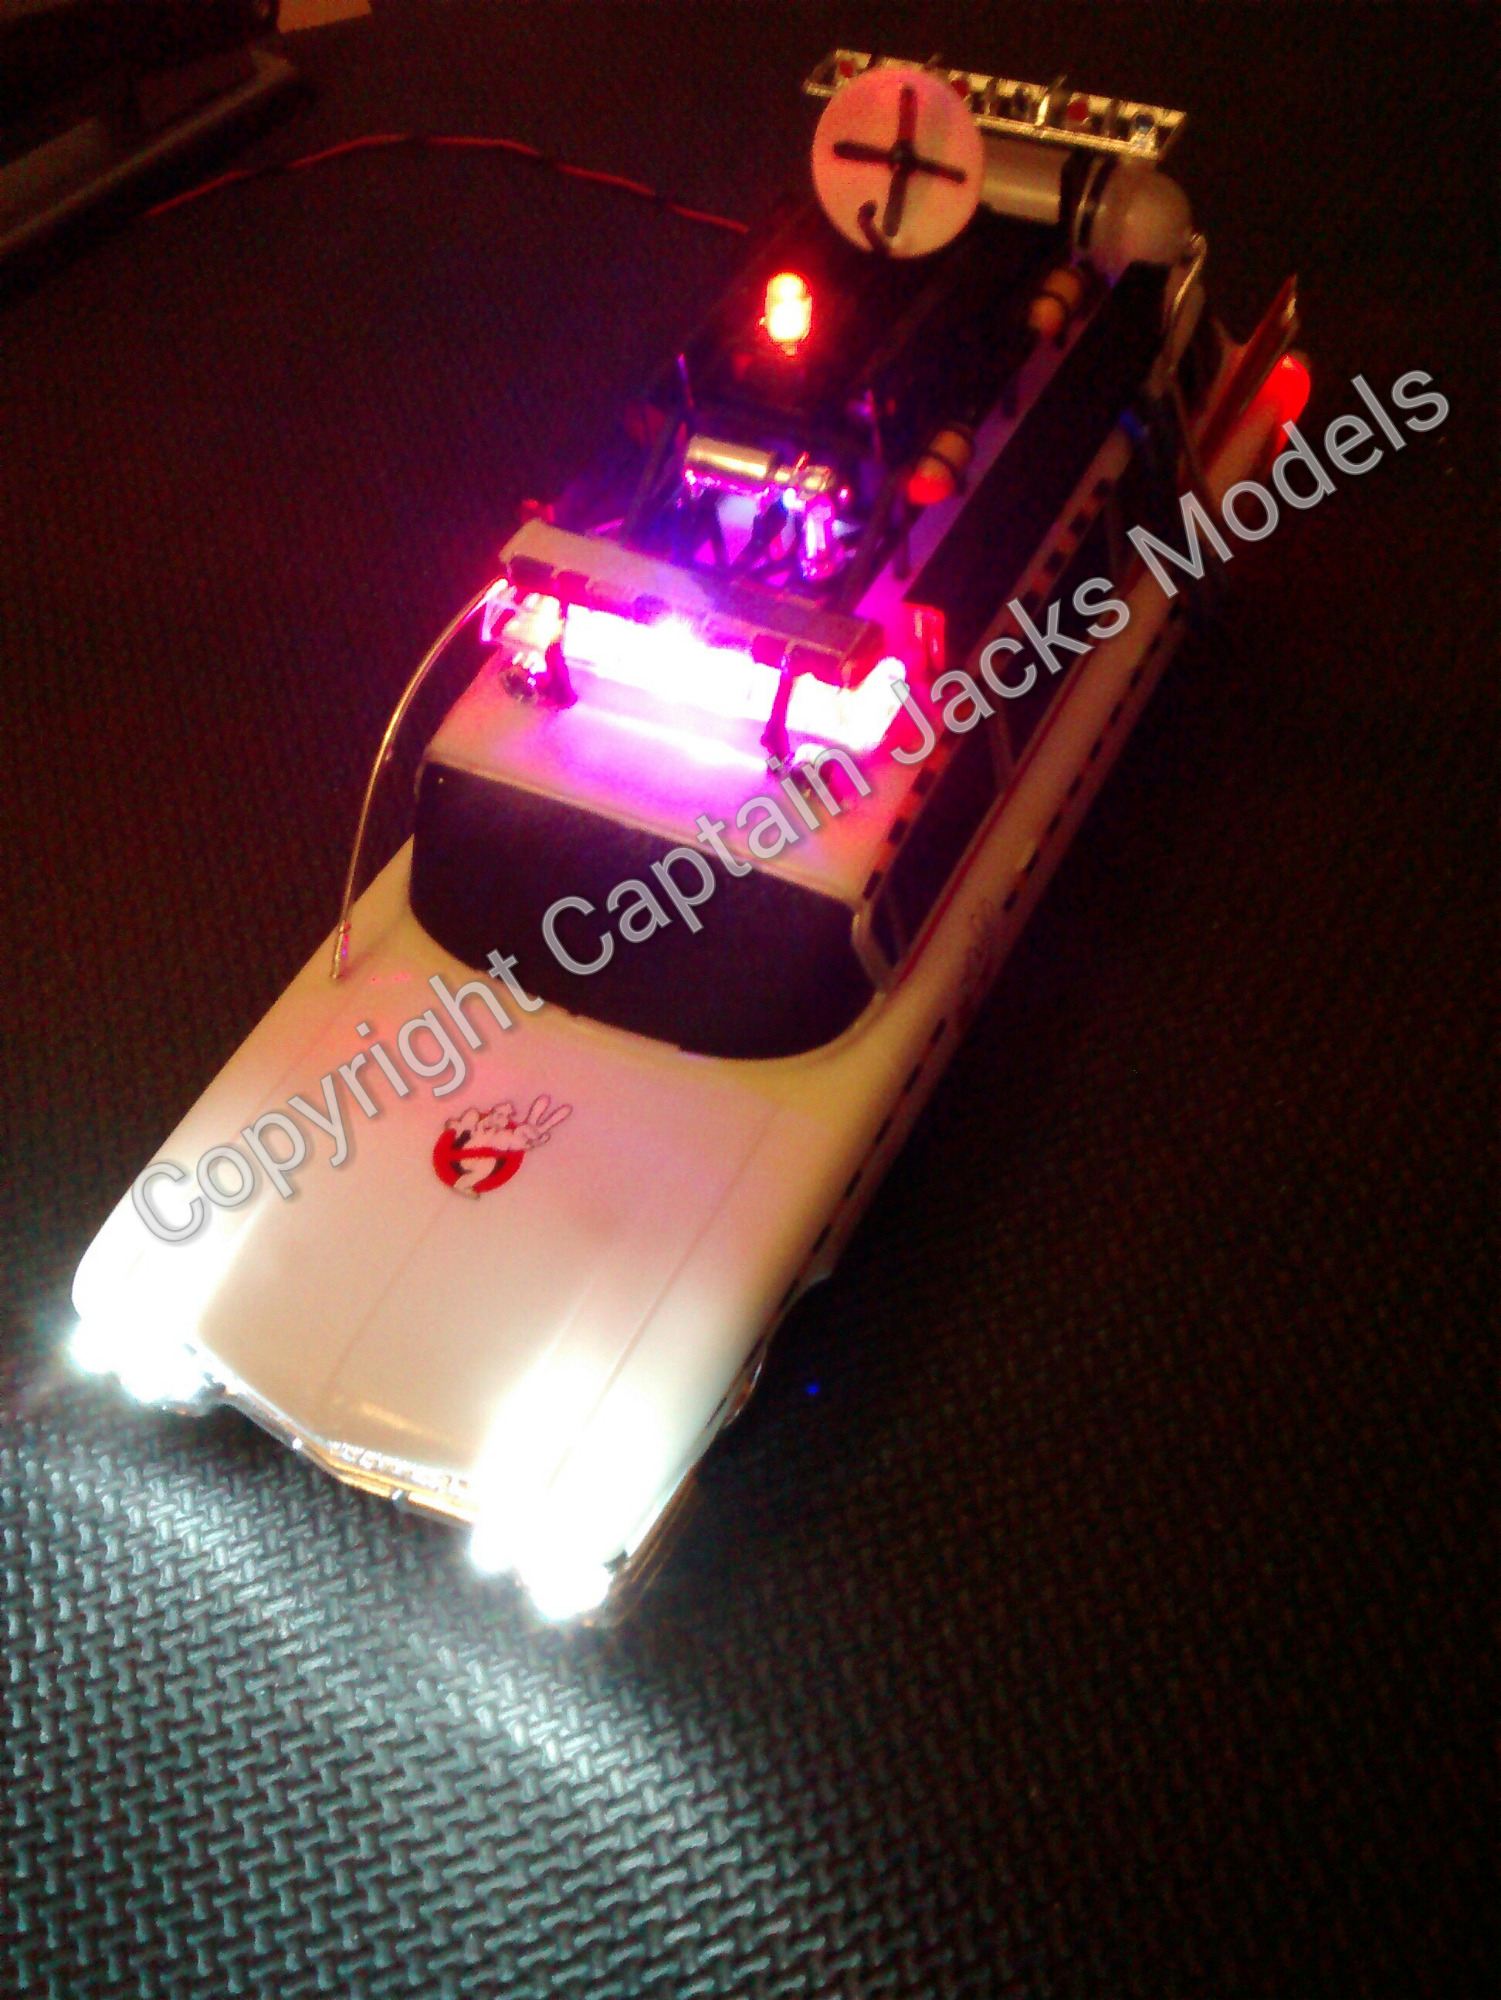
When that's done, clip the car base into place and its all done! Re-fit the battery box on your power lead, matching red and black leads together, and you have one very cool Ecto-1A to display :)